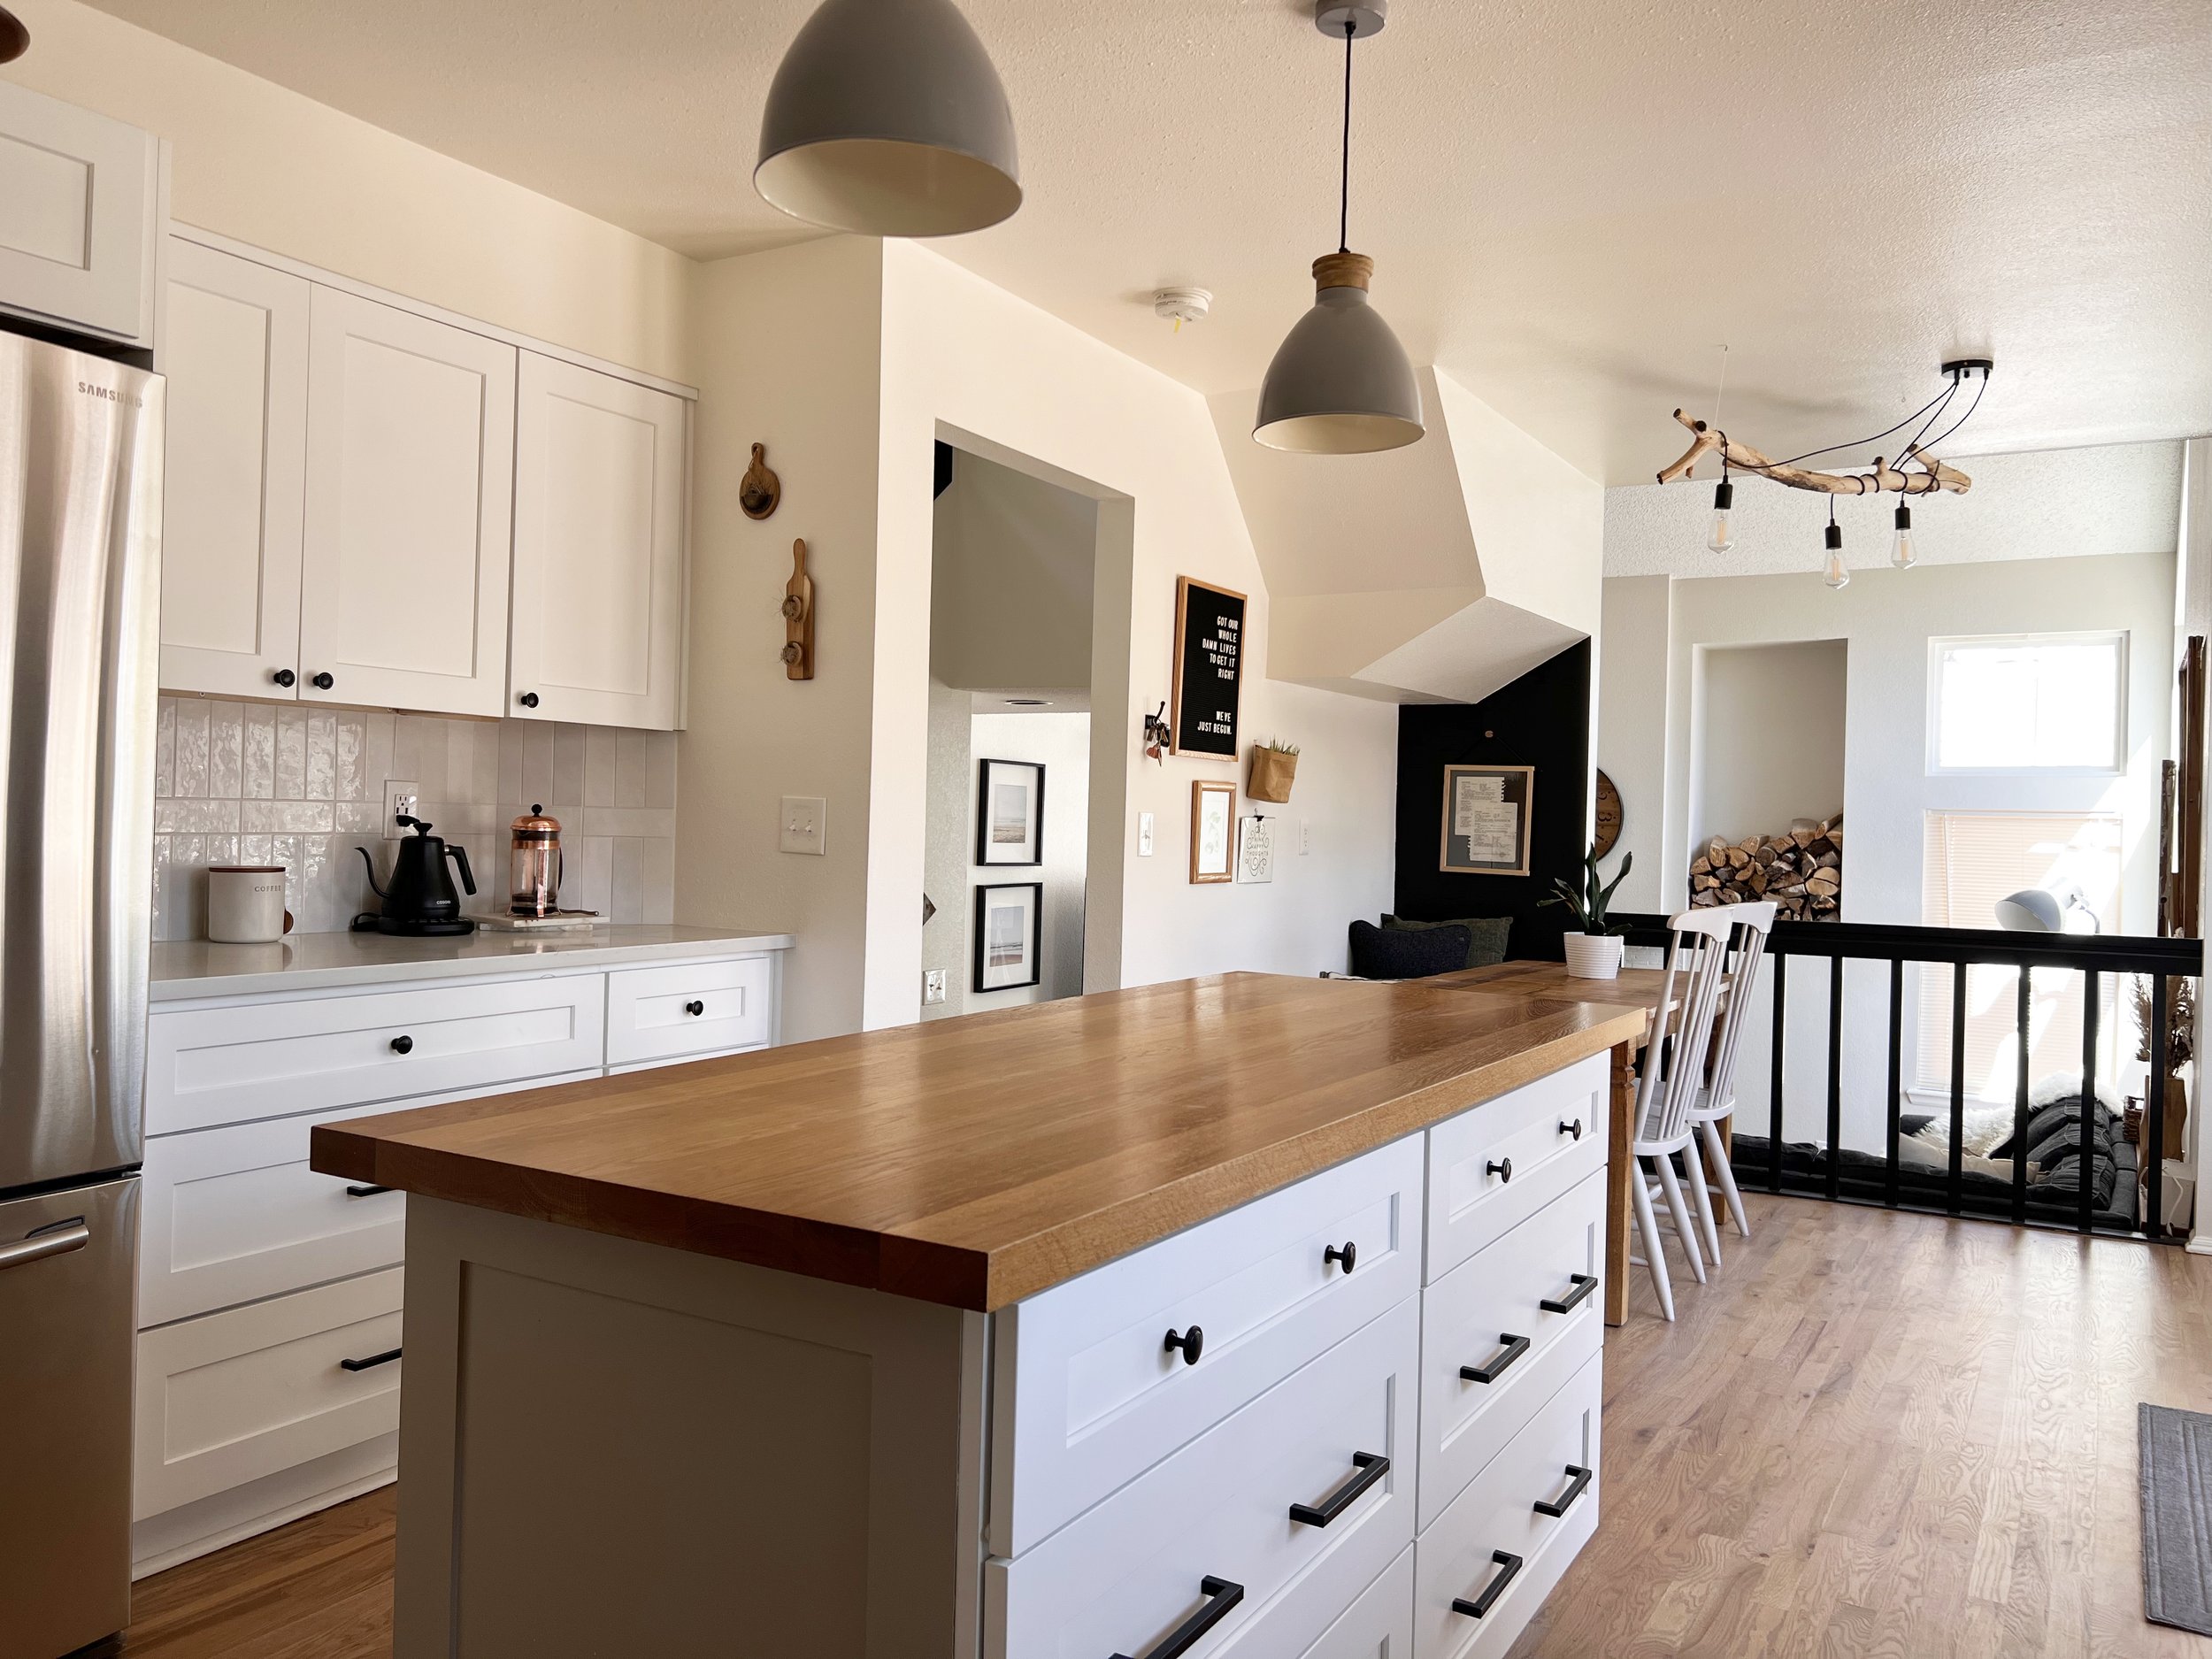
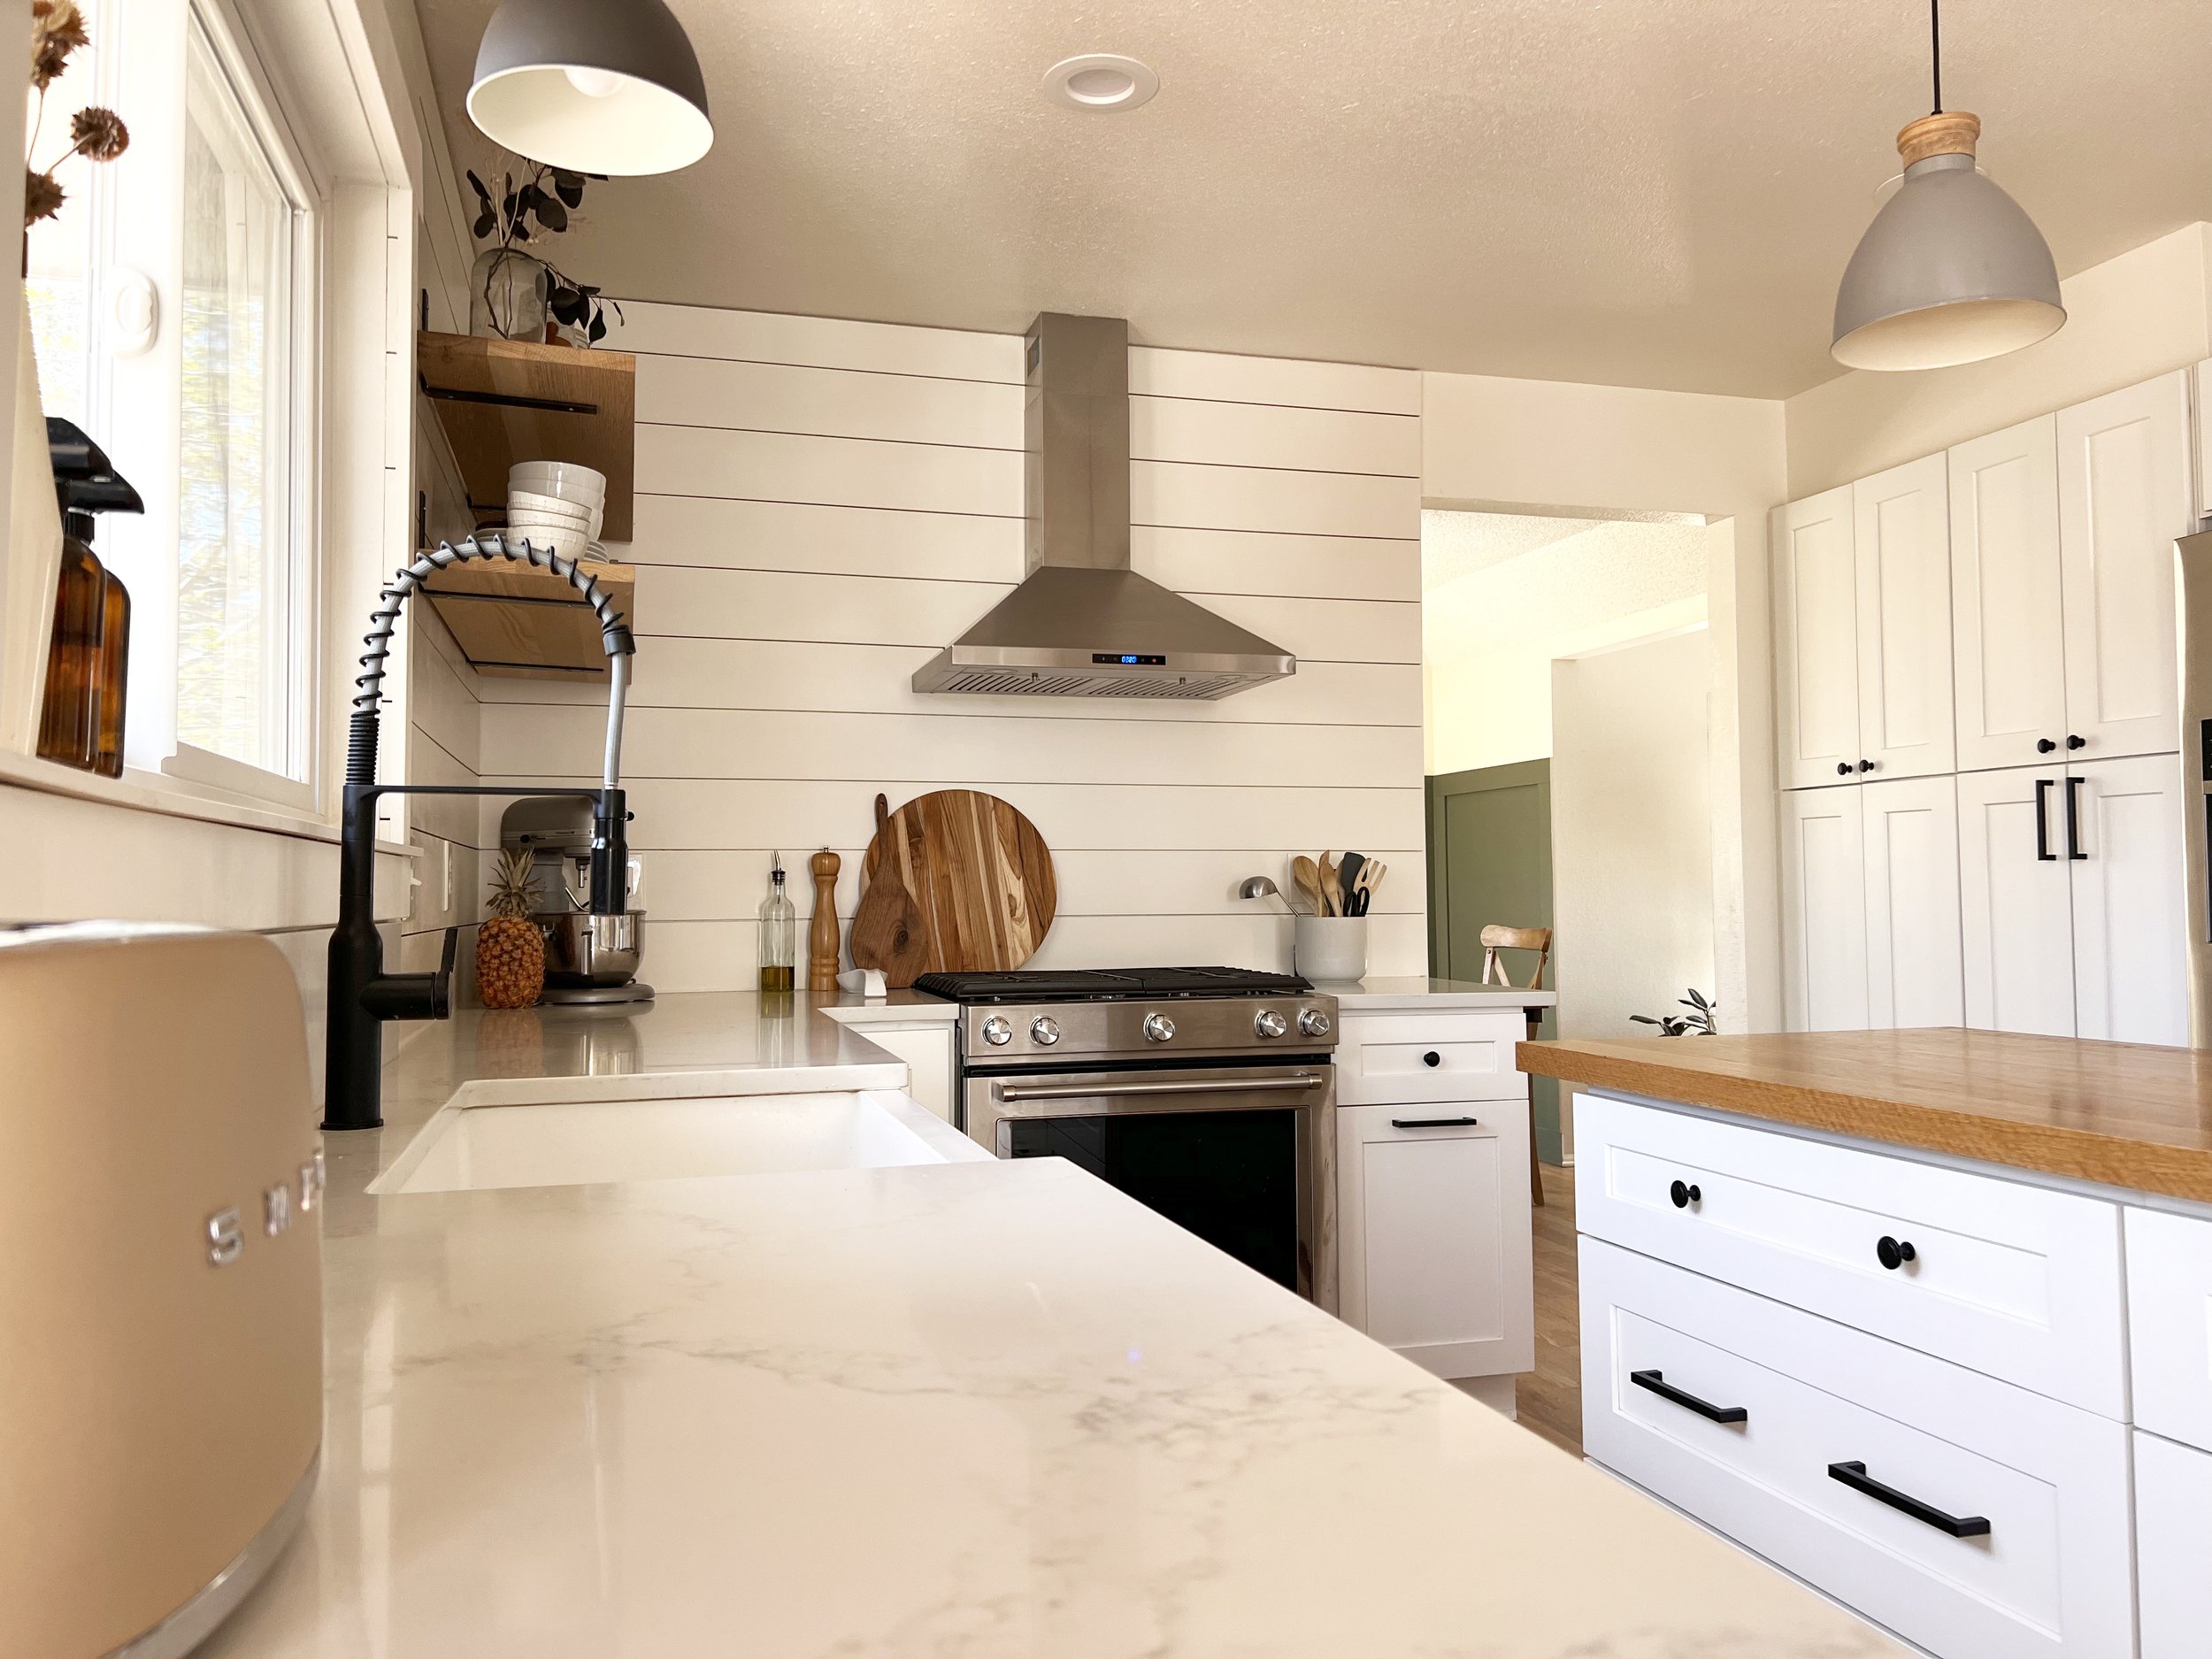
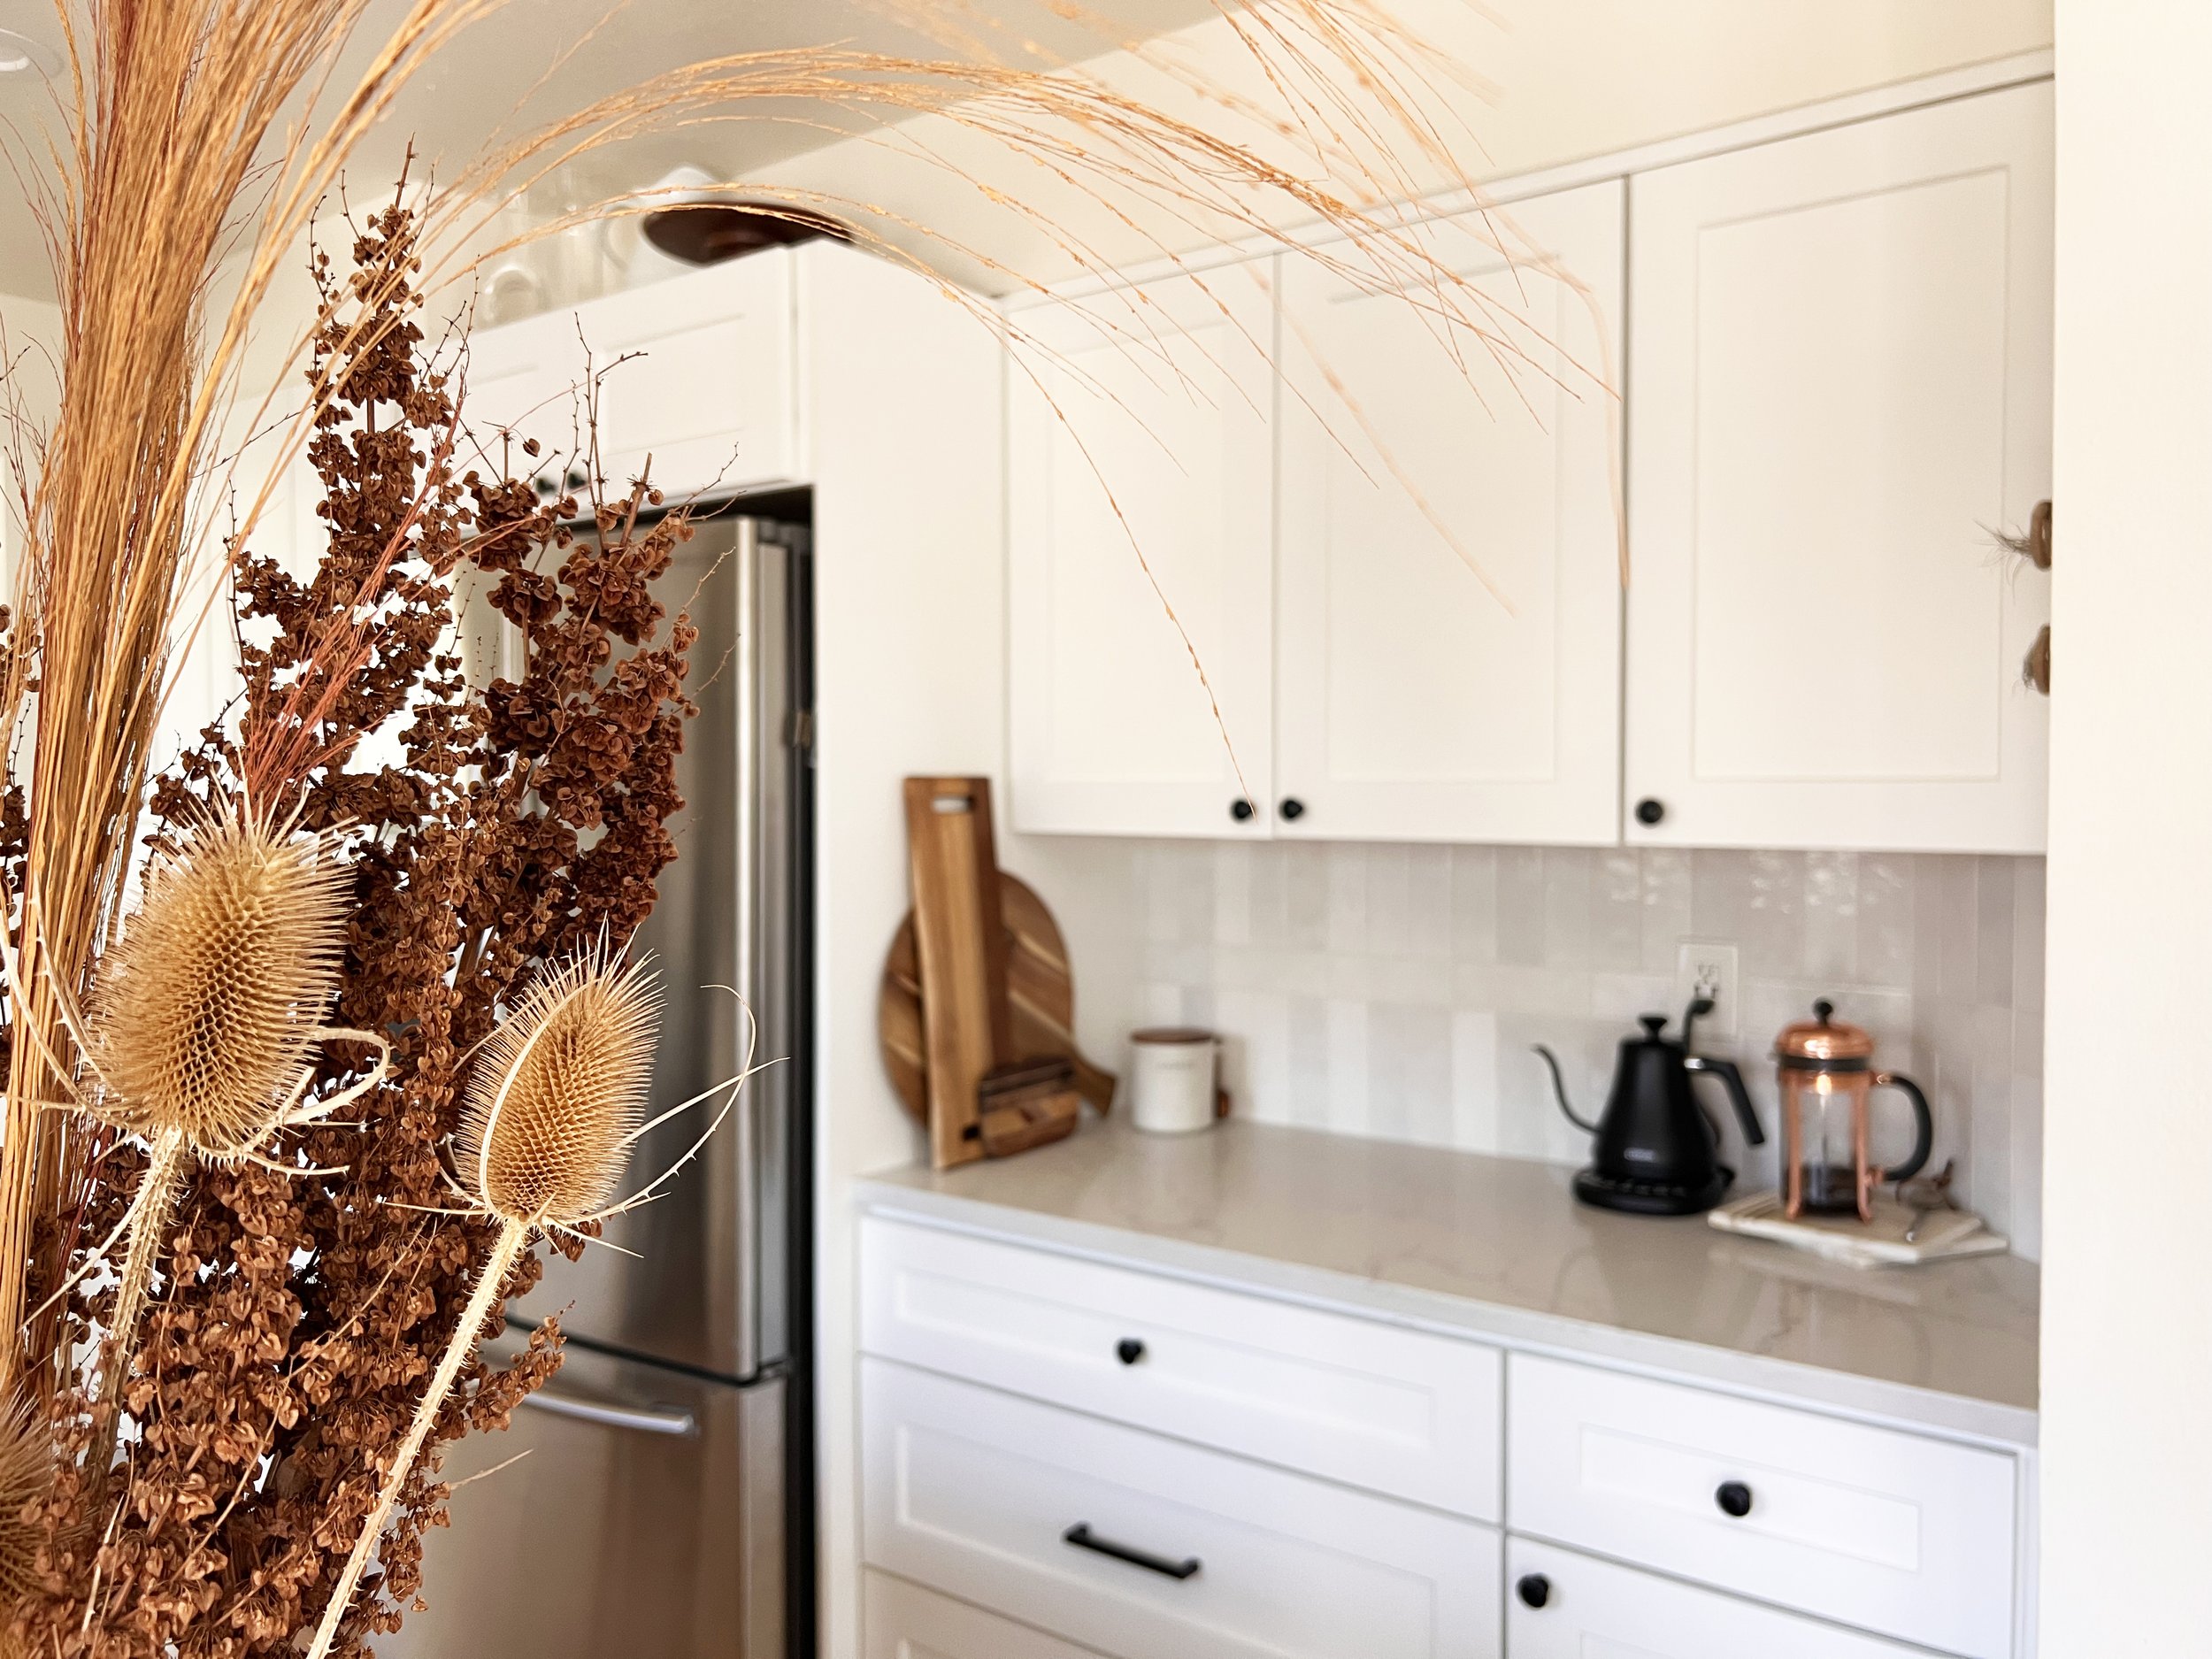
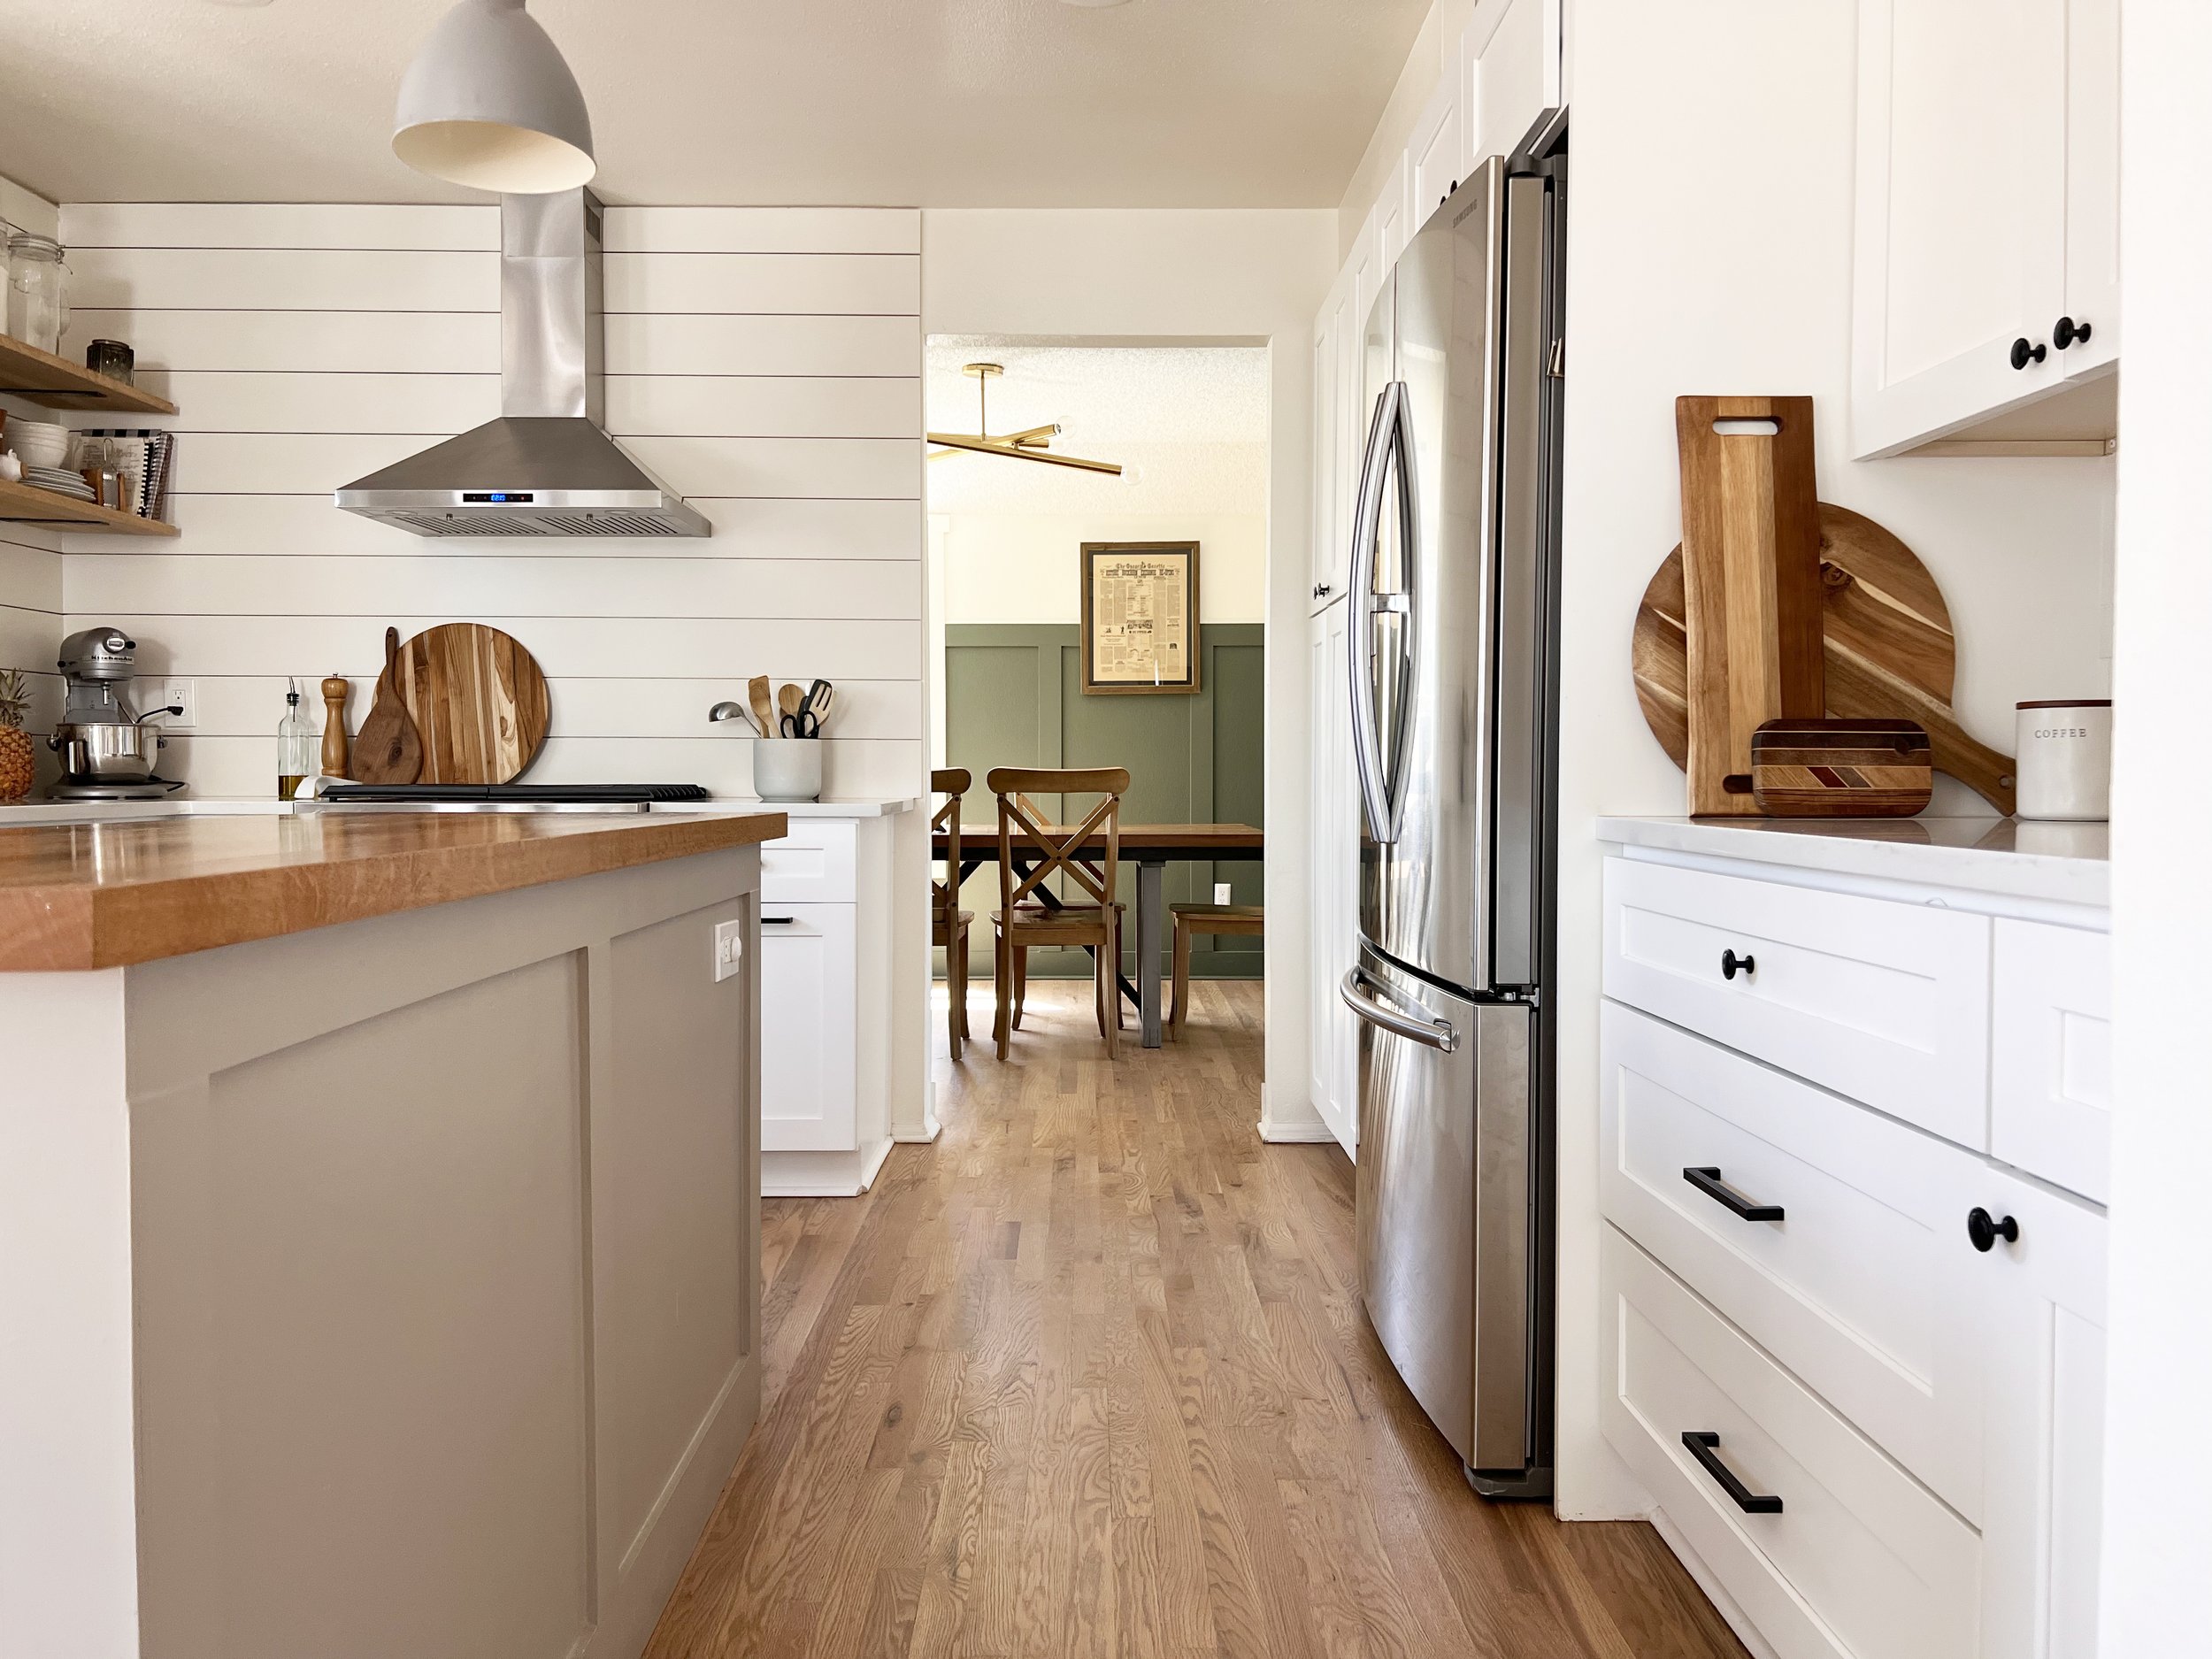
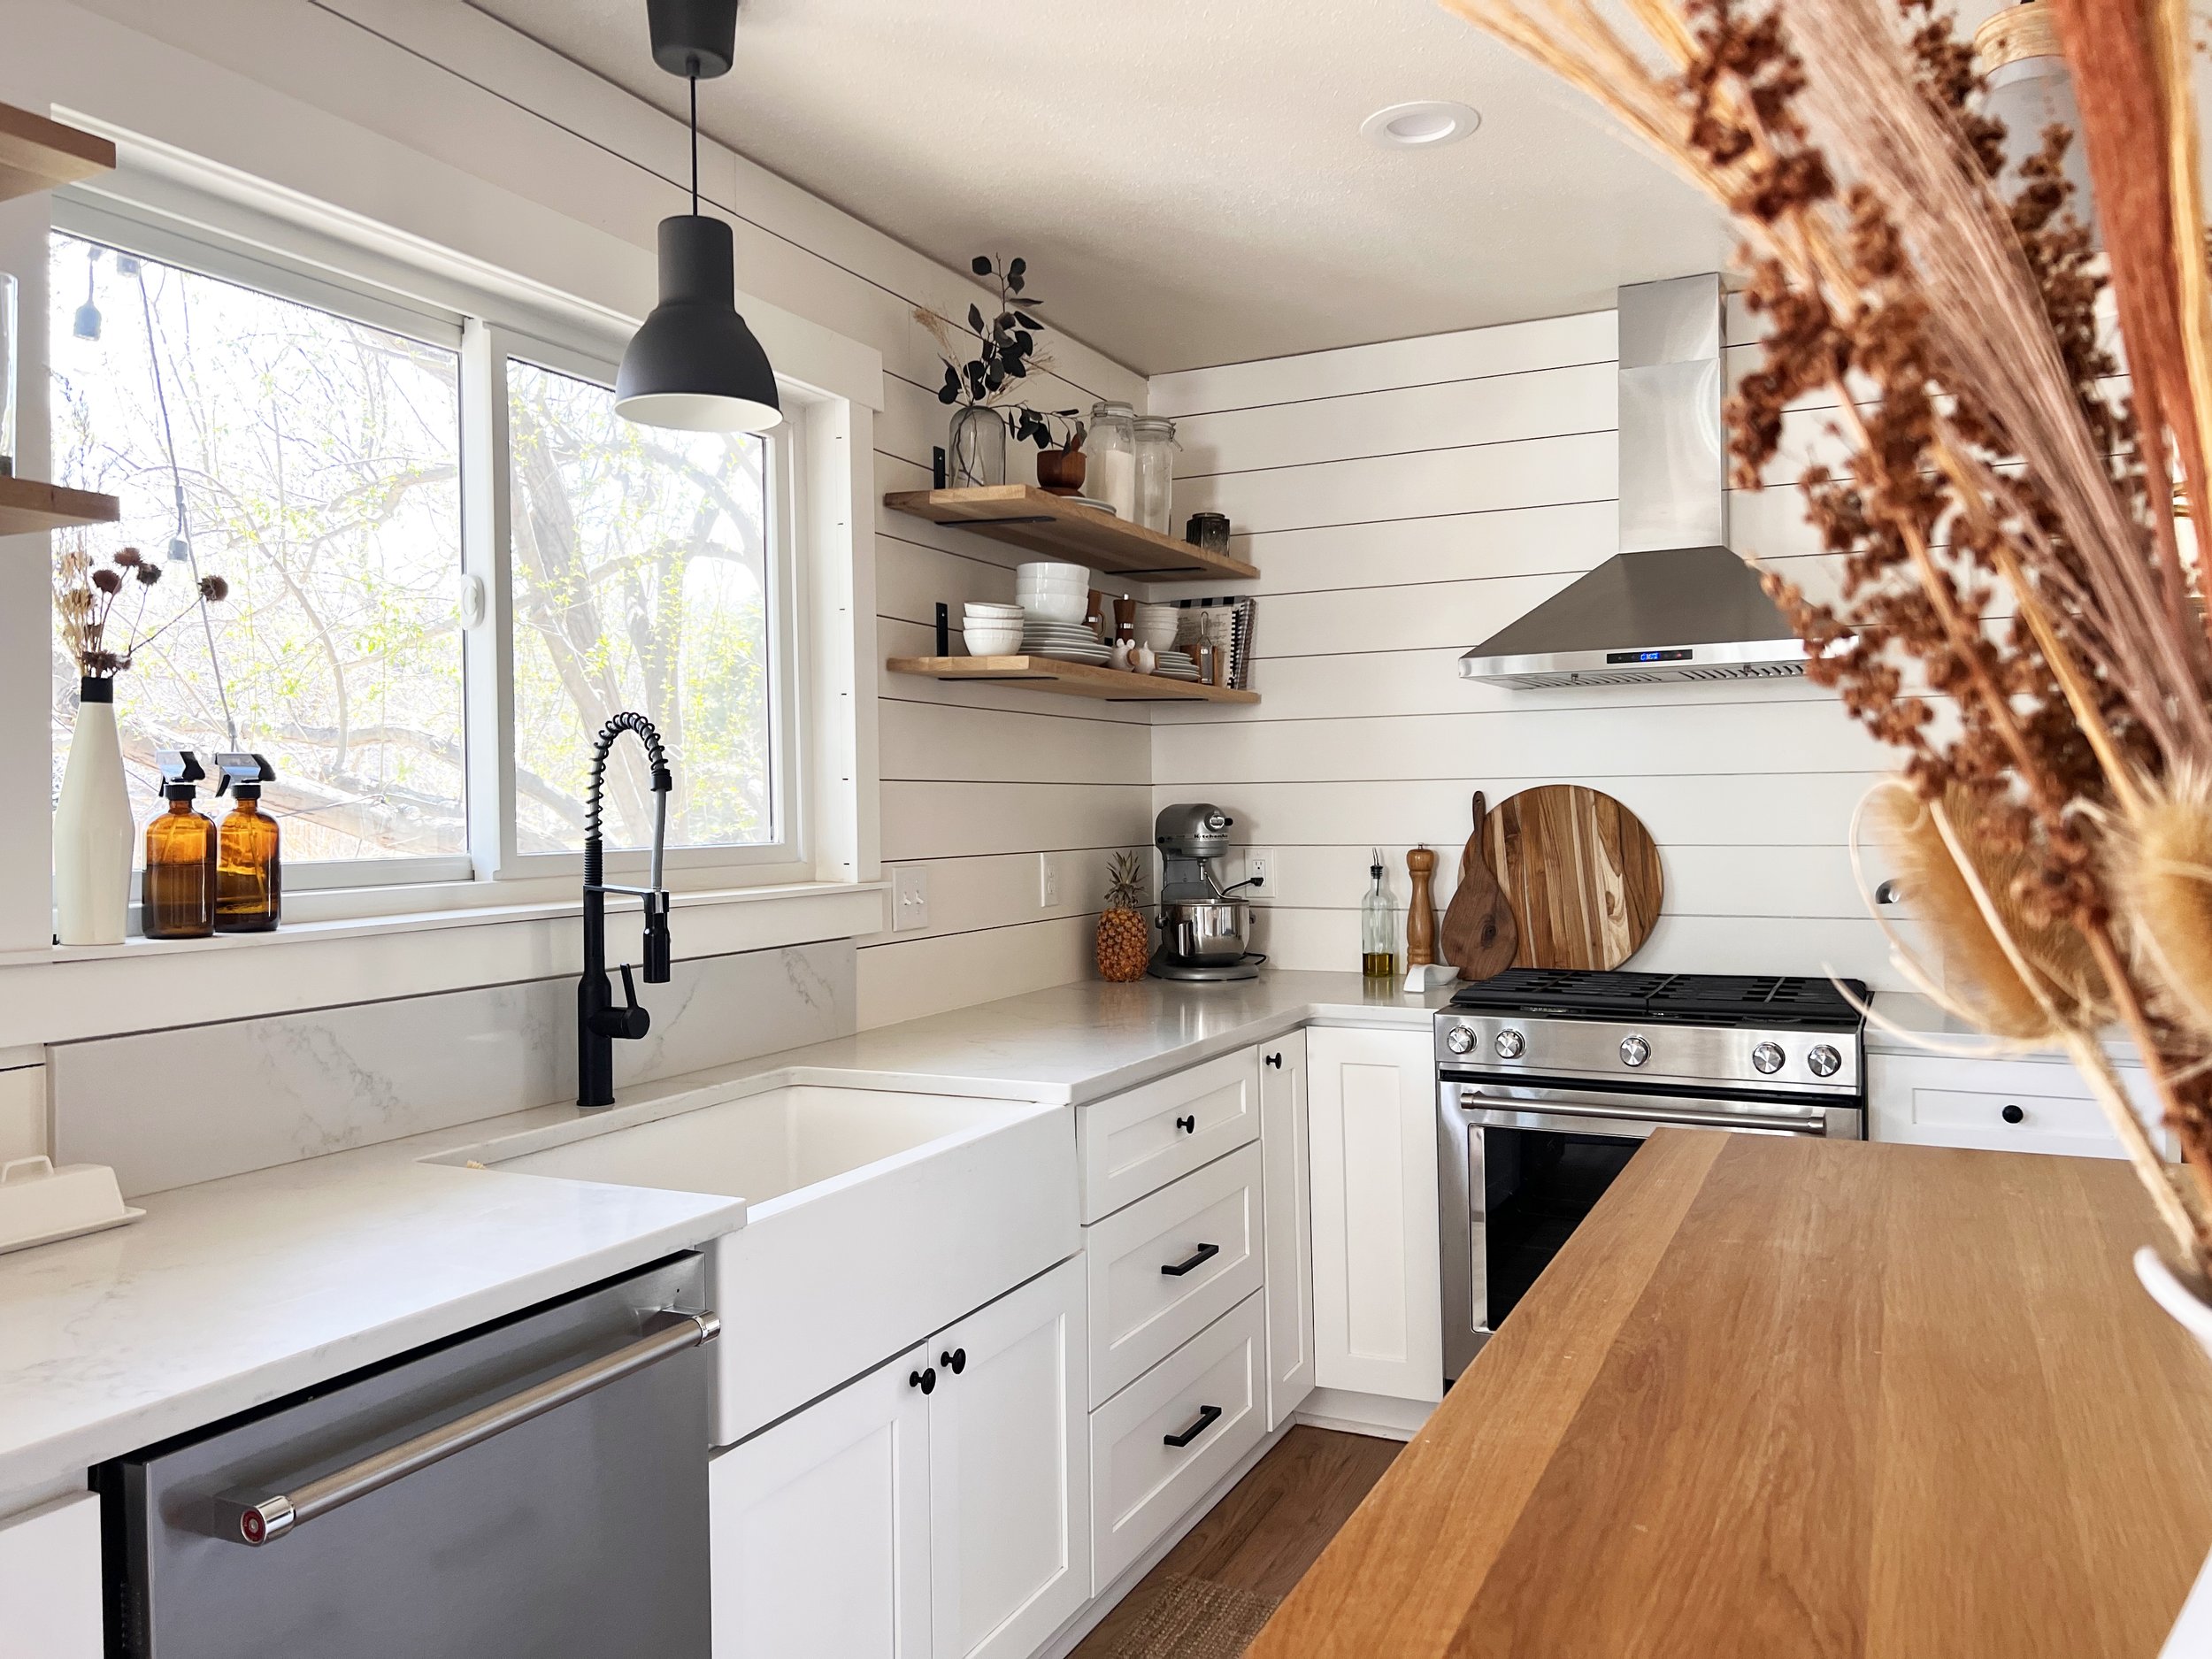
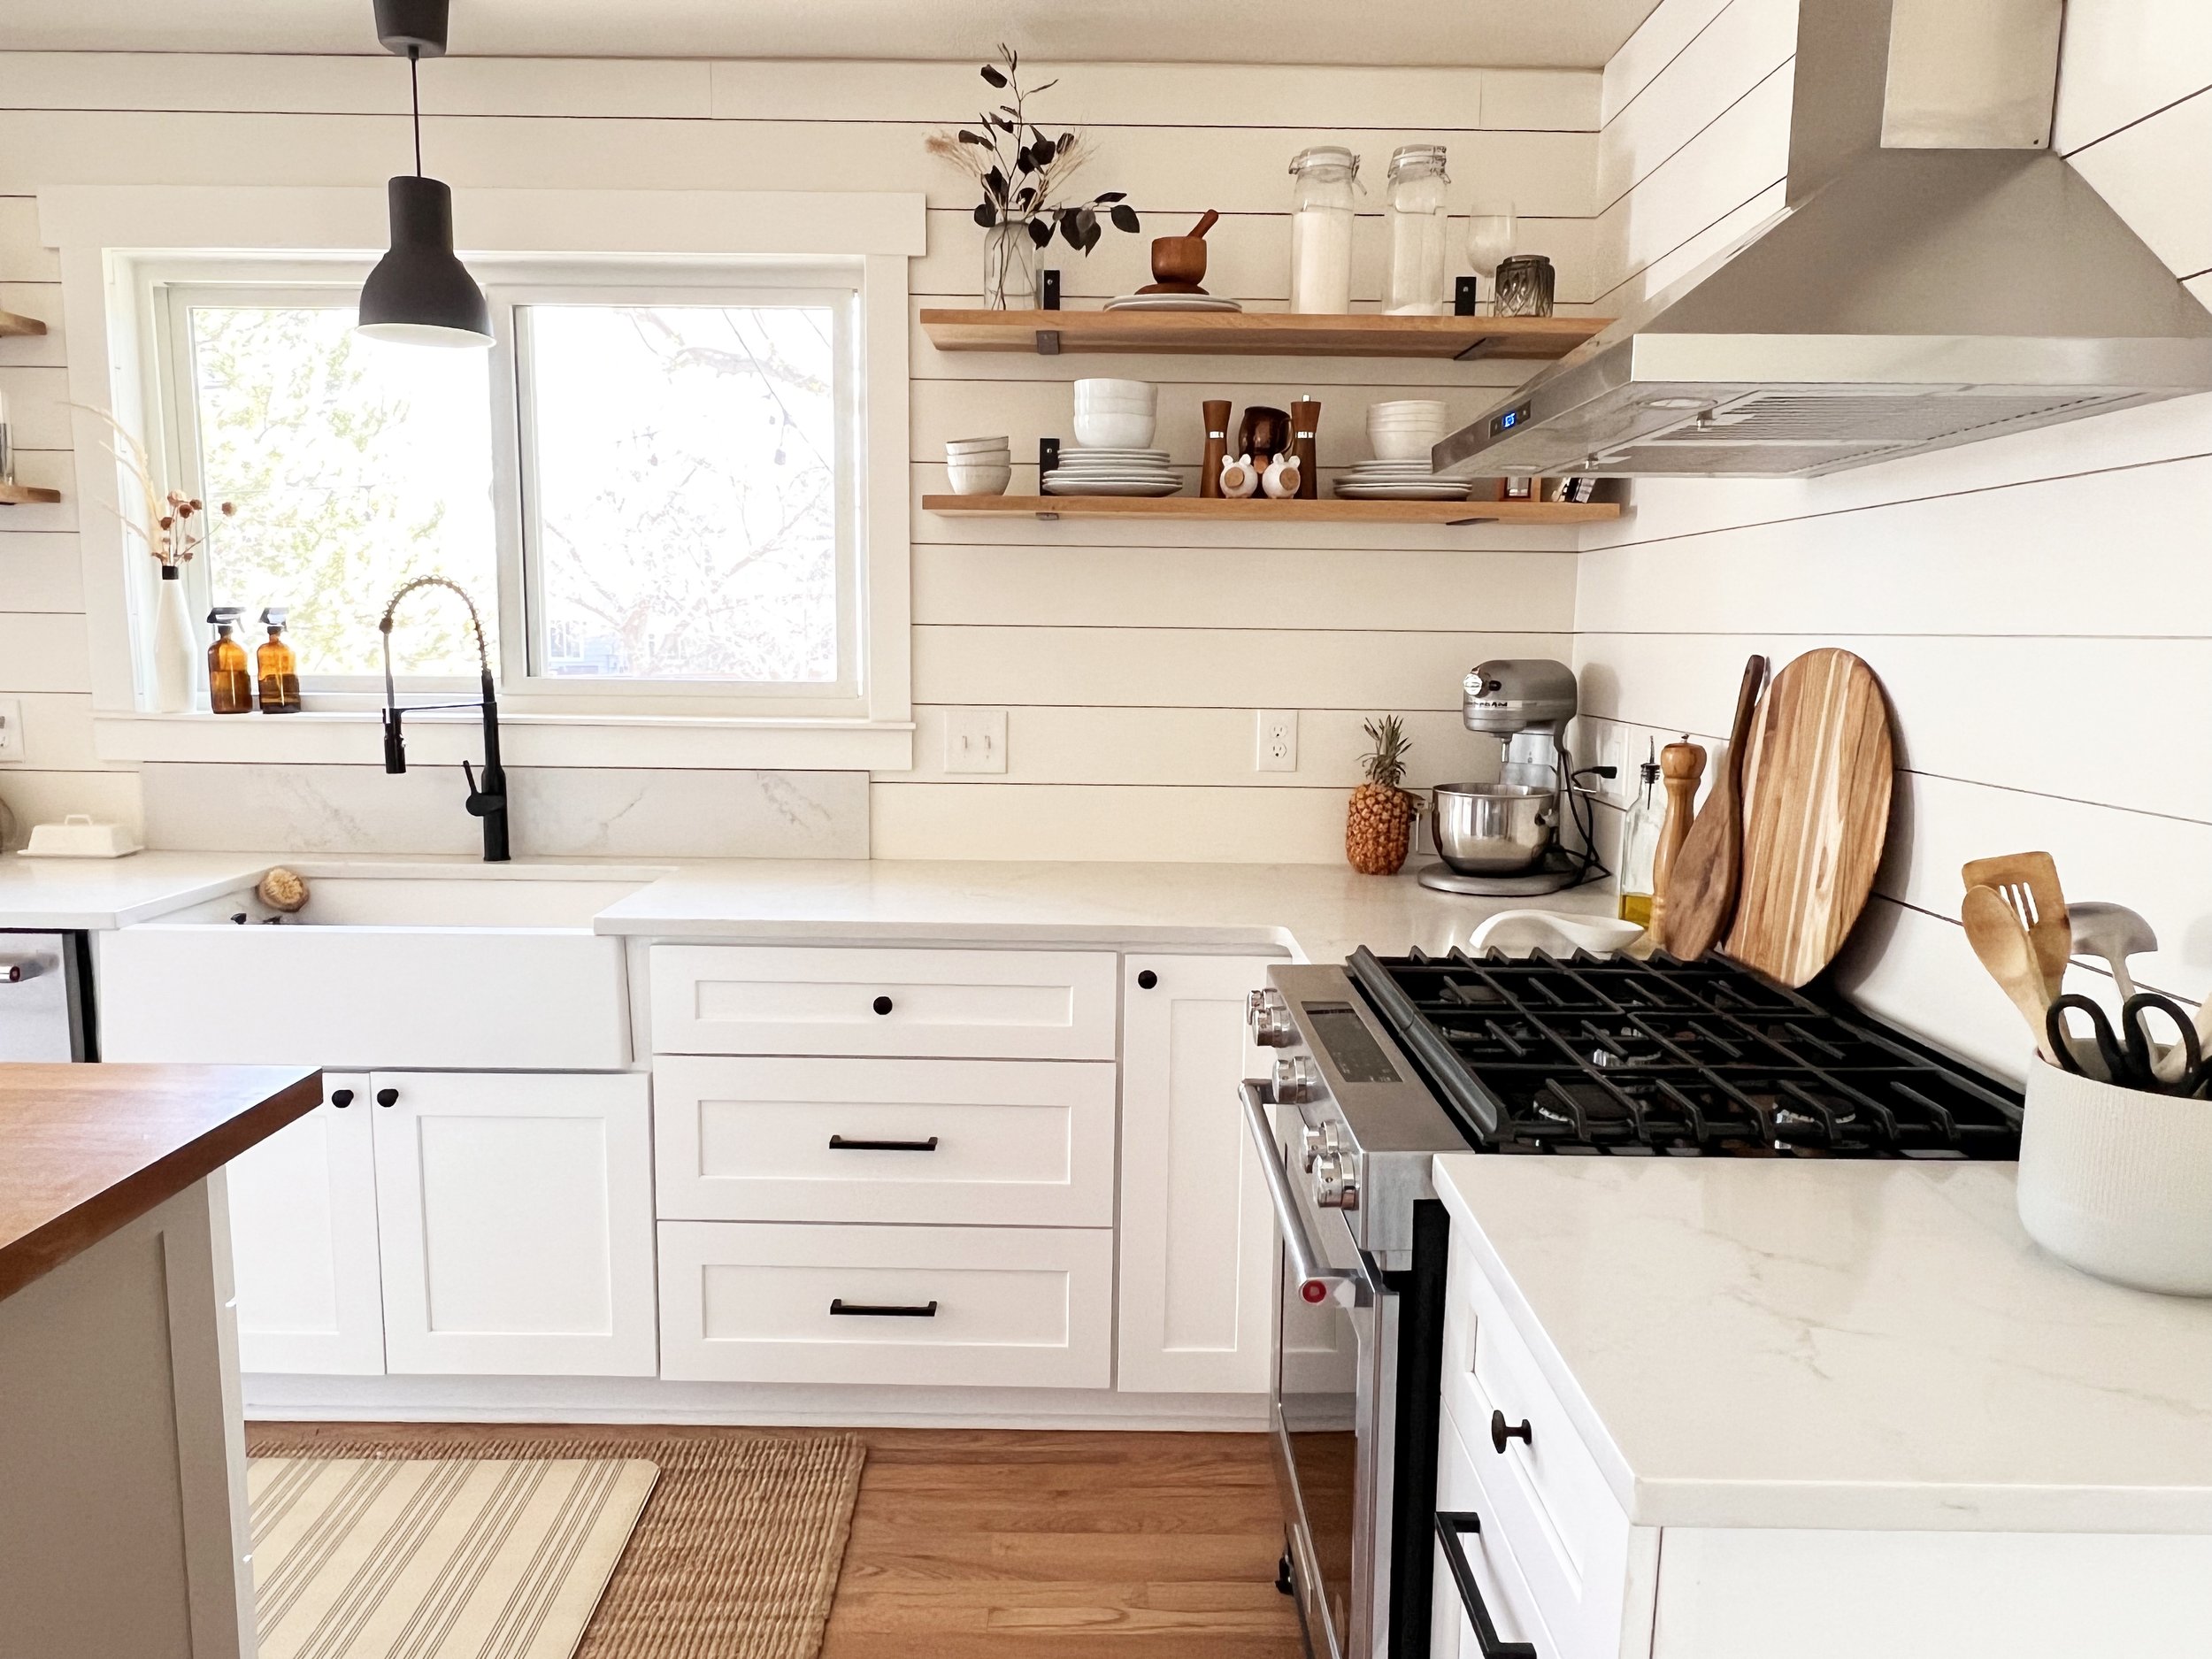
(Everything you see, we bought with our own money – nothing was sponsored or gifted). This post contains affiliate links, so we may earn a small commission when you make a purchase through links on our site at no additional cost to you.
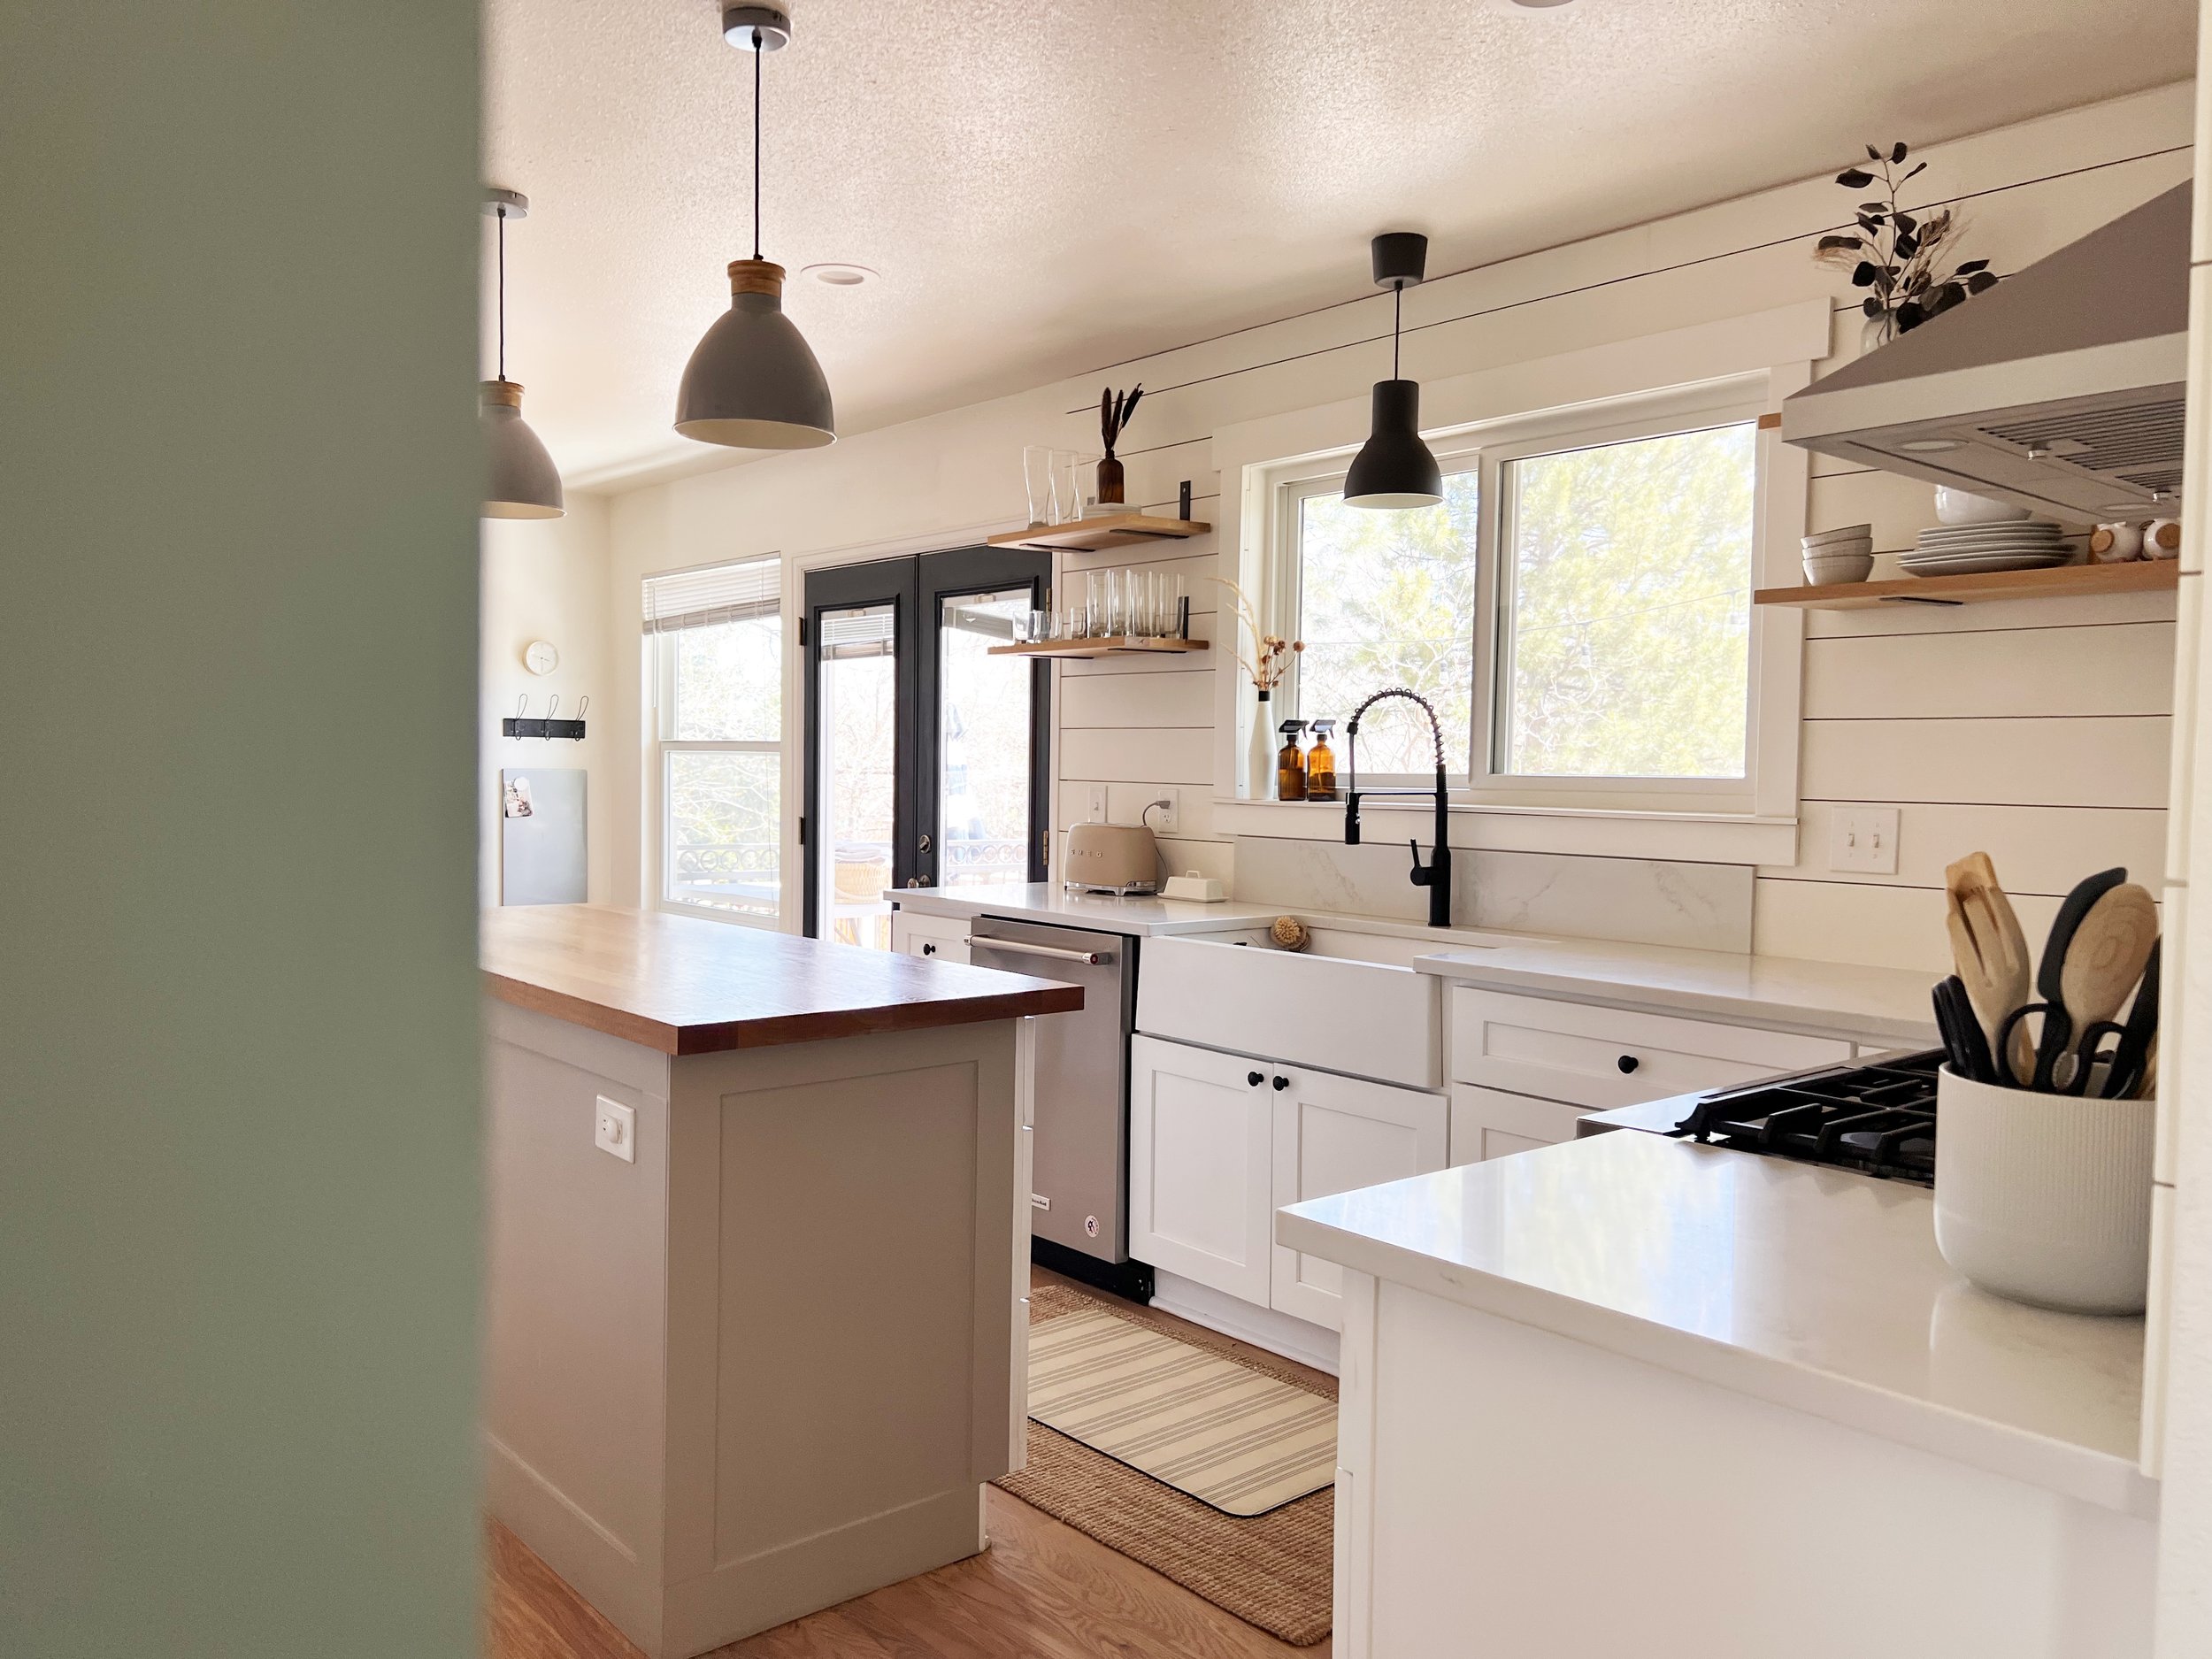
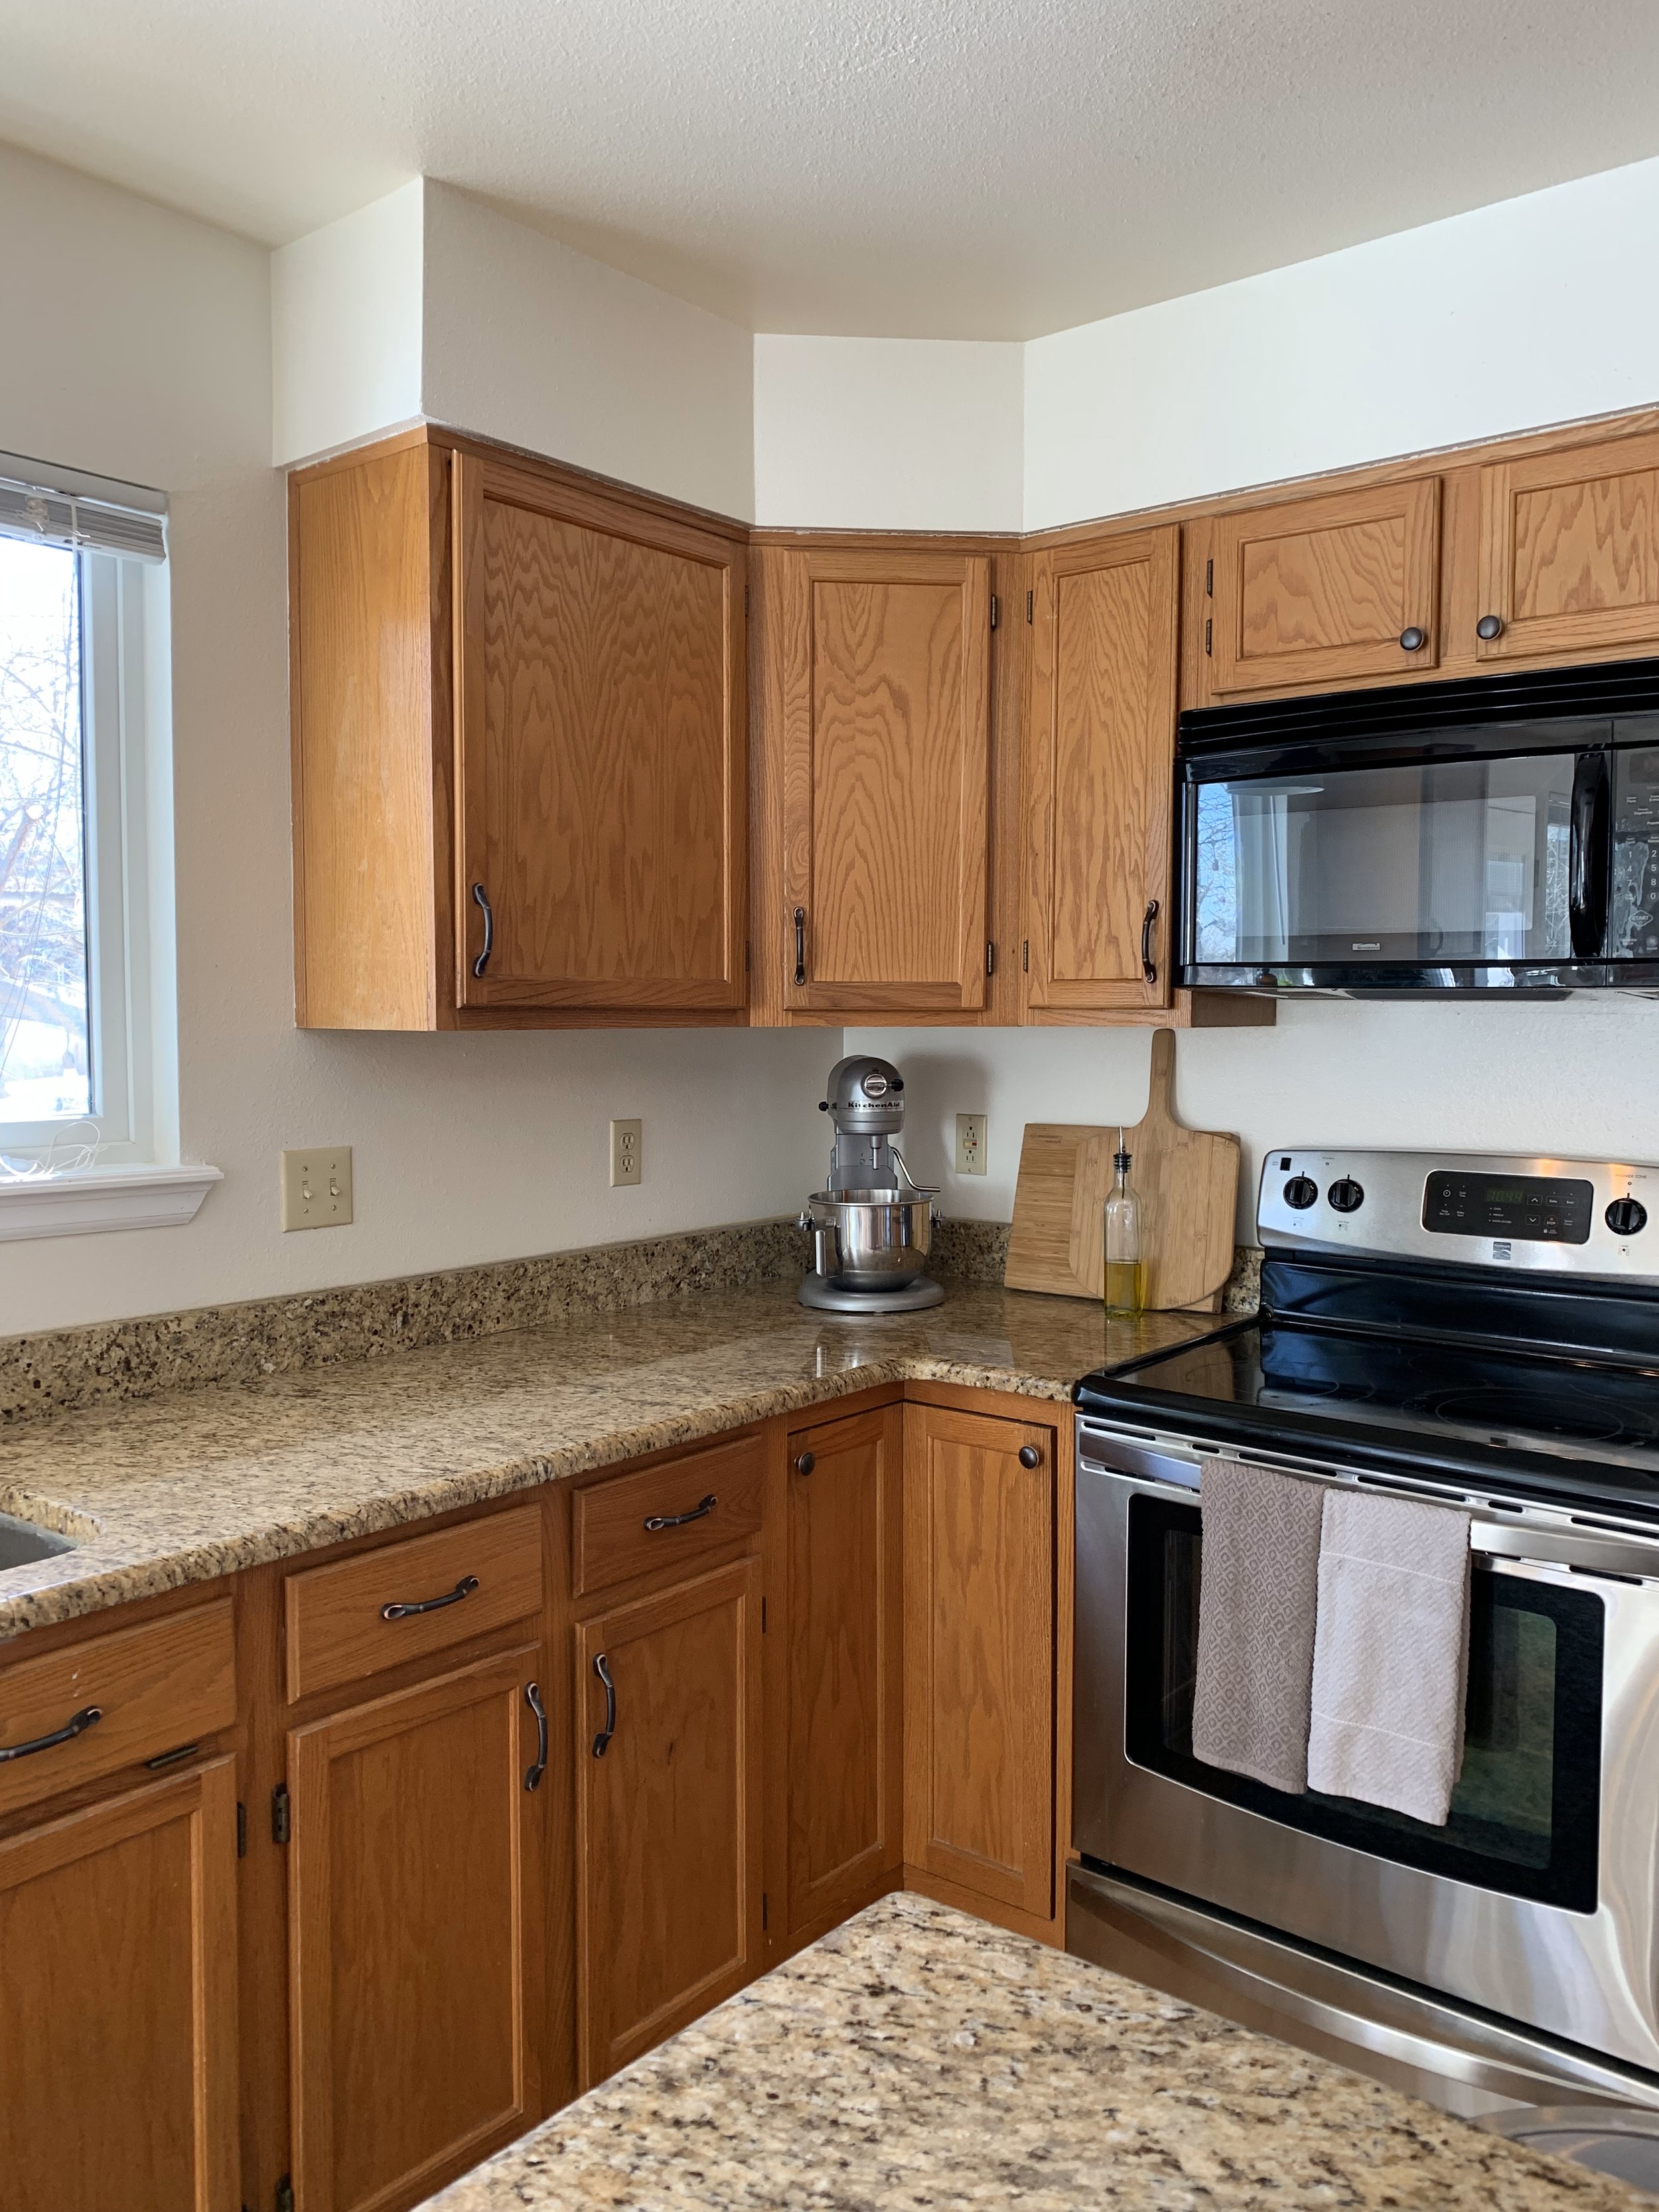
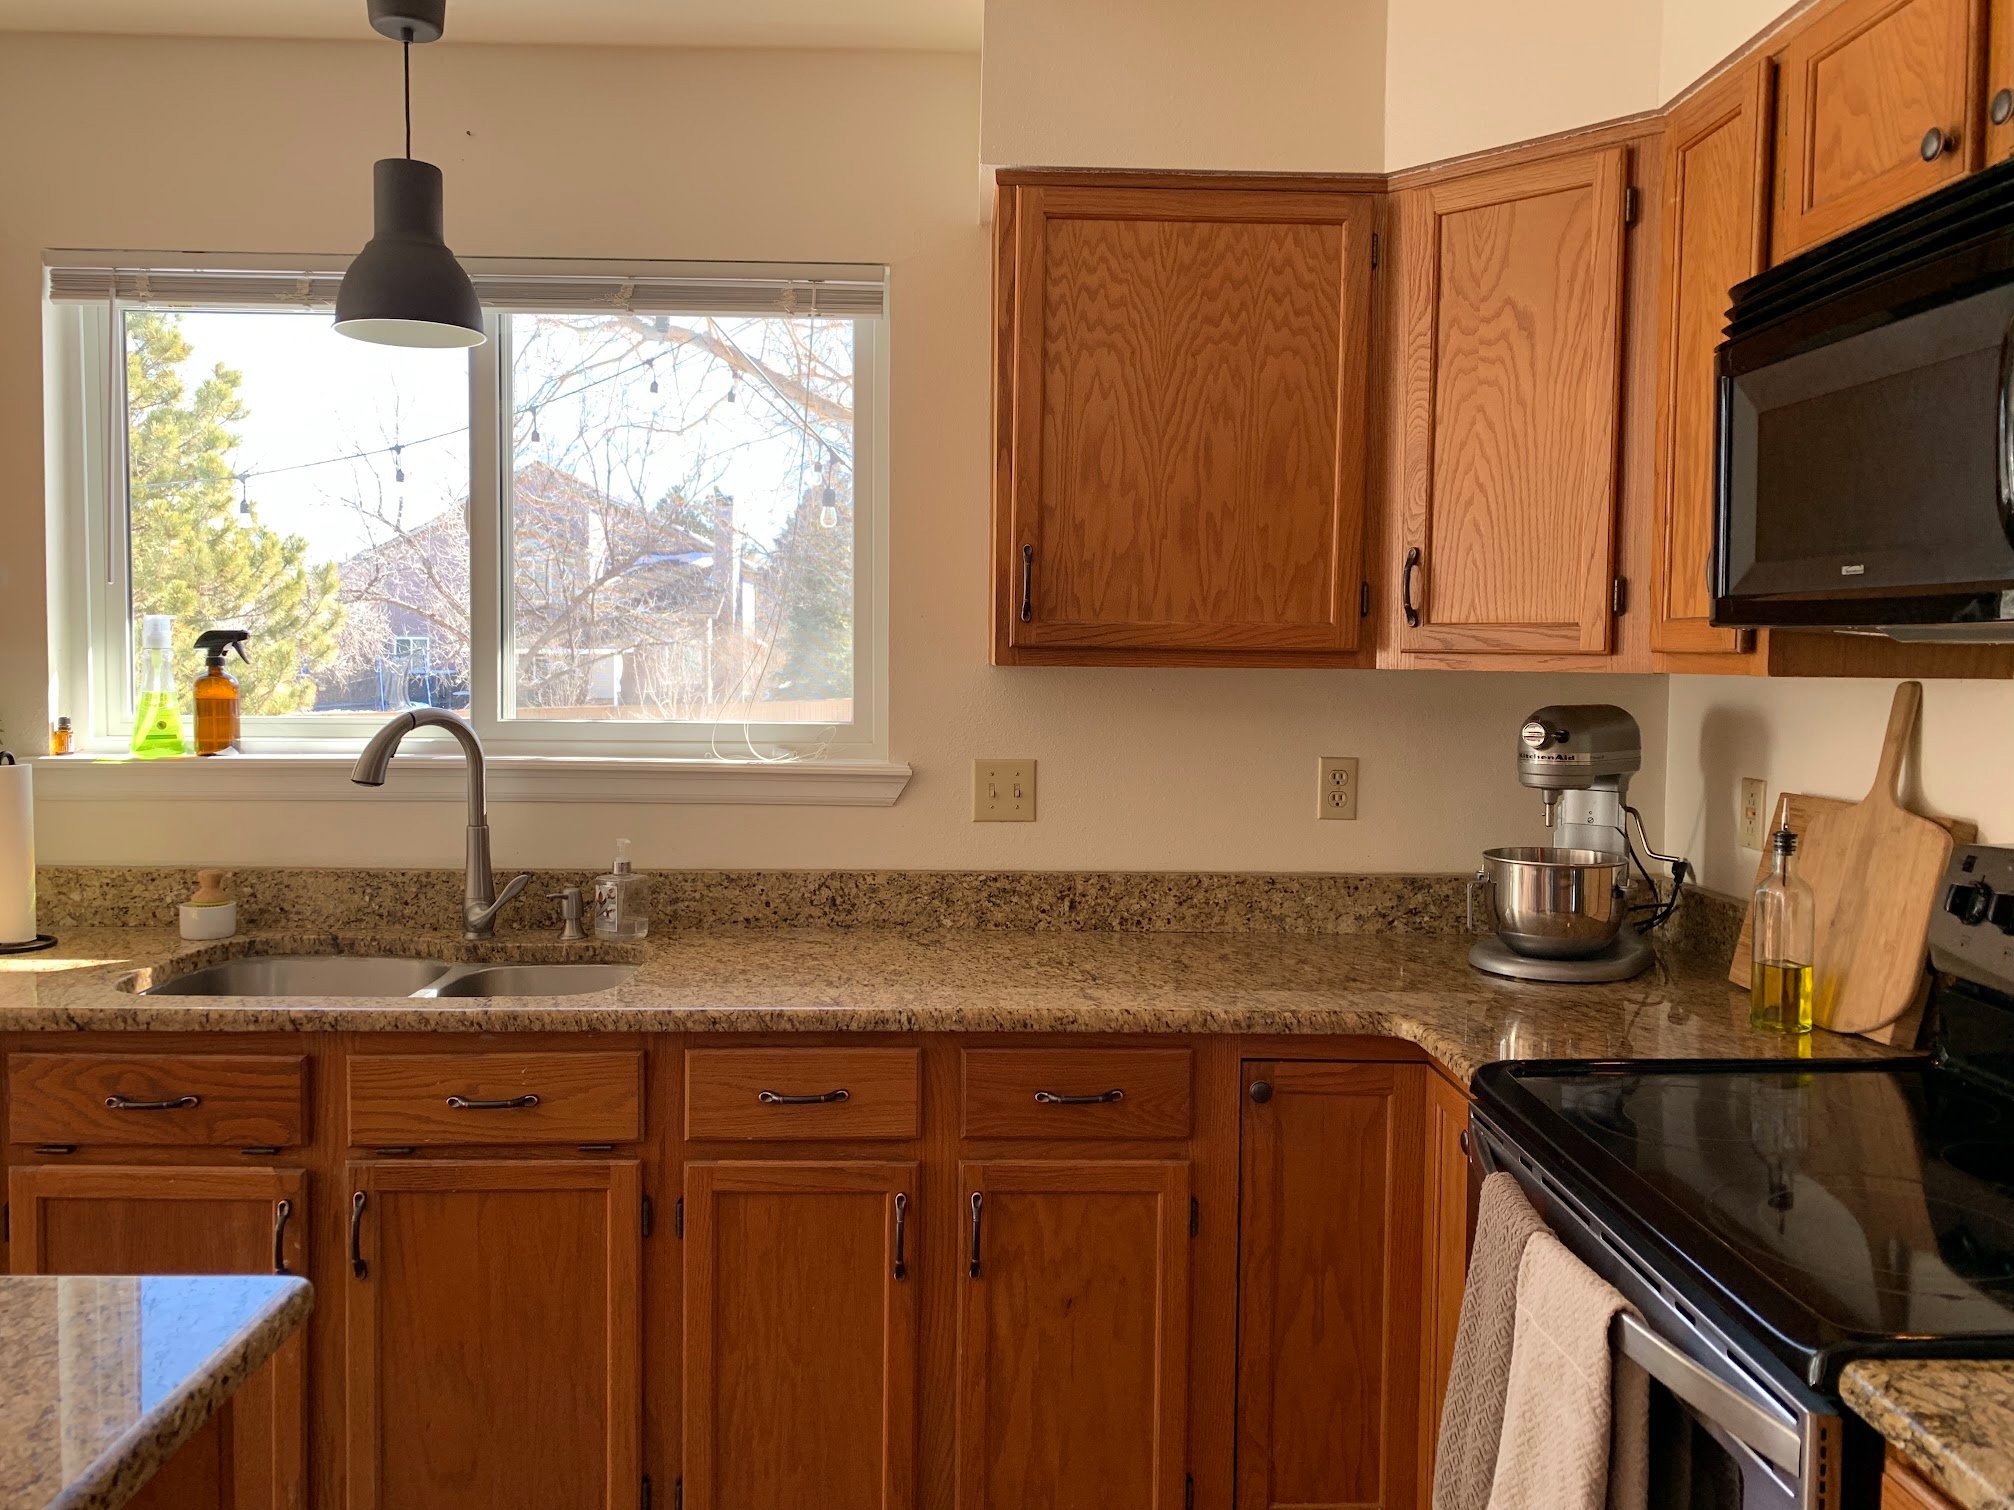
Our home was built in 1988. So its kind of cute that it is just about the same age as my husband and I. But what was not cute was the original cheap oak cabinet kitchen with that classic, busy black and brown granite upgrade. I truly hope that I am aging more gracefully than those kitchens did! While our home was an incredible find for us with its upgrades in places that mattered (windows, a glorious back deck, great landscaping, hardwood floors) we knew the kitchen would be something we would have to budget for. And that’s okay! I love being able to pick exactly what we wanted for our home.
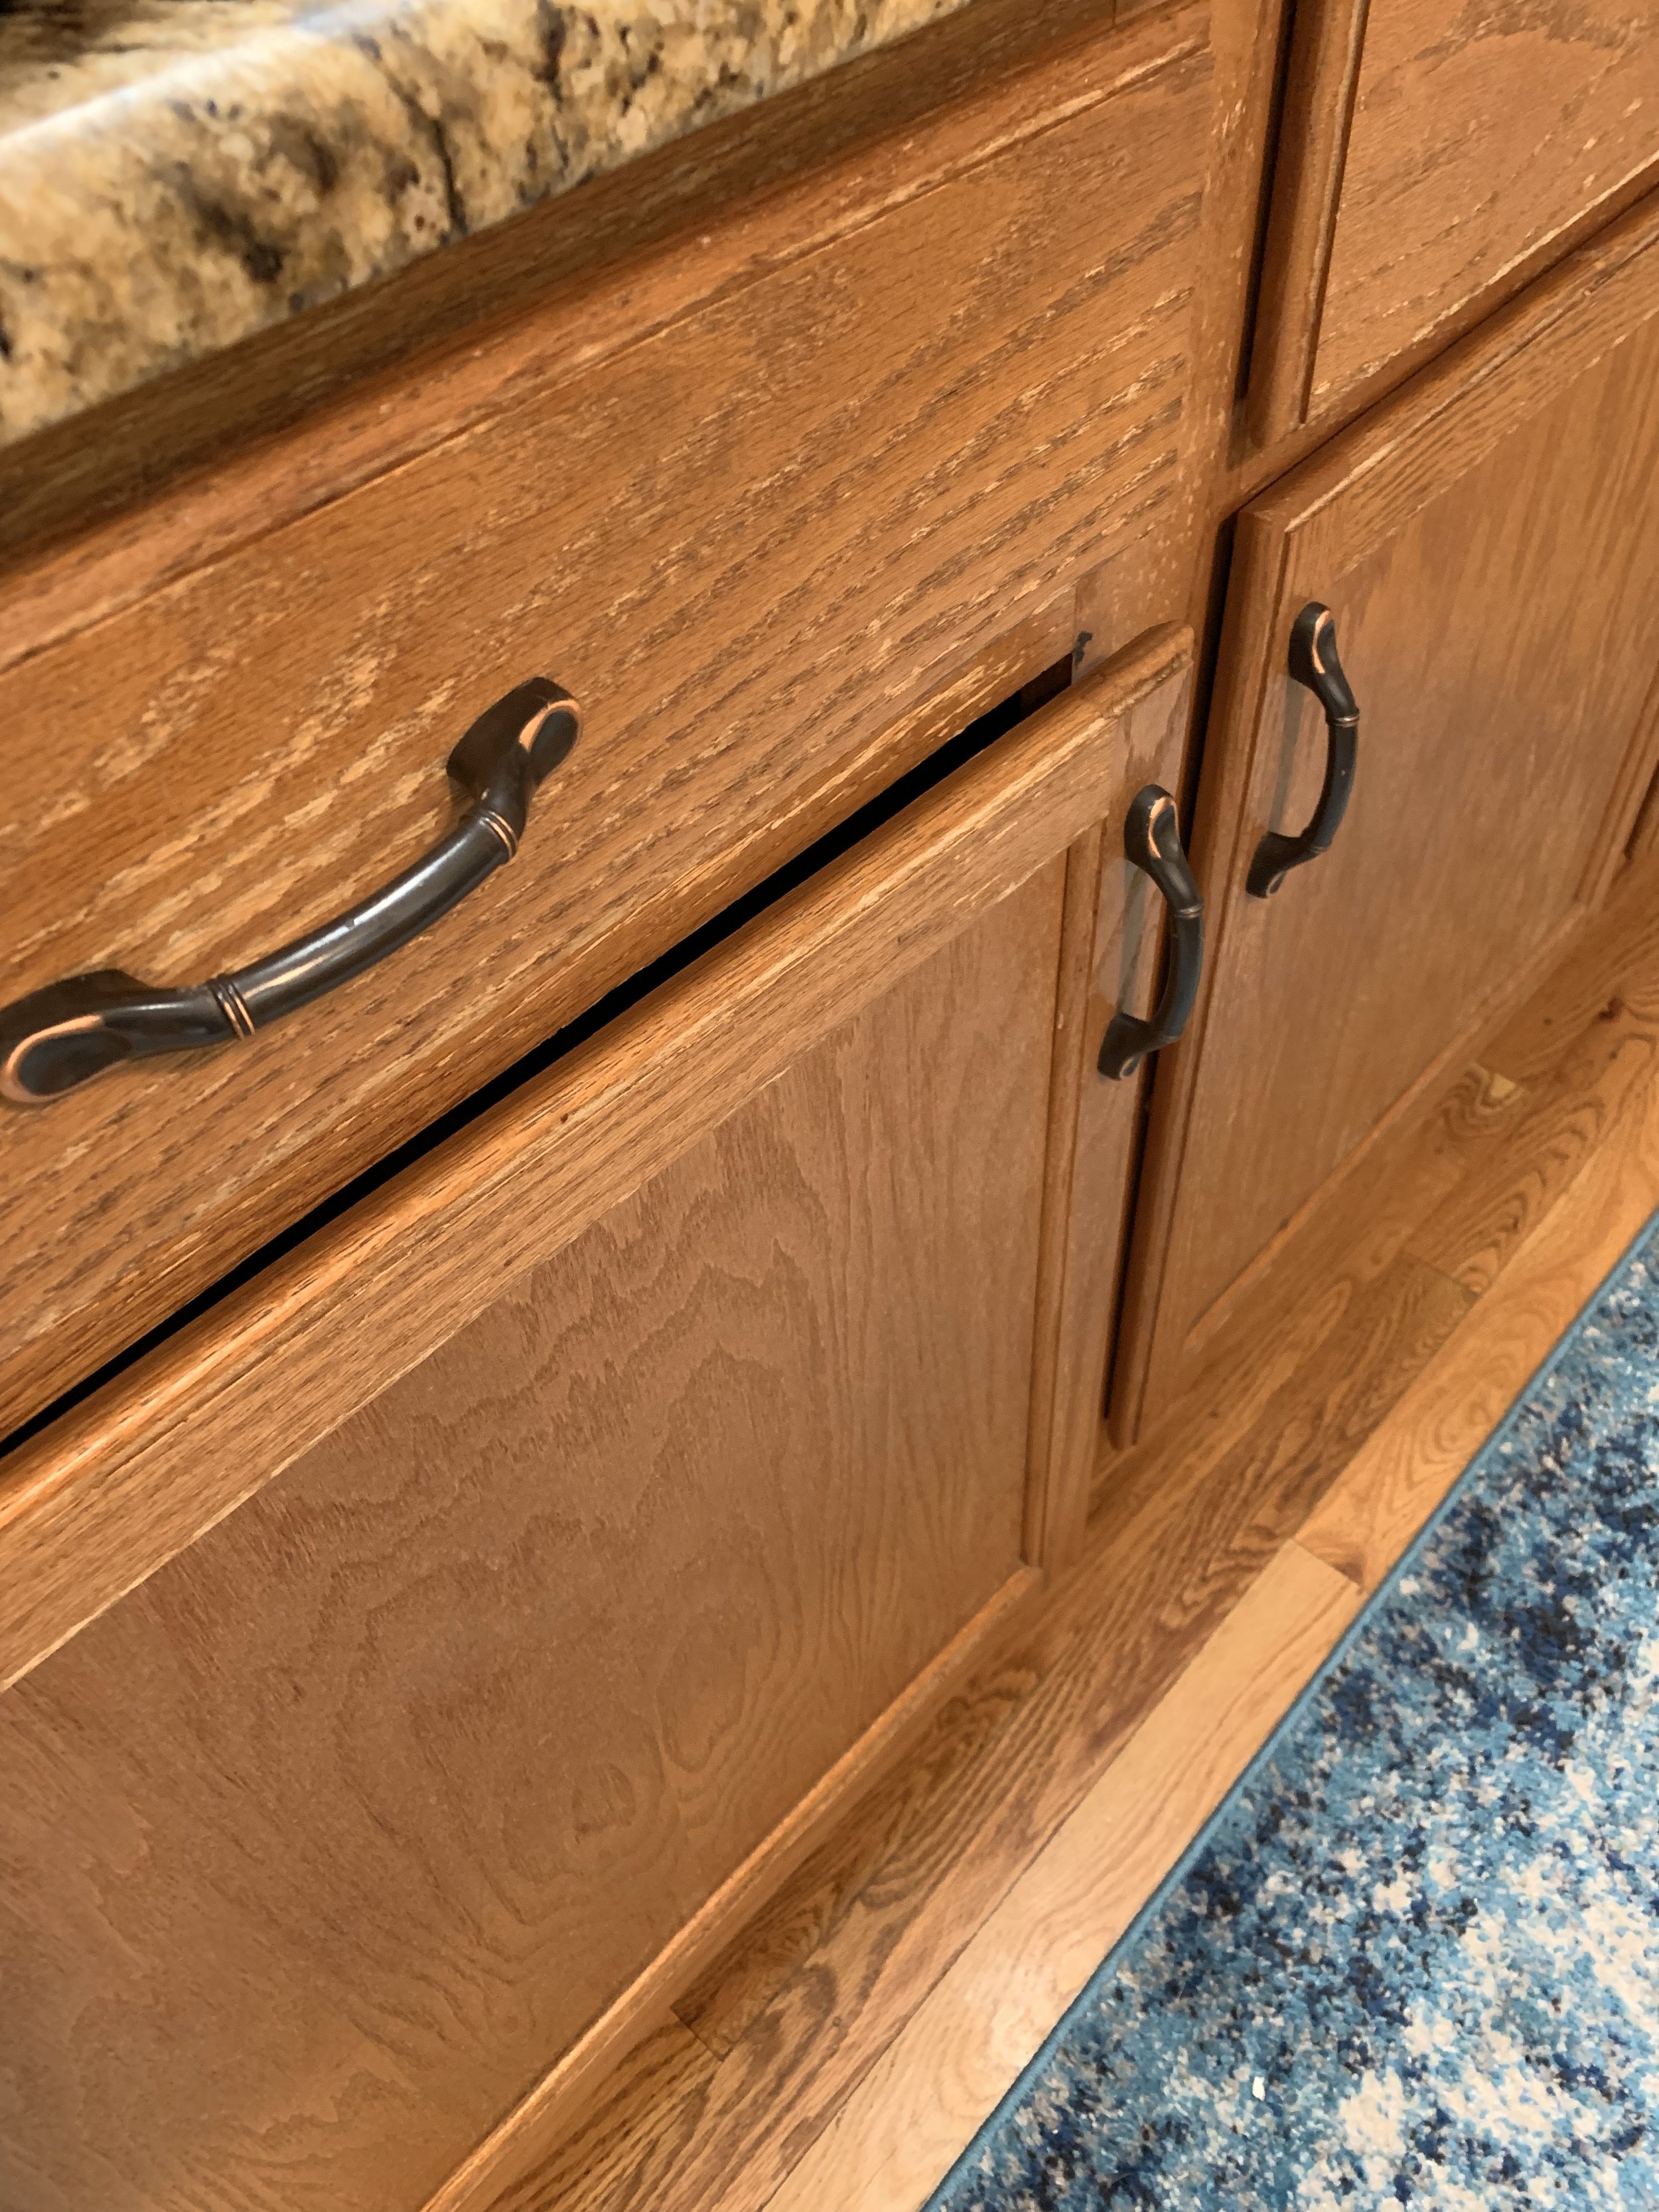
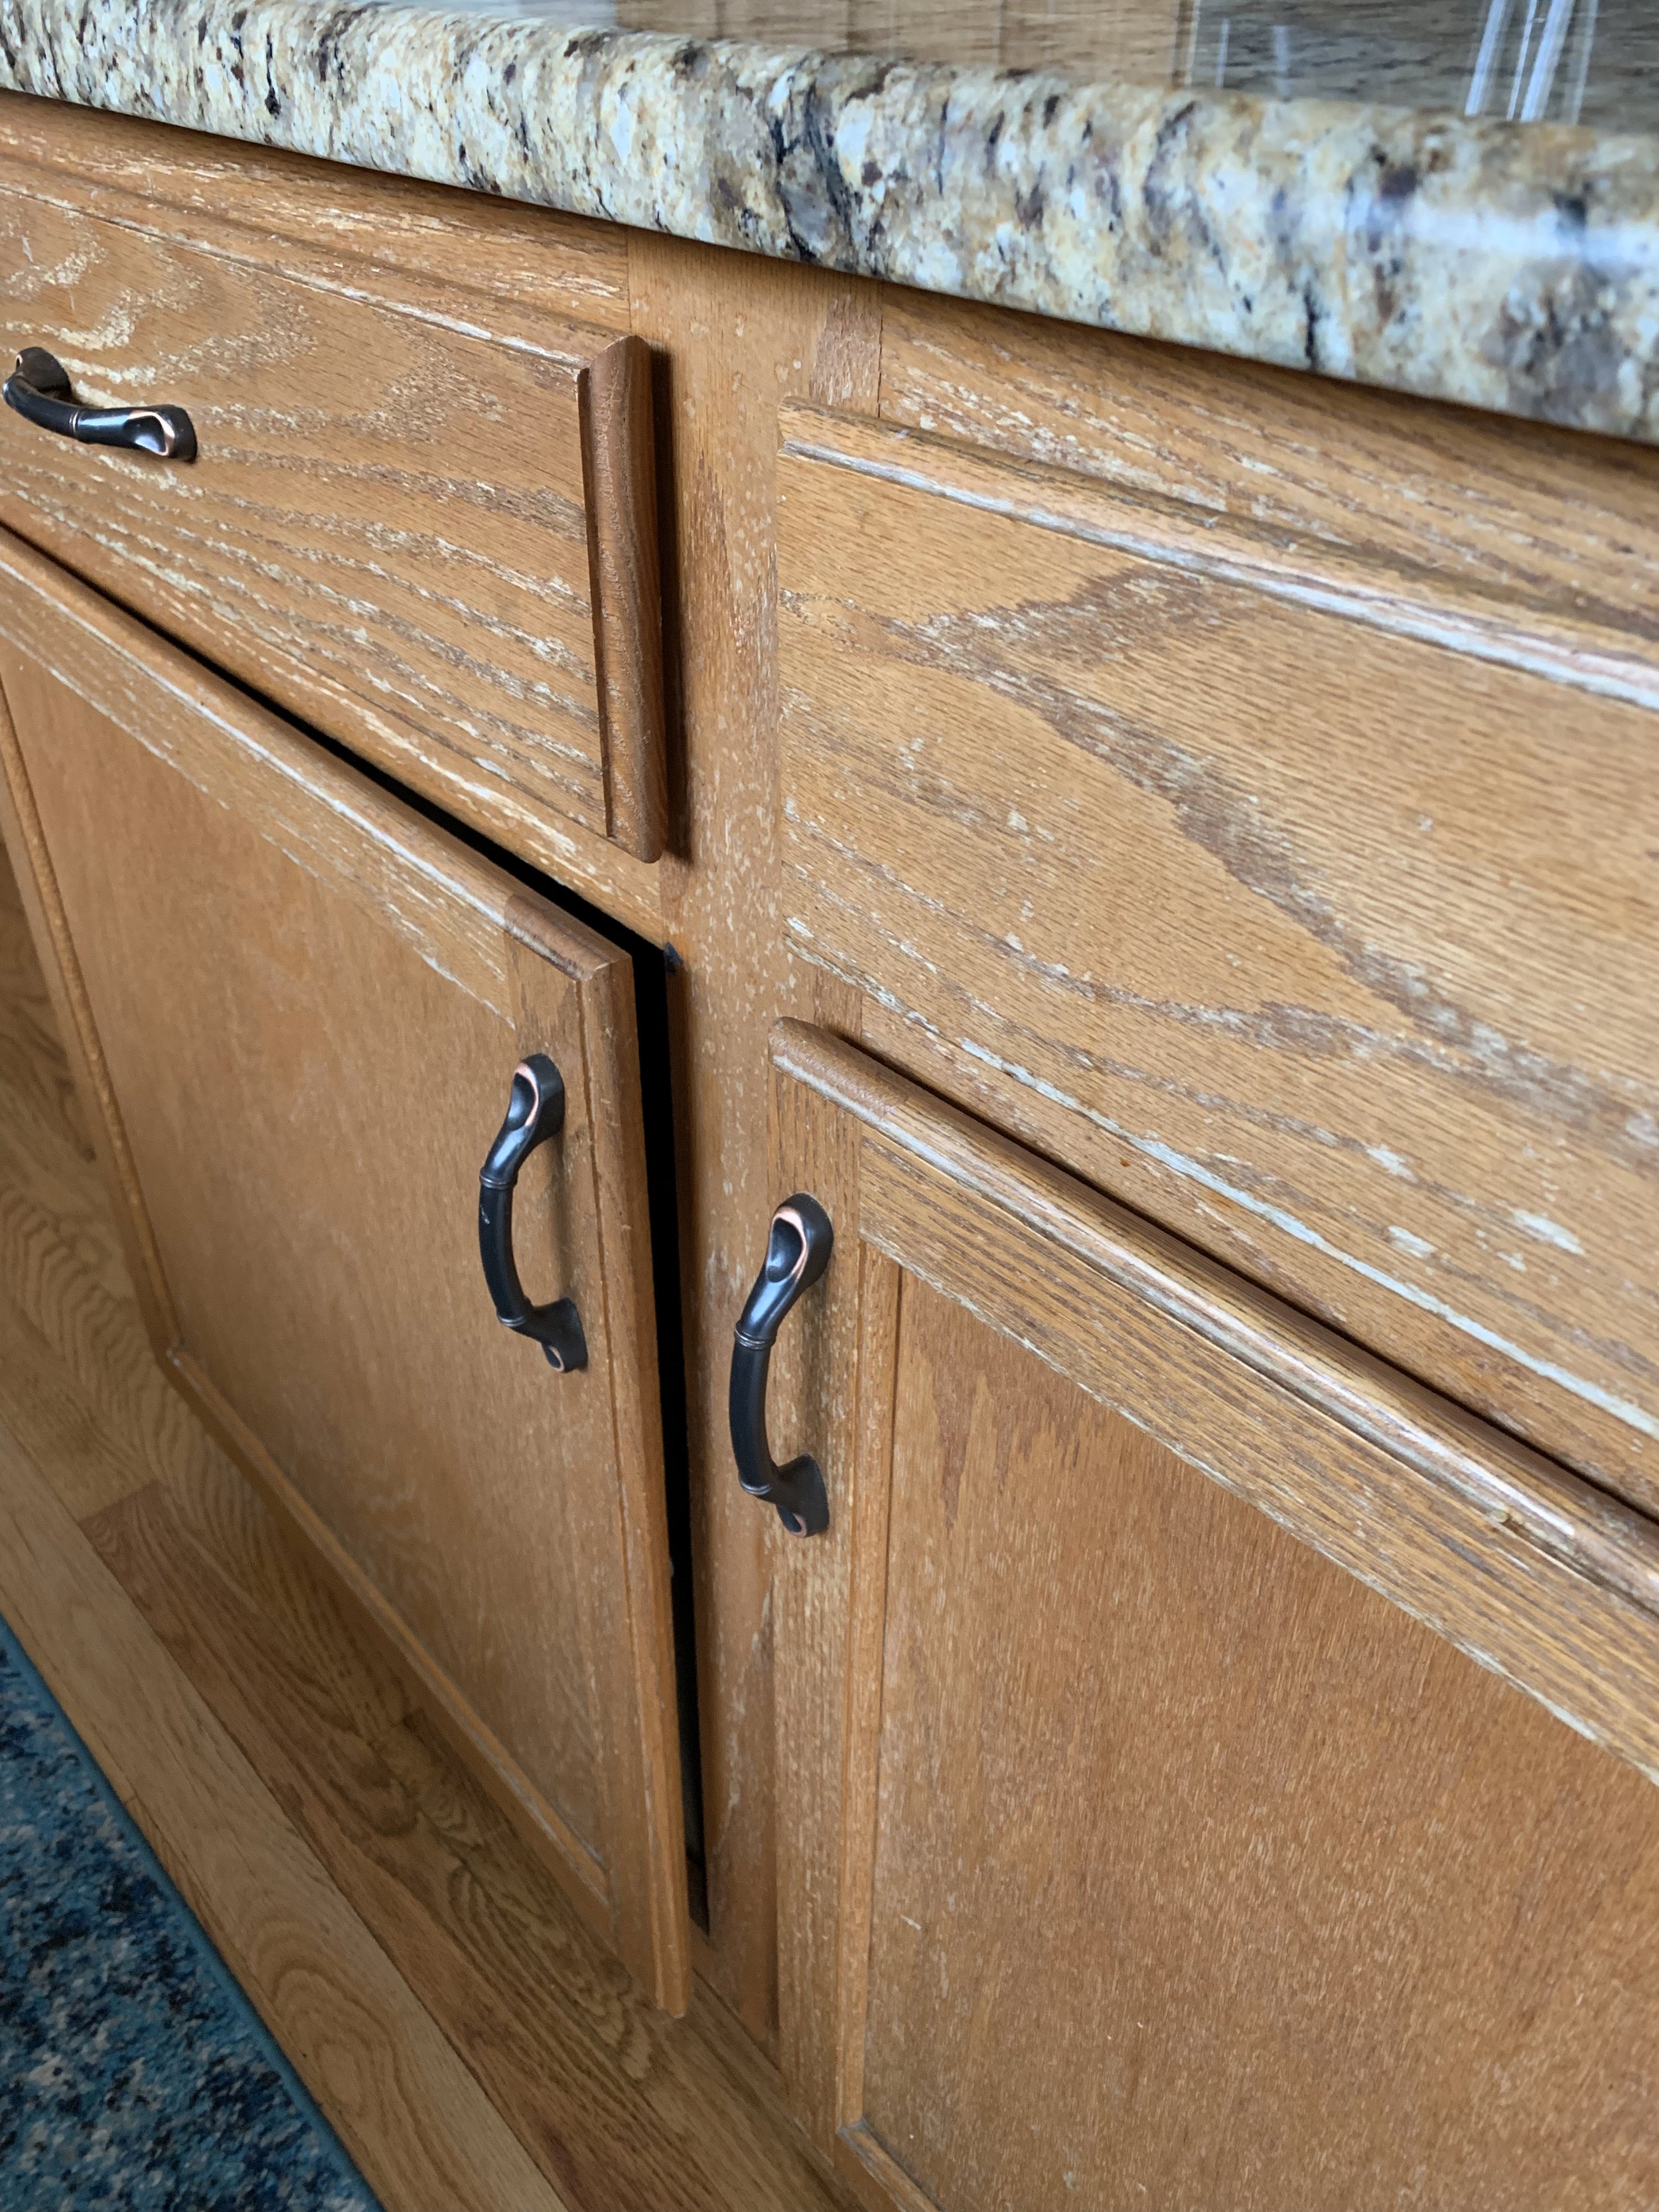
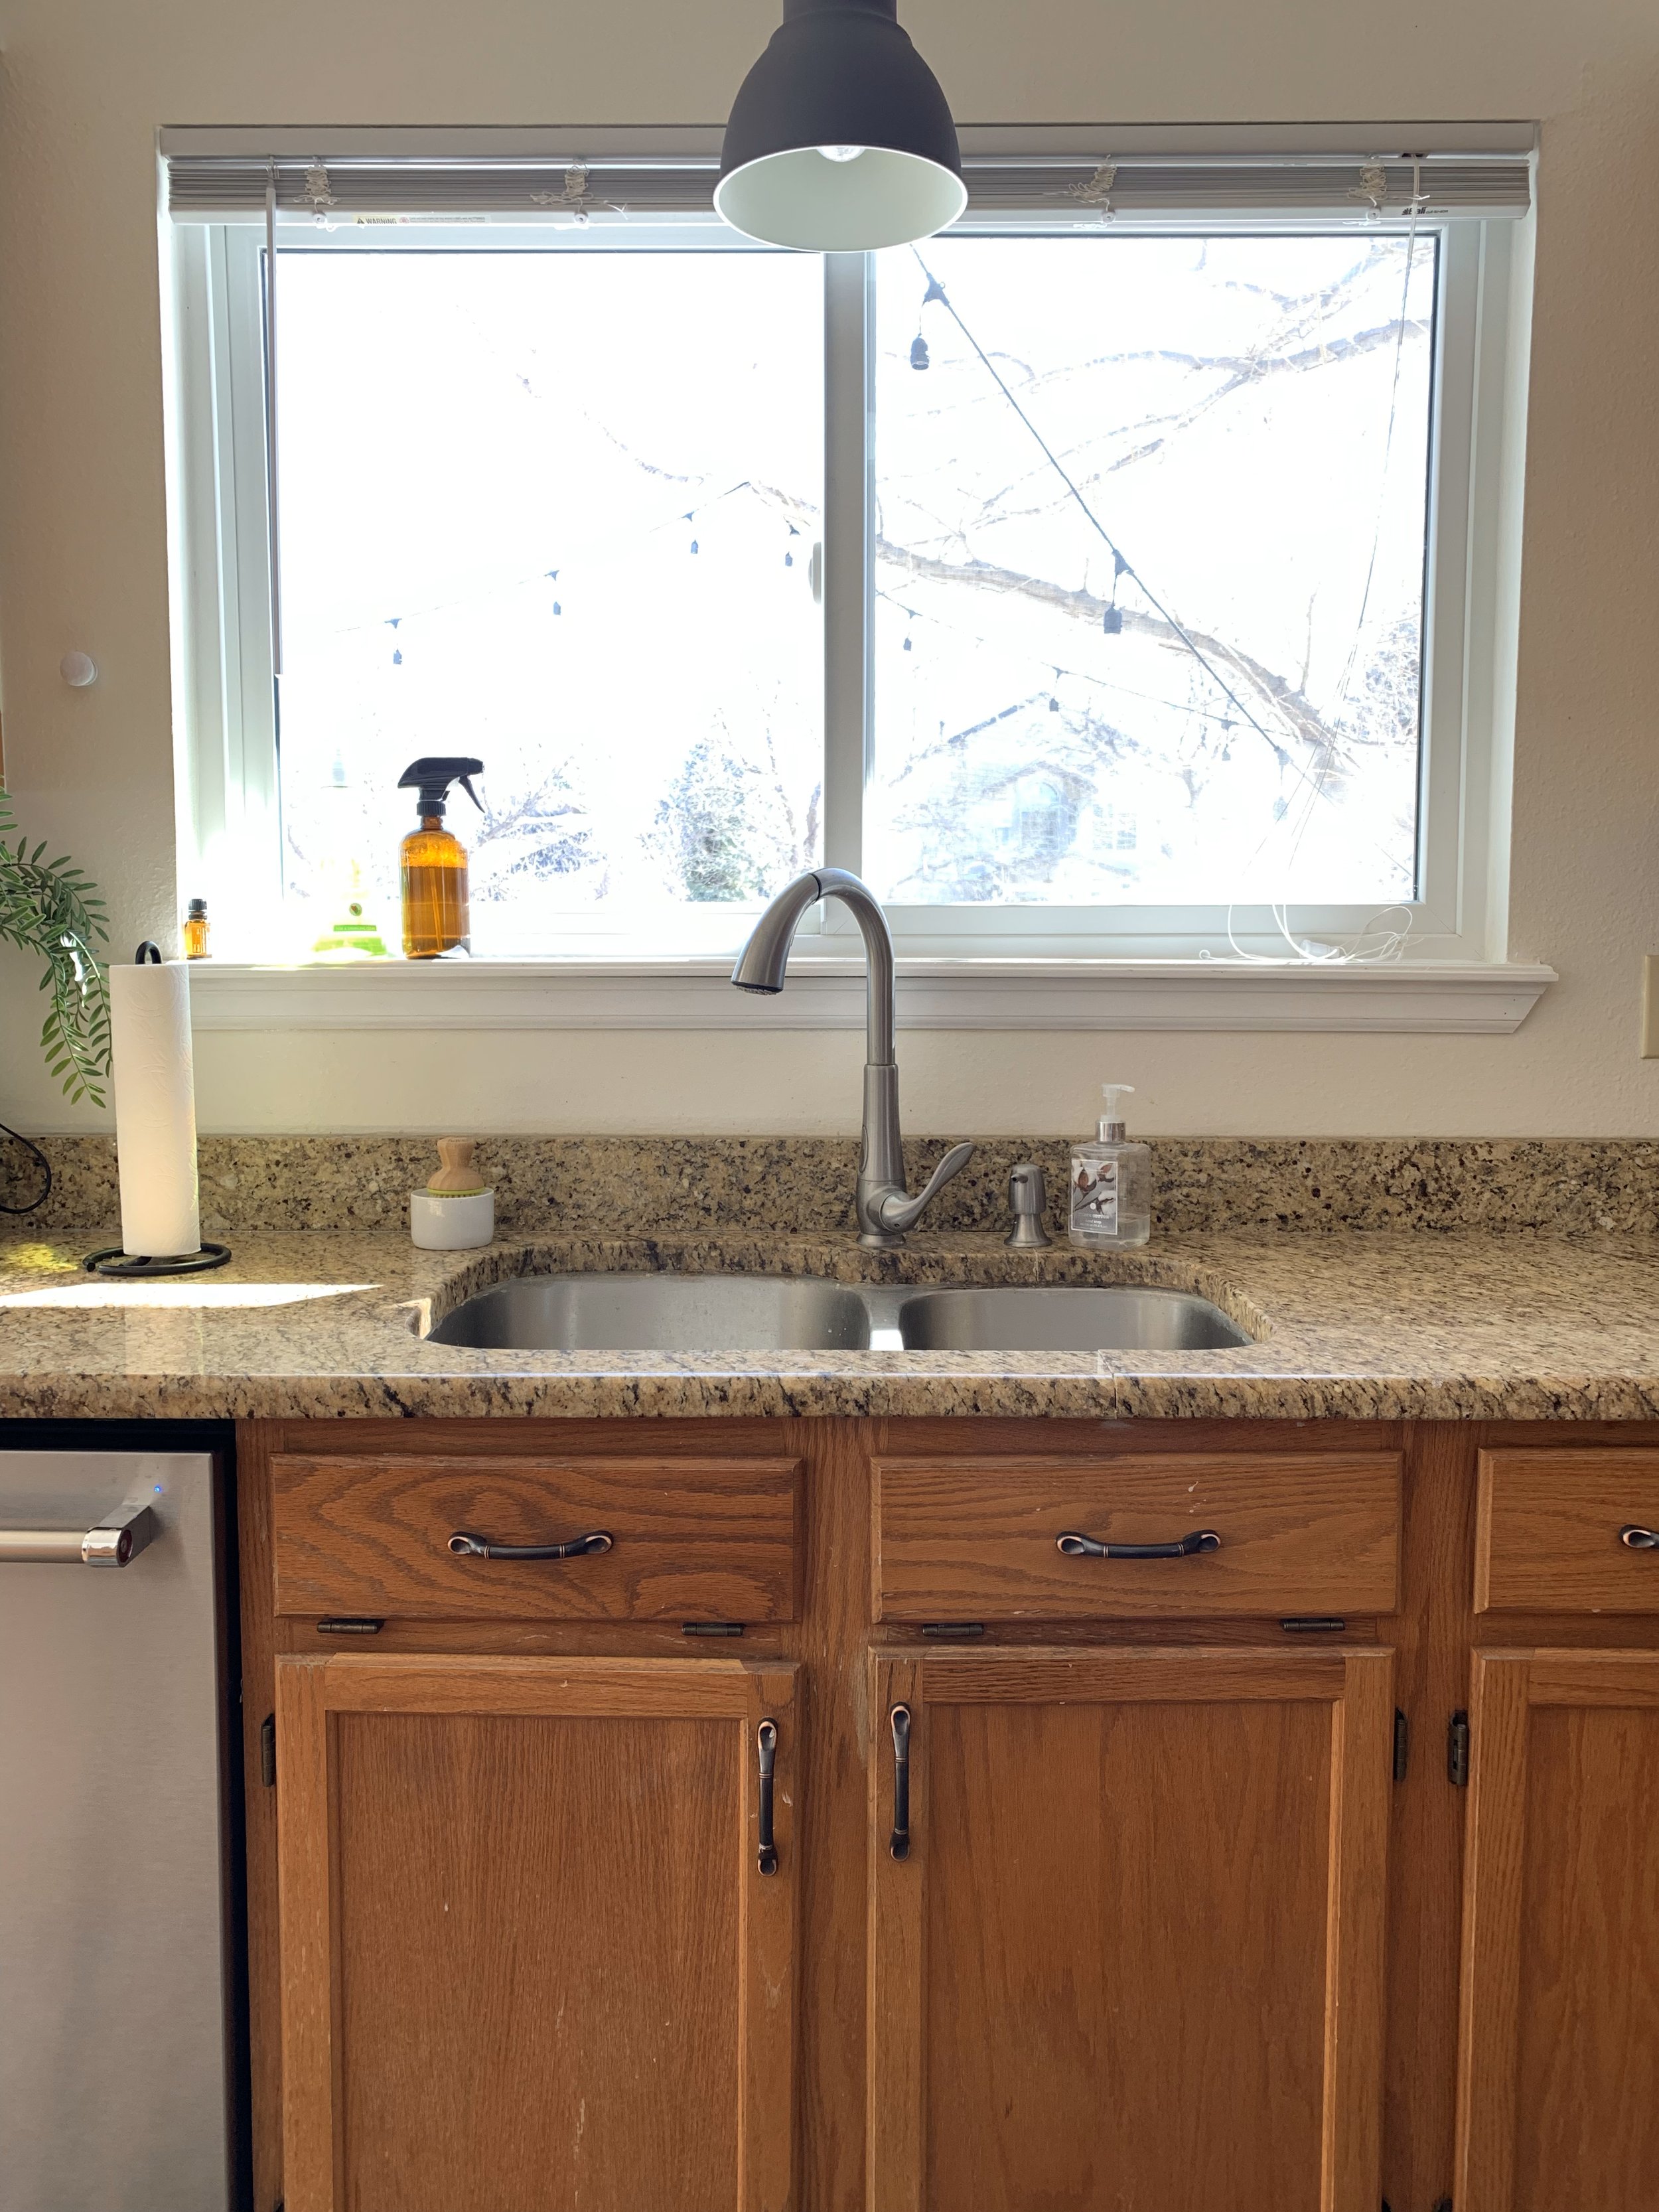
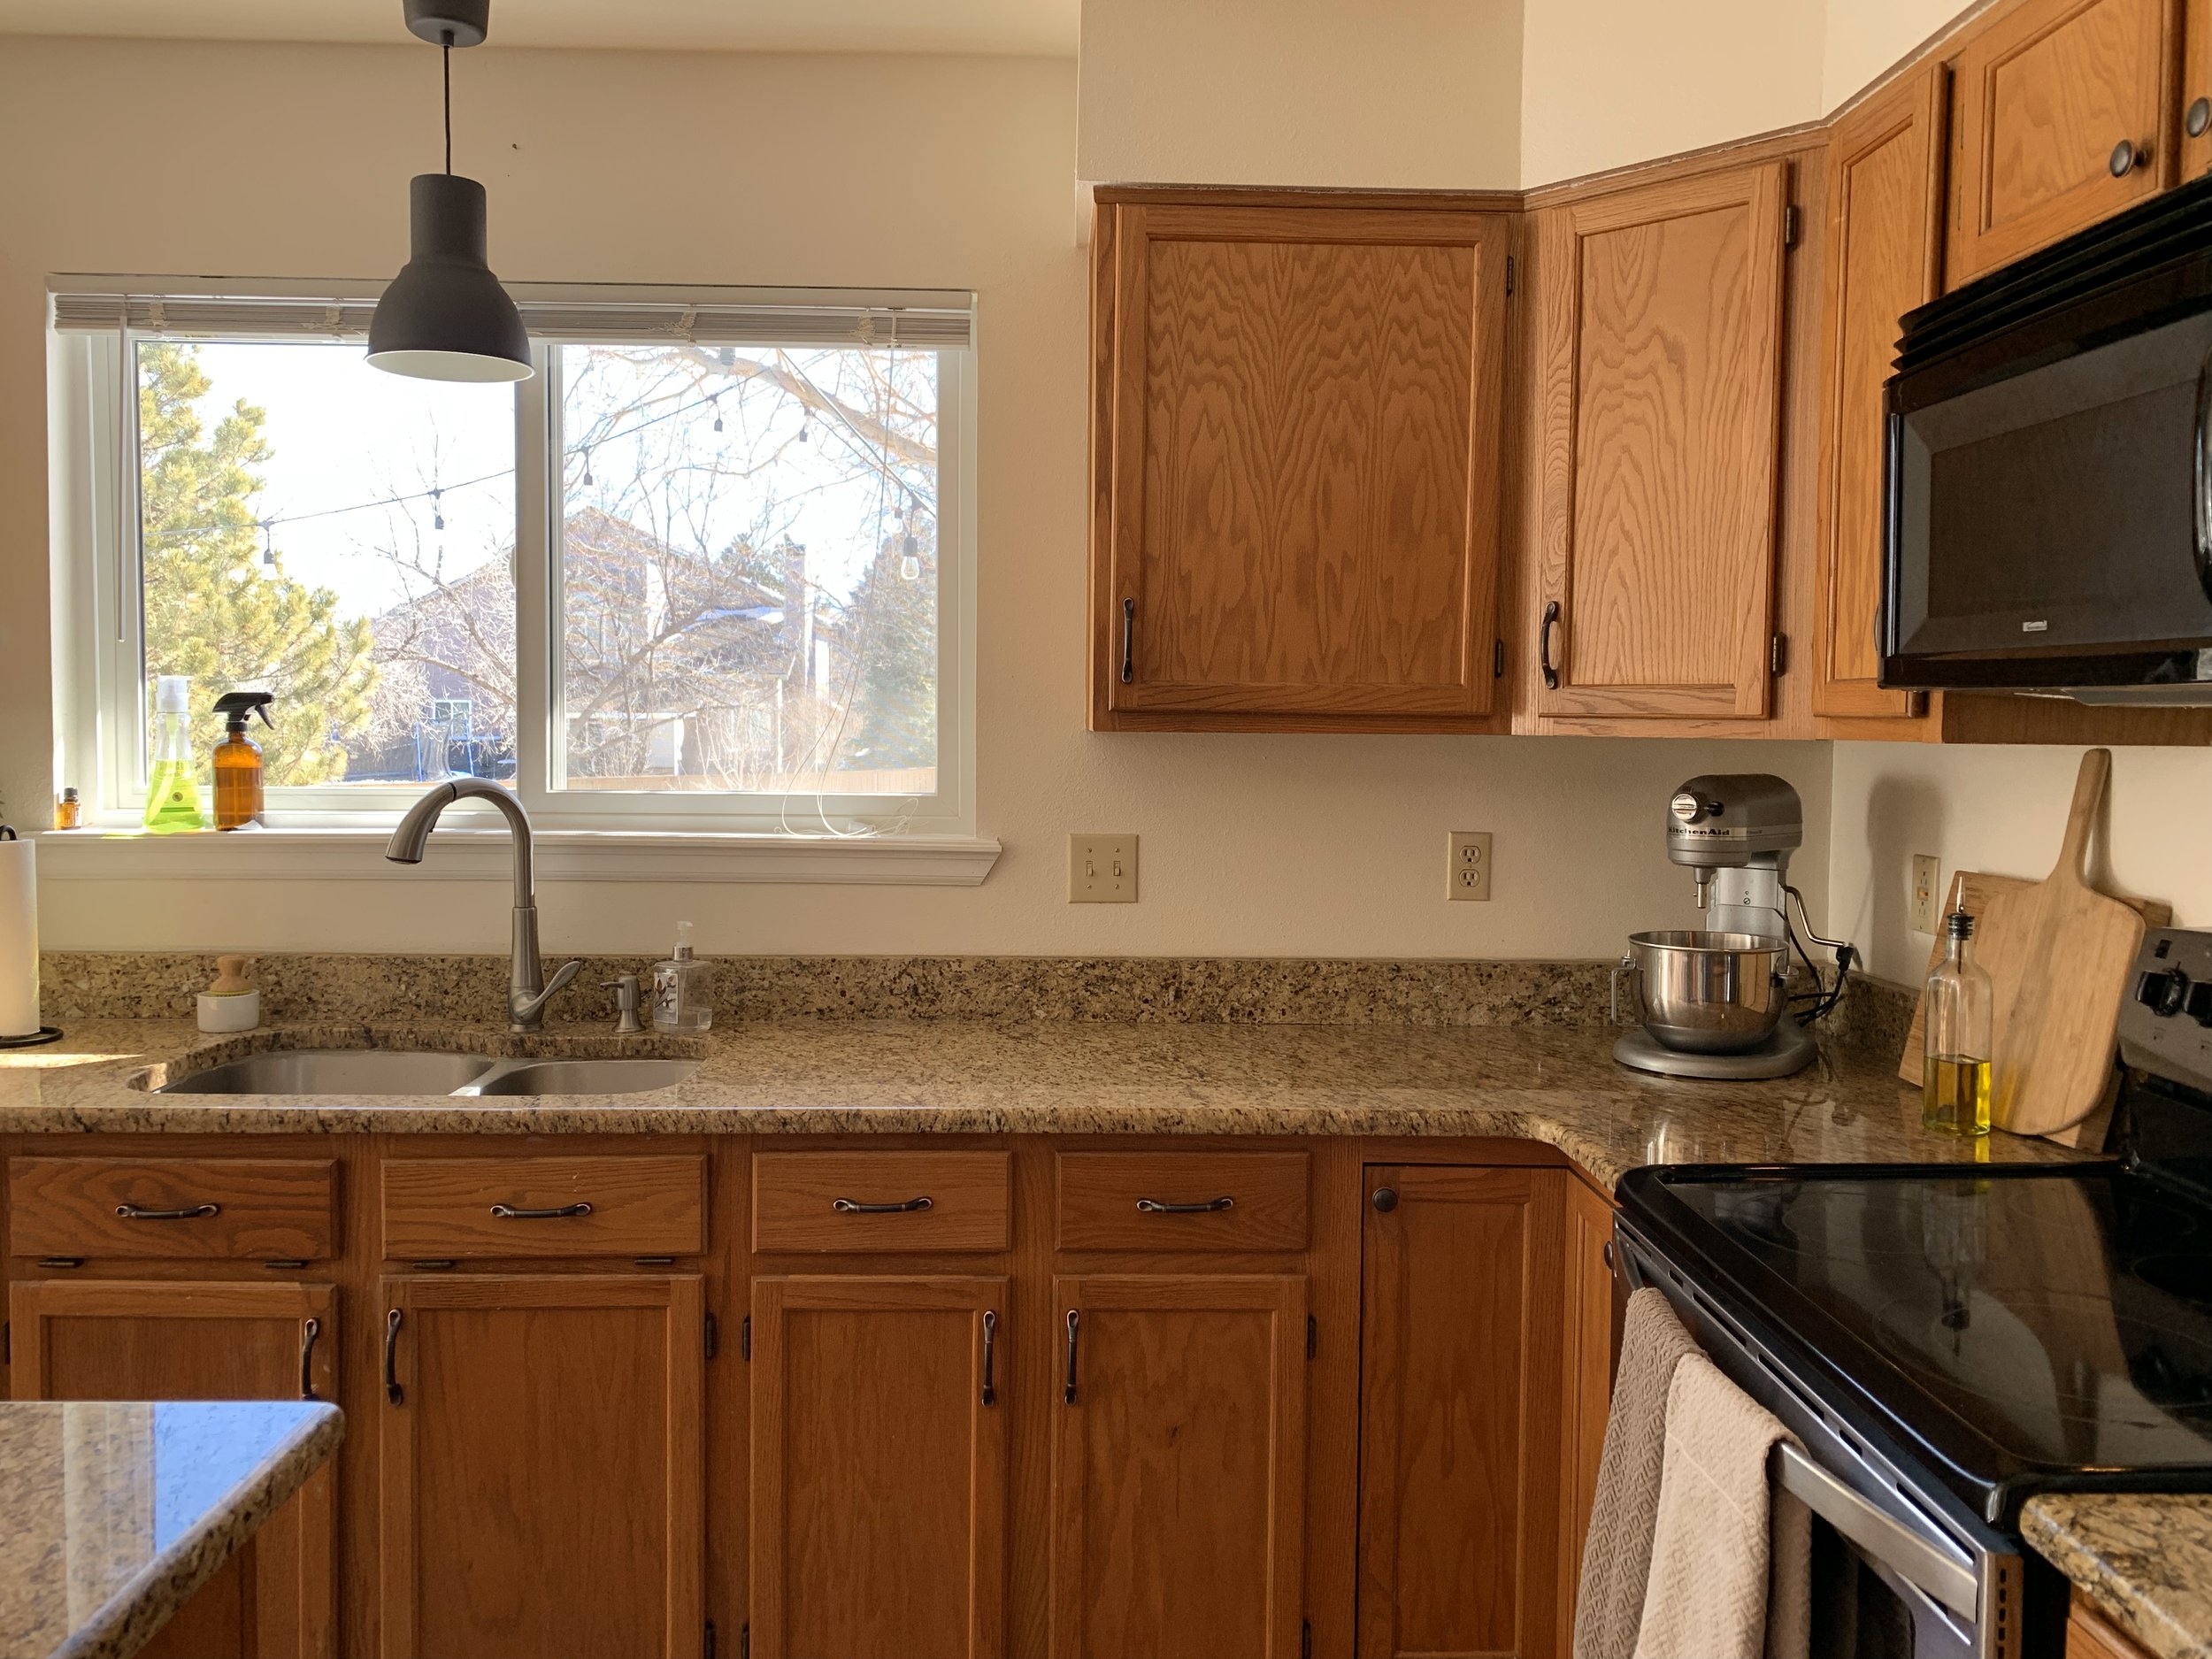
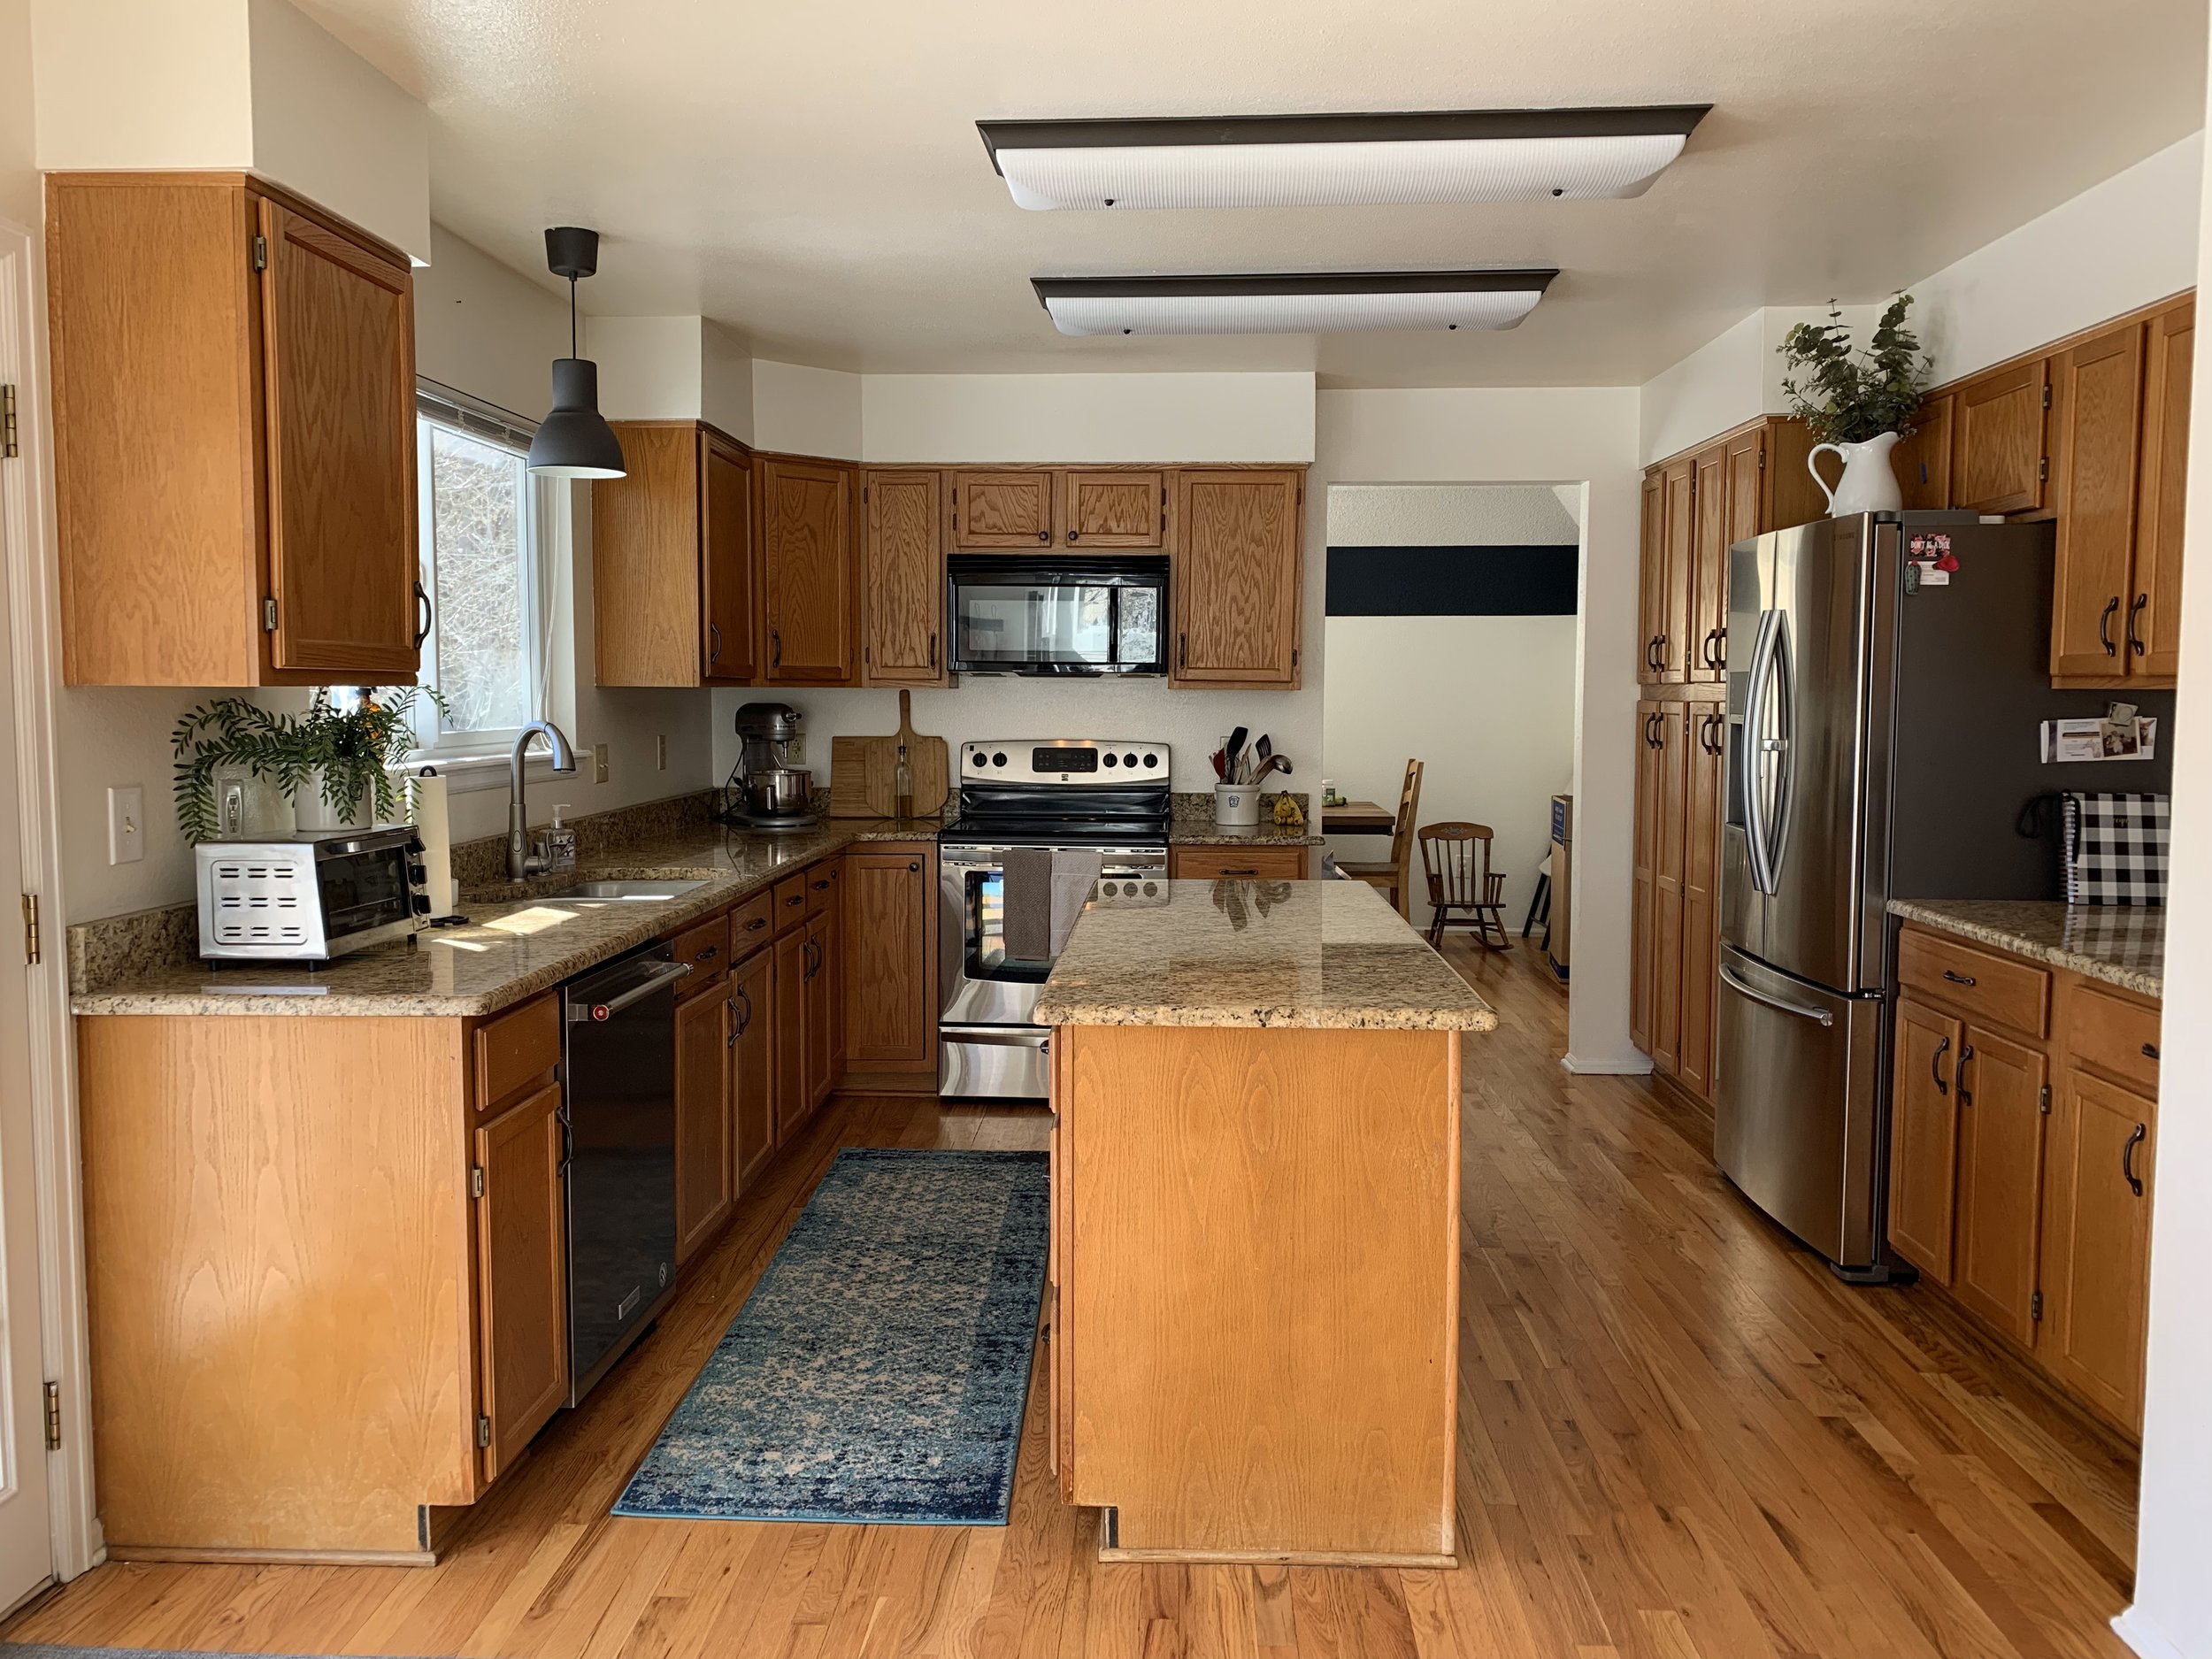
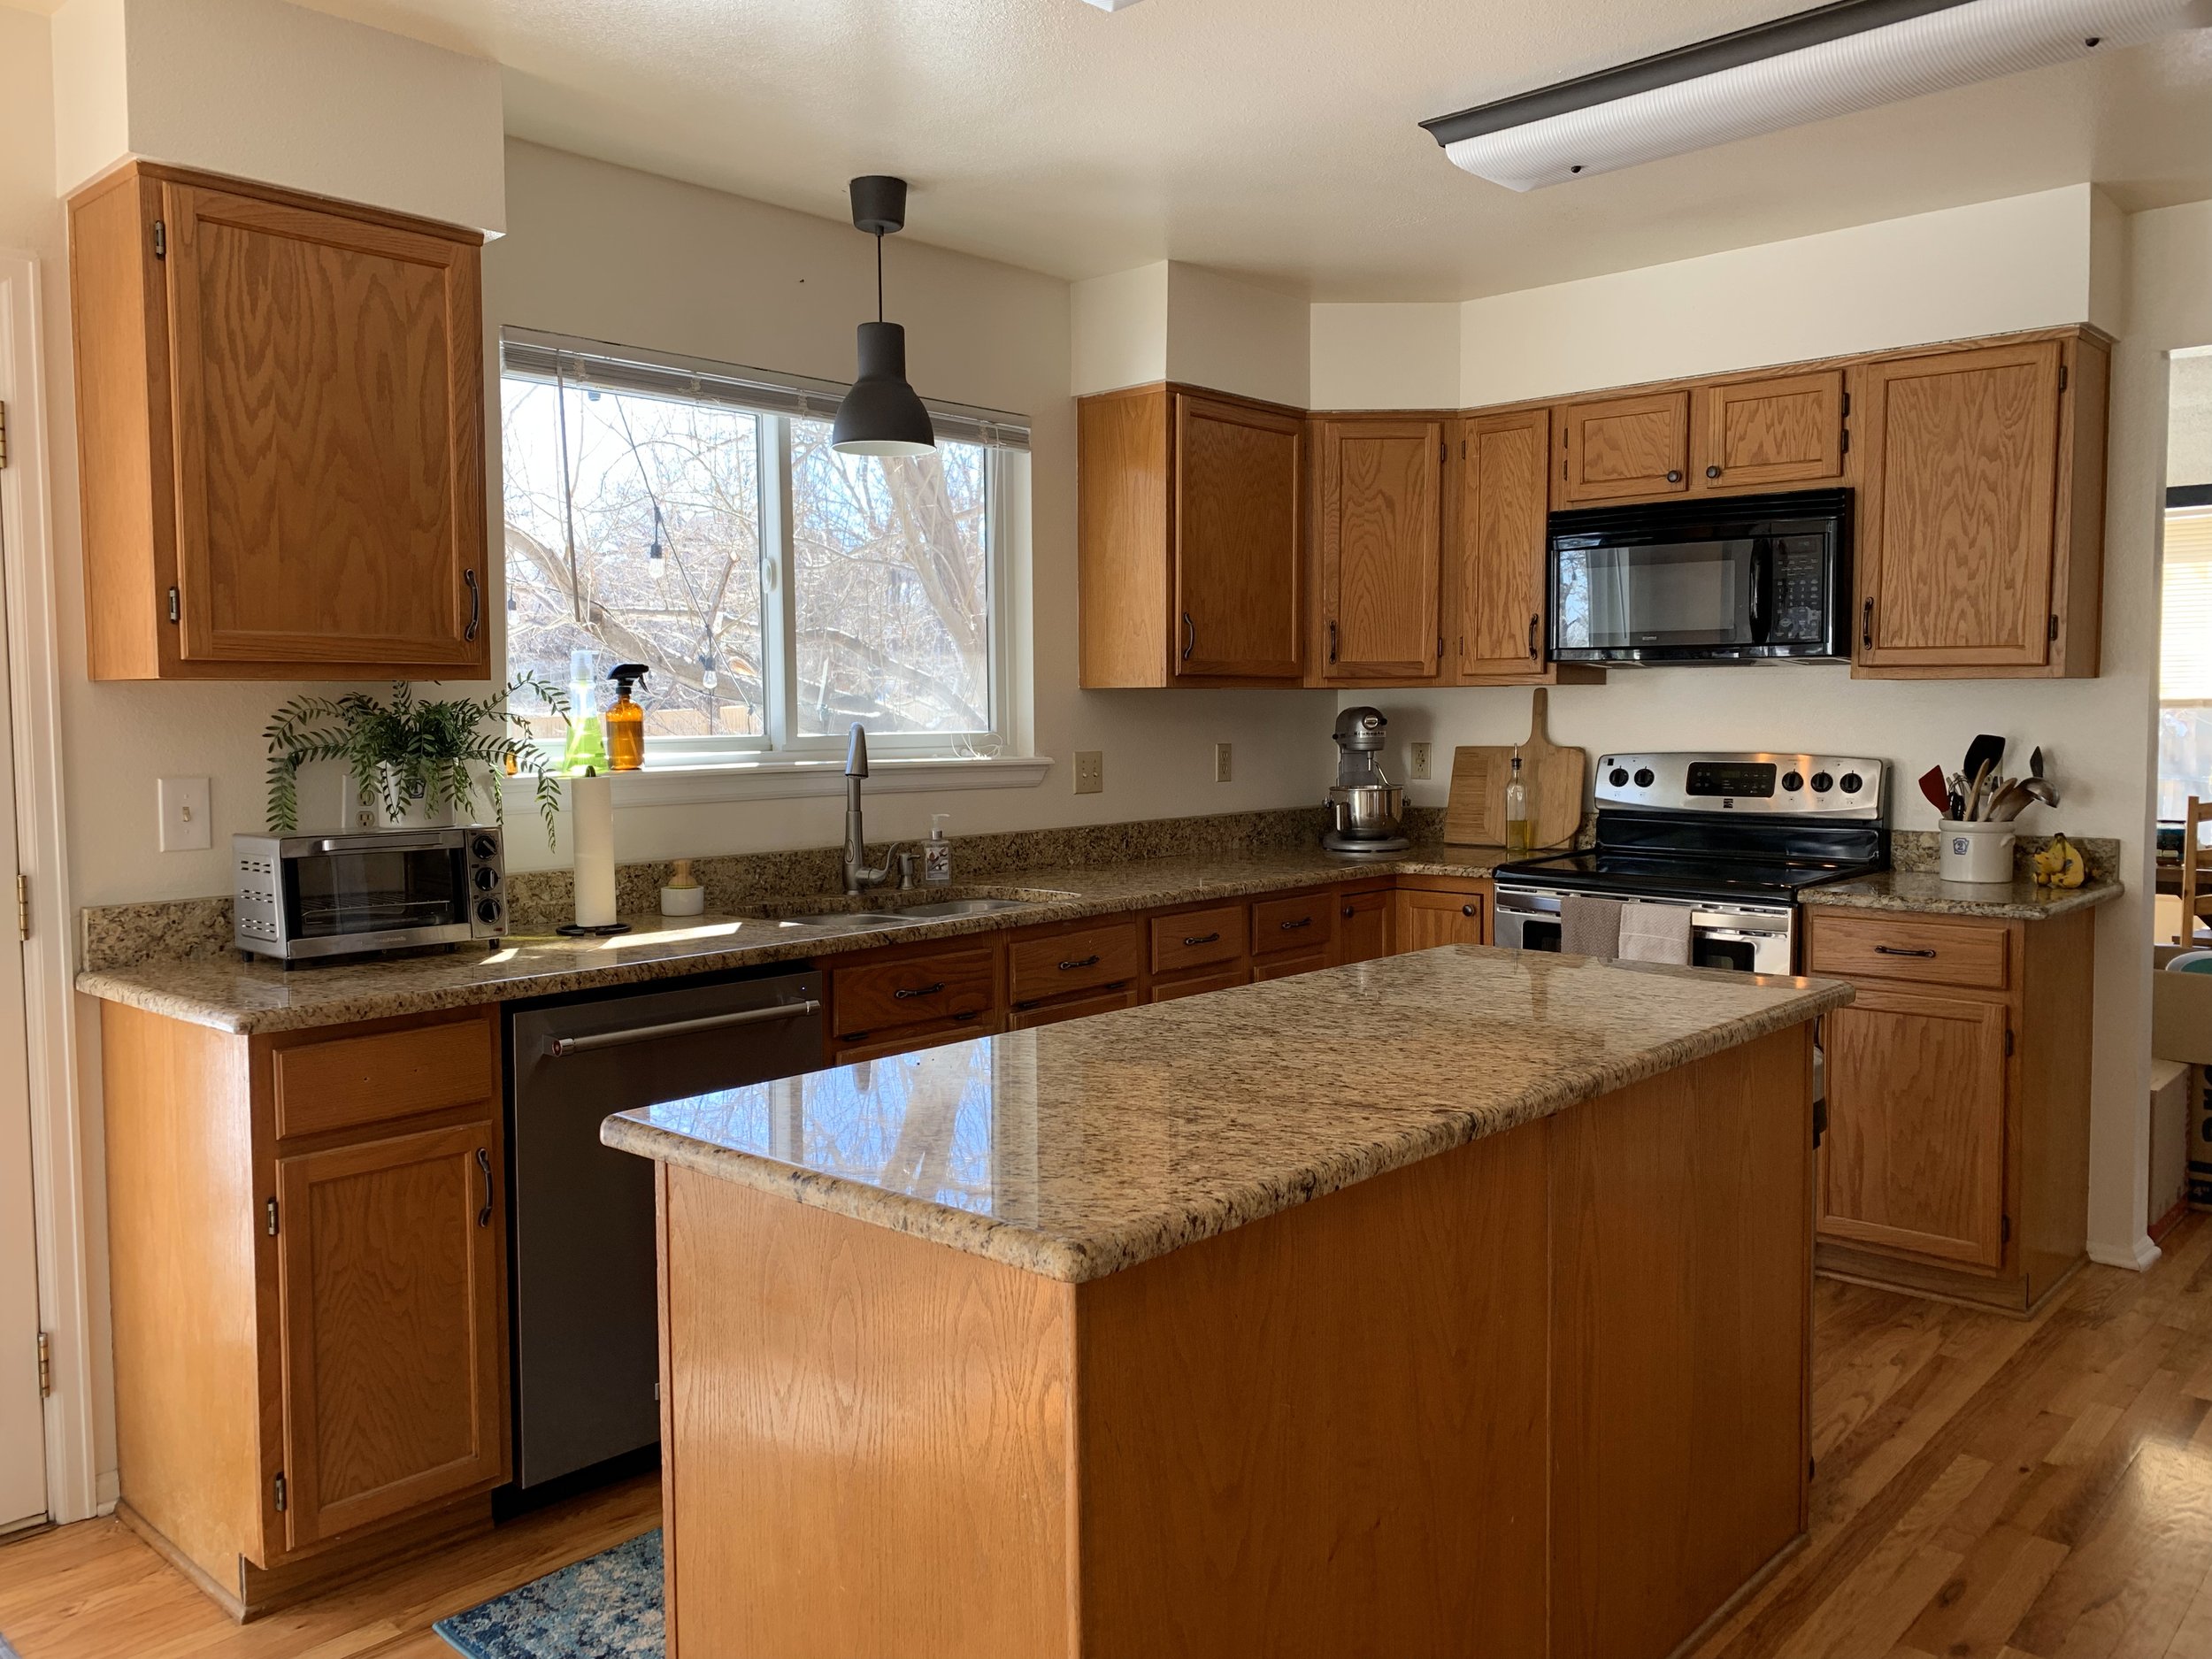
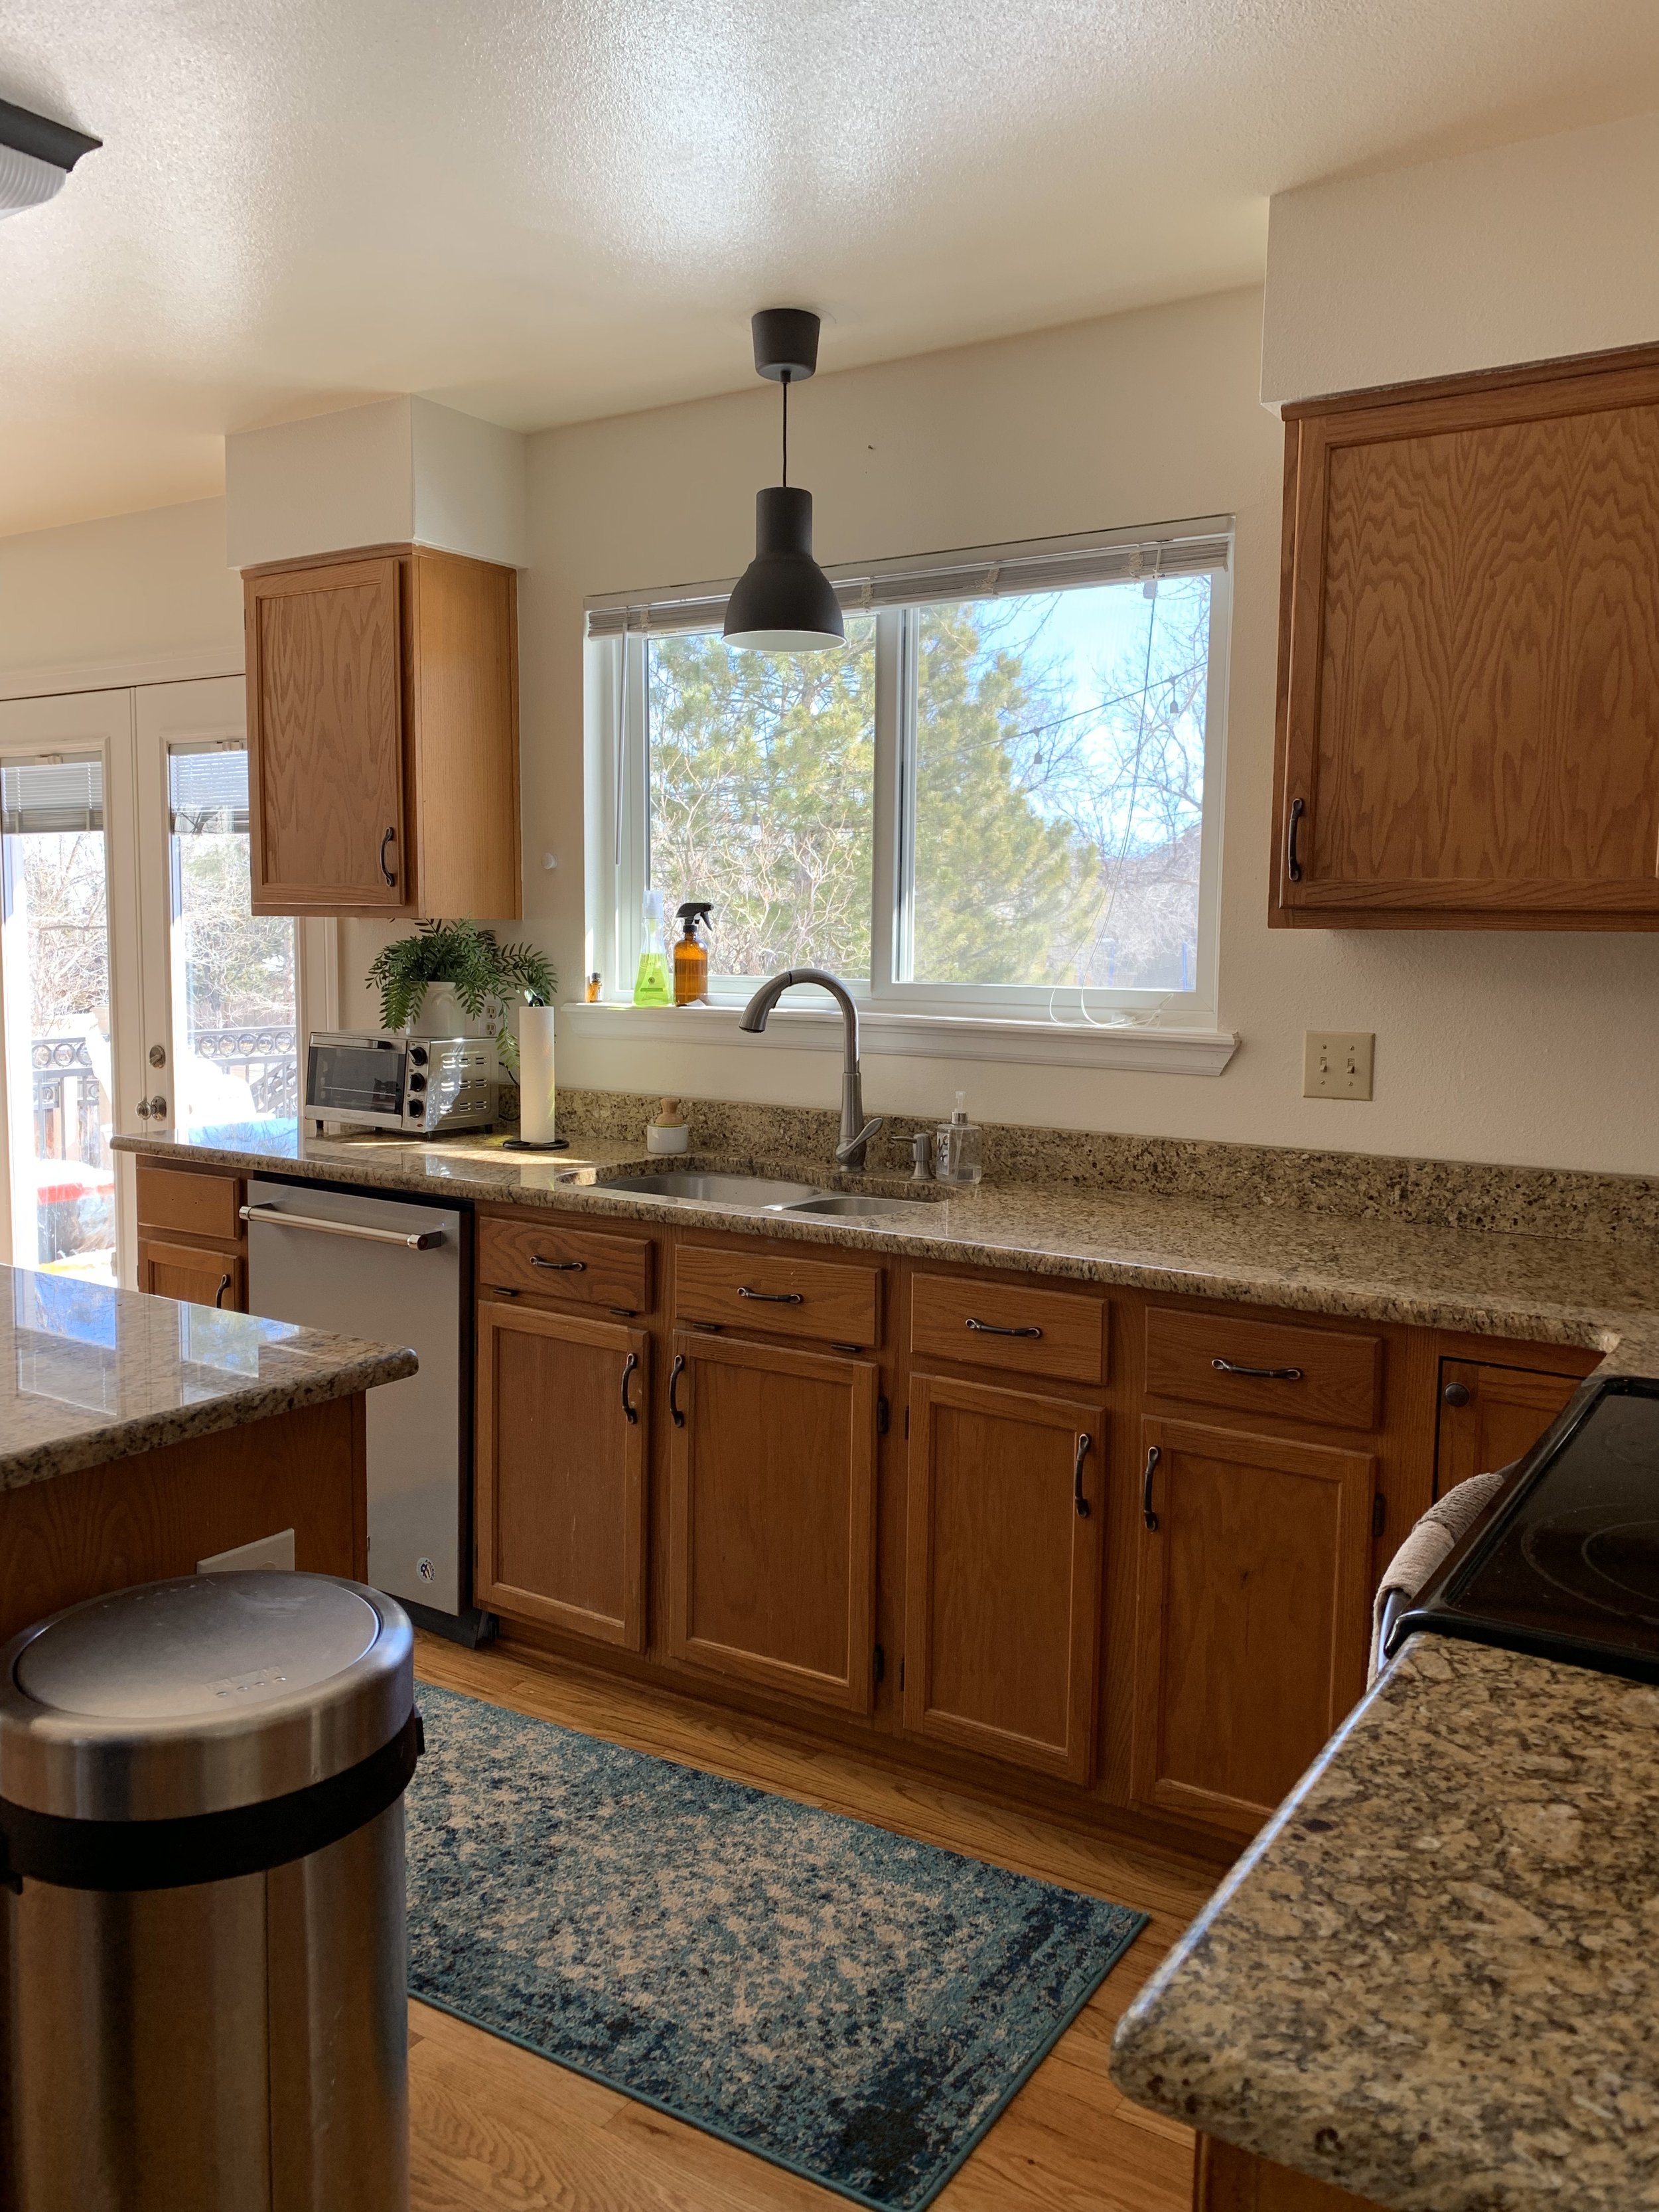
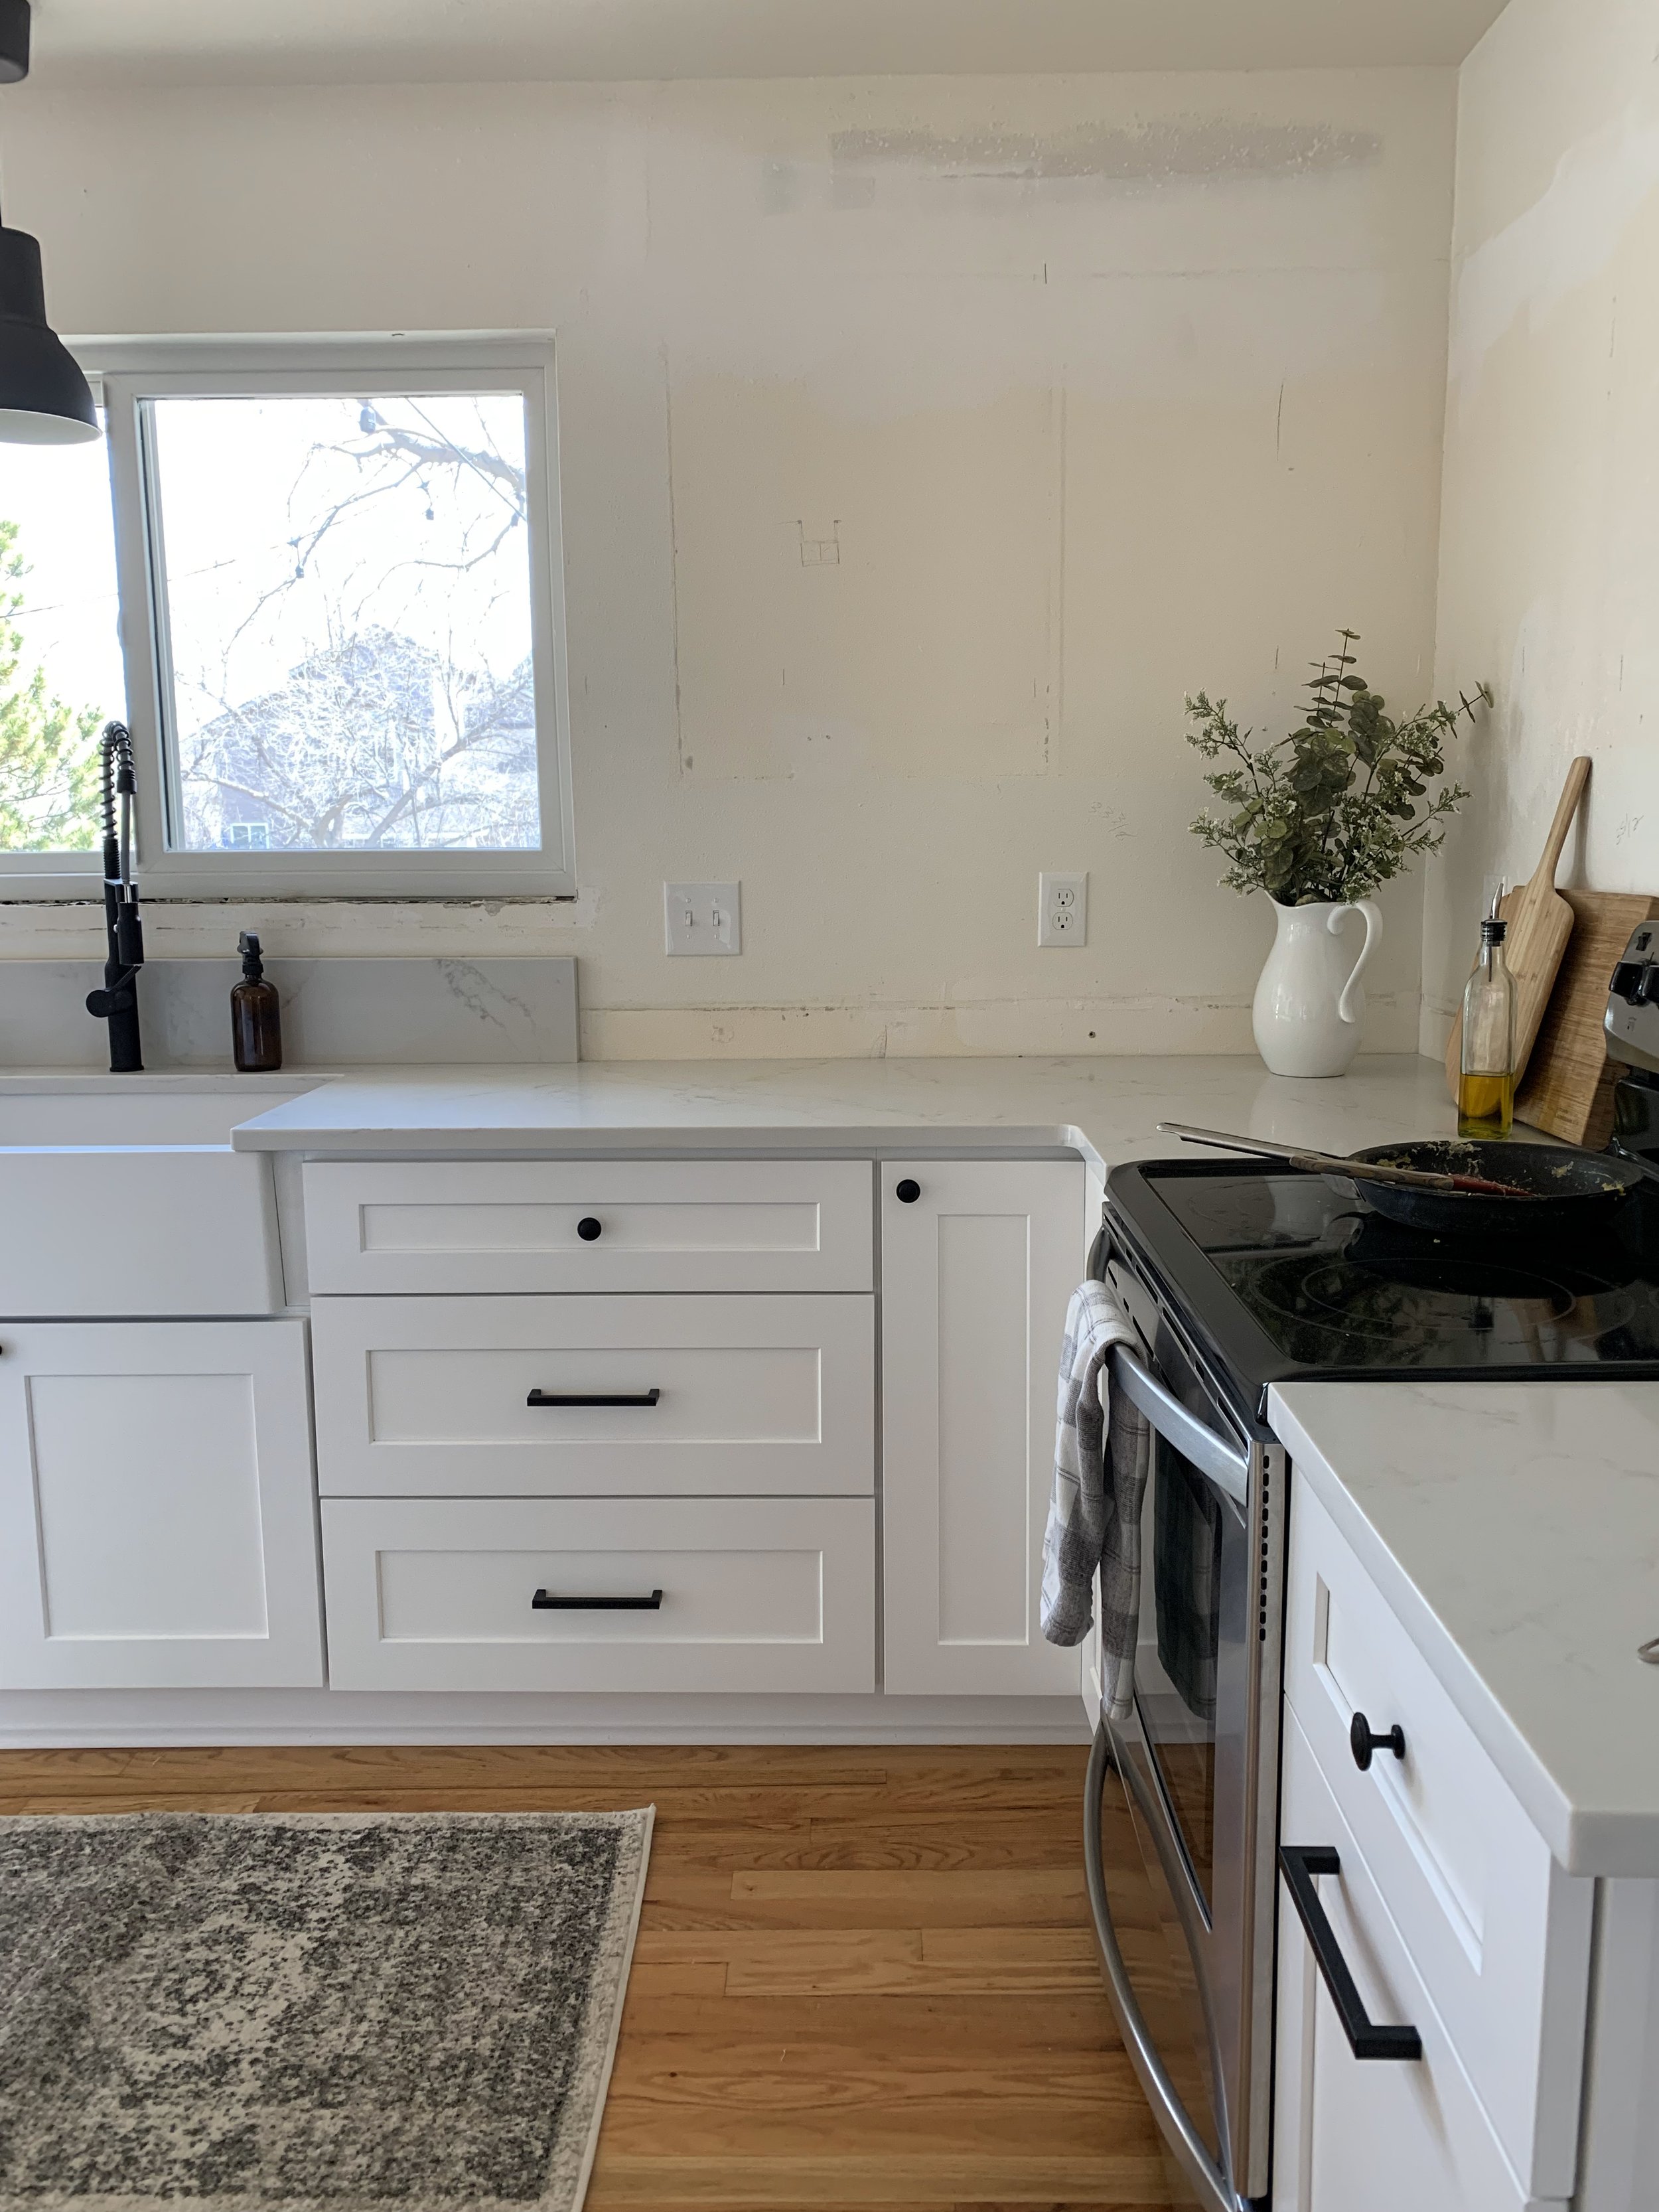
Quick little trip down memory lane to see what this kitchen looked like for the first 9 months of our time in our home. Please note the water damage on the island cabinets which I nearly stuck my knee through on more than one occasion.
The “Befores”:
Okay, so you get the idea. This kitchen had been loved hard for a good 30 years. It’s time had come and I was so excited to watch these cabinets crumble in the dumpster. No, I don’t think ReStore would have even taken them. I saved a few for the garage, but 90% of them were not salvageable by the time they came out of the house.
The plan:
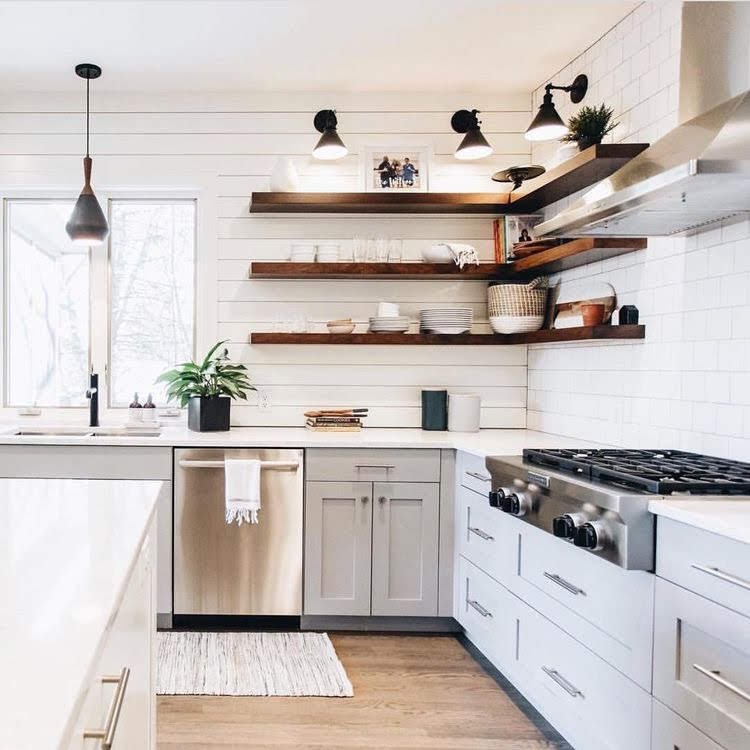
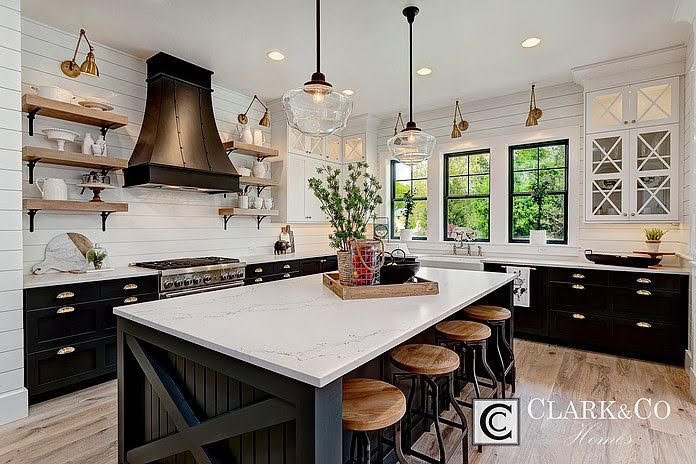
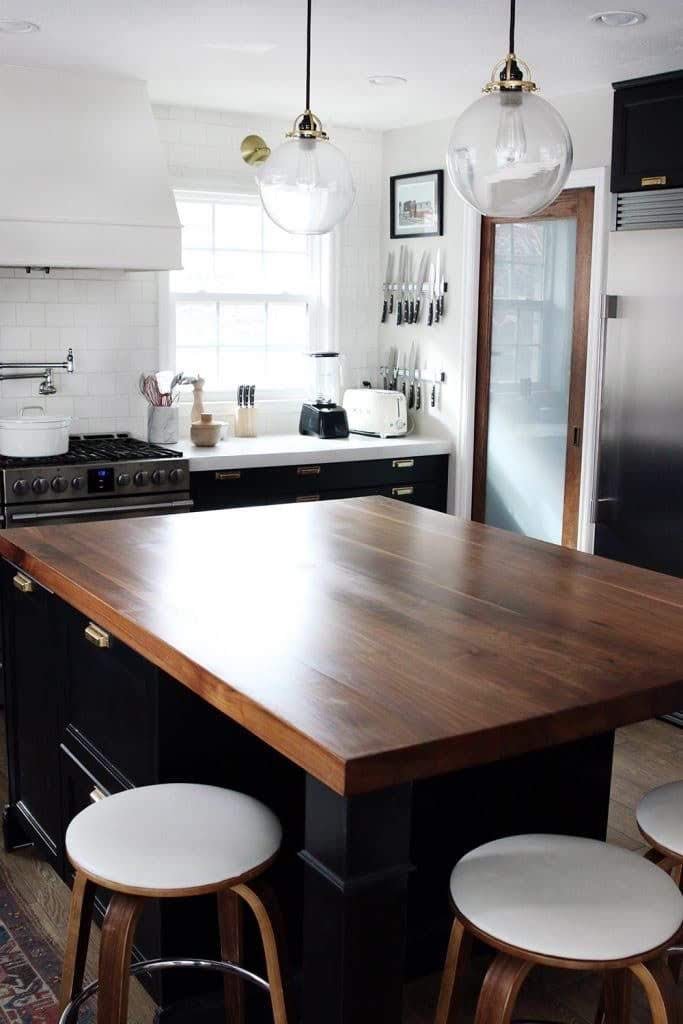
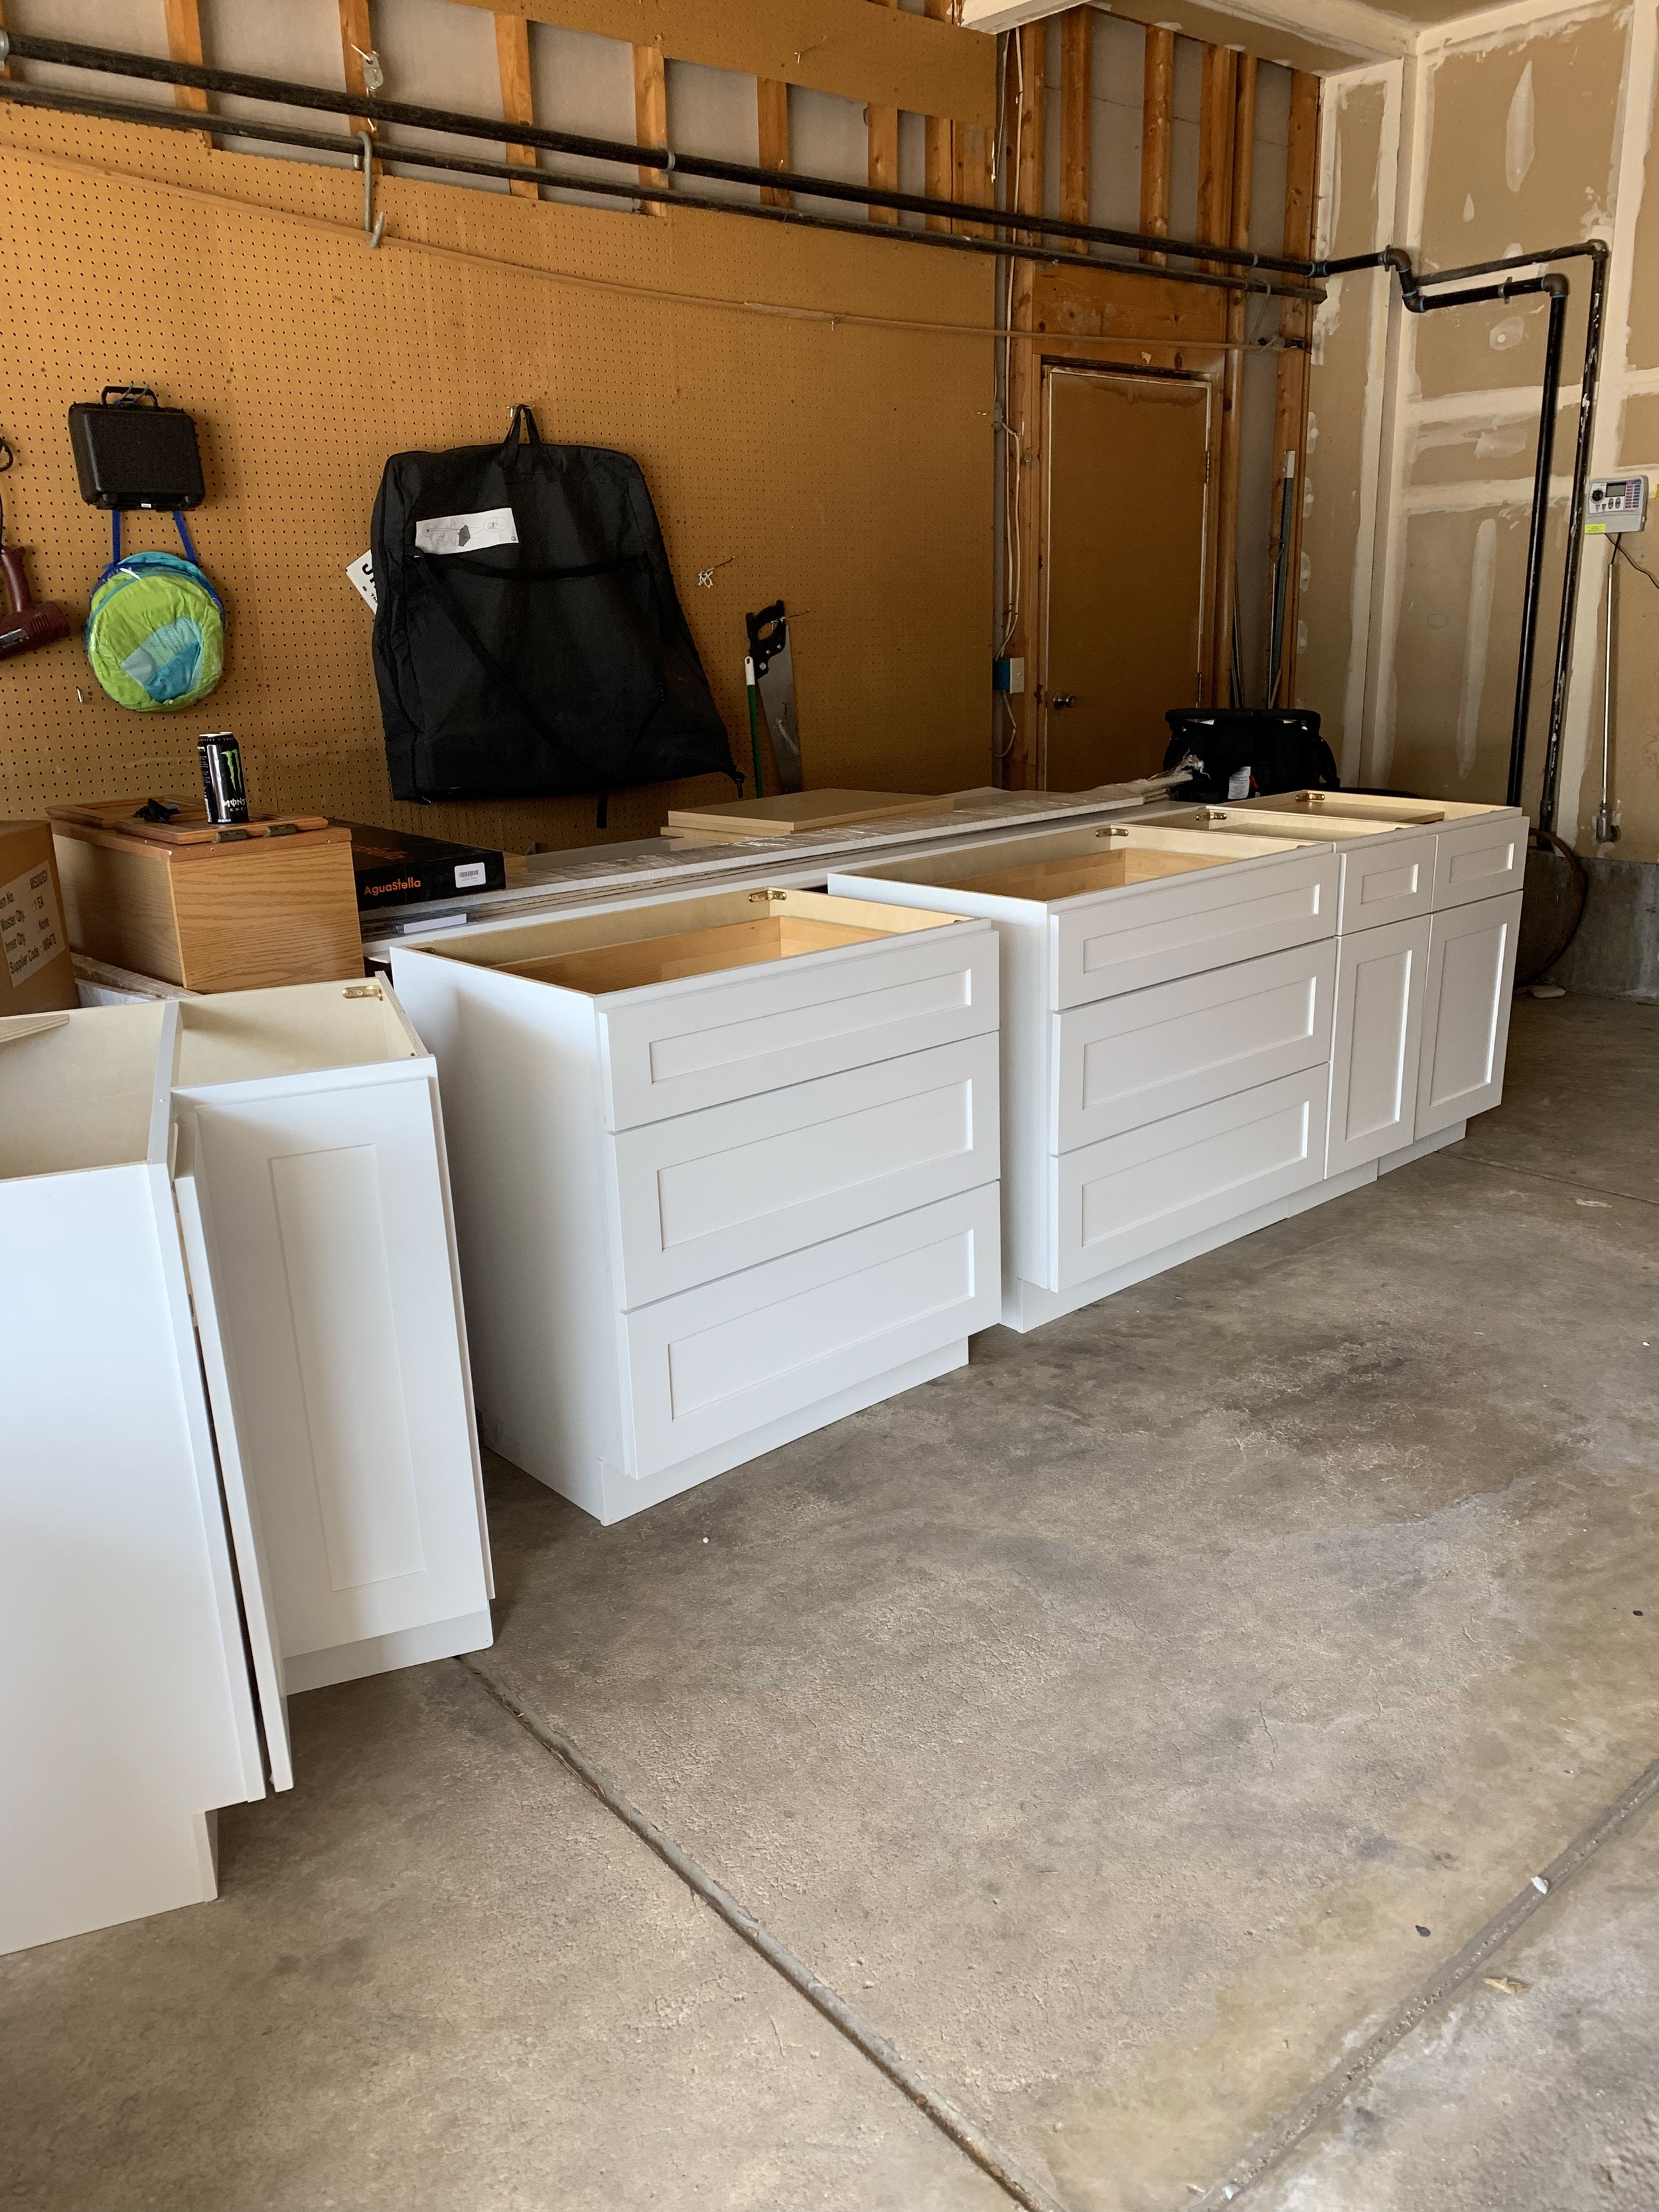
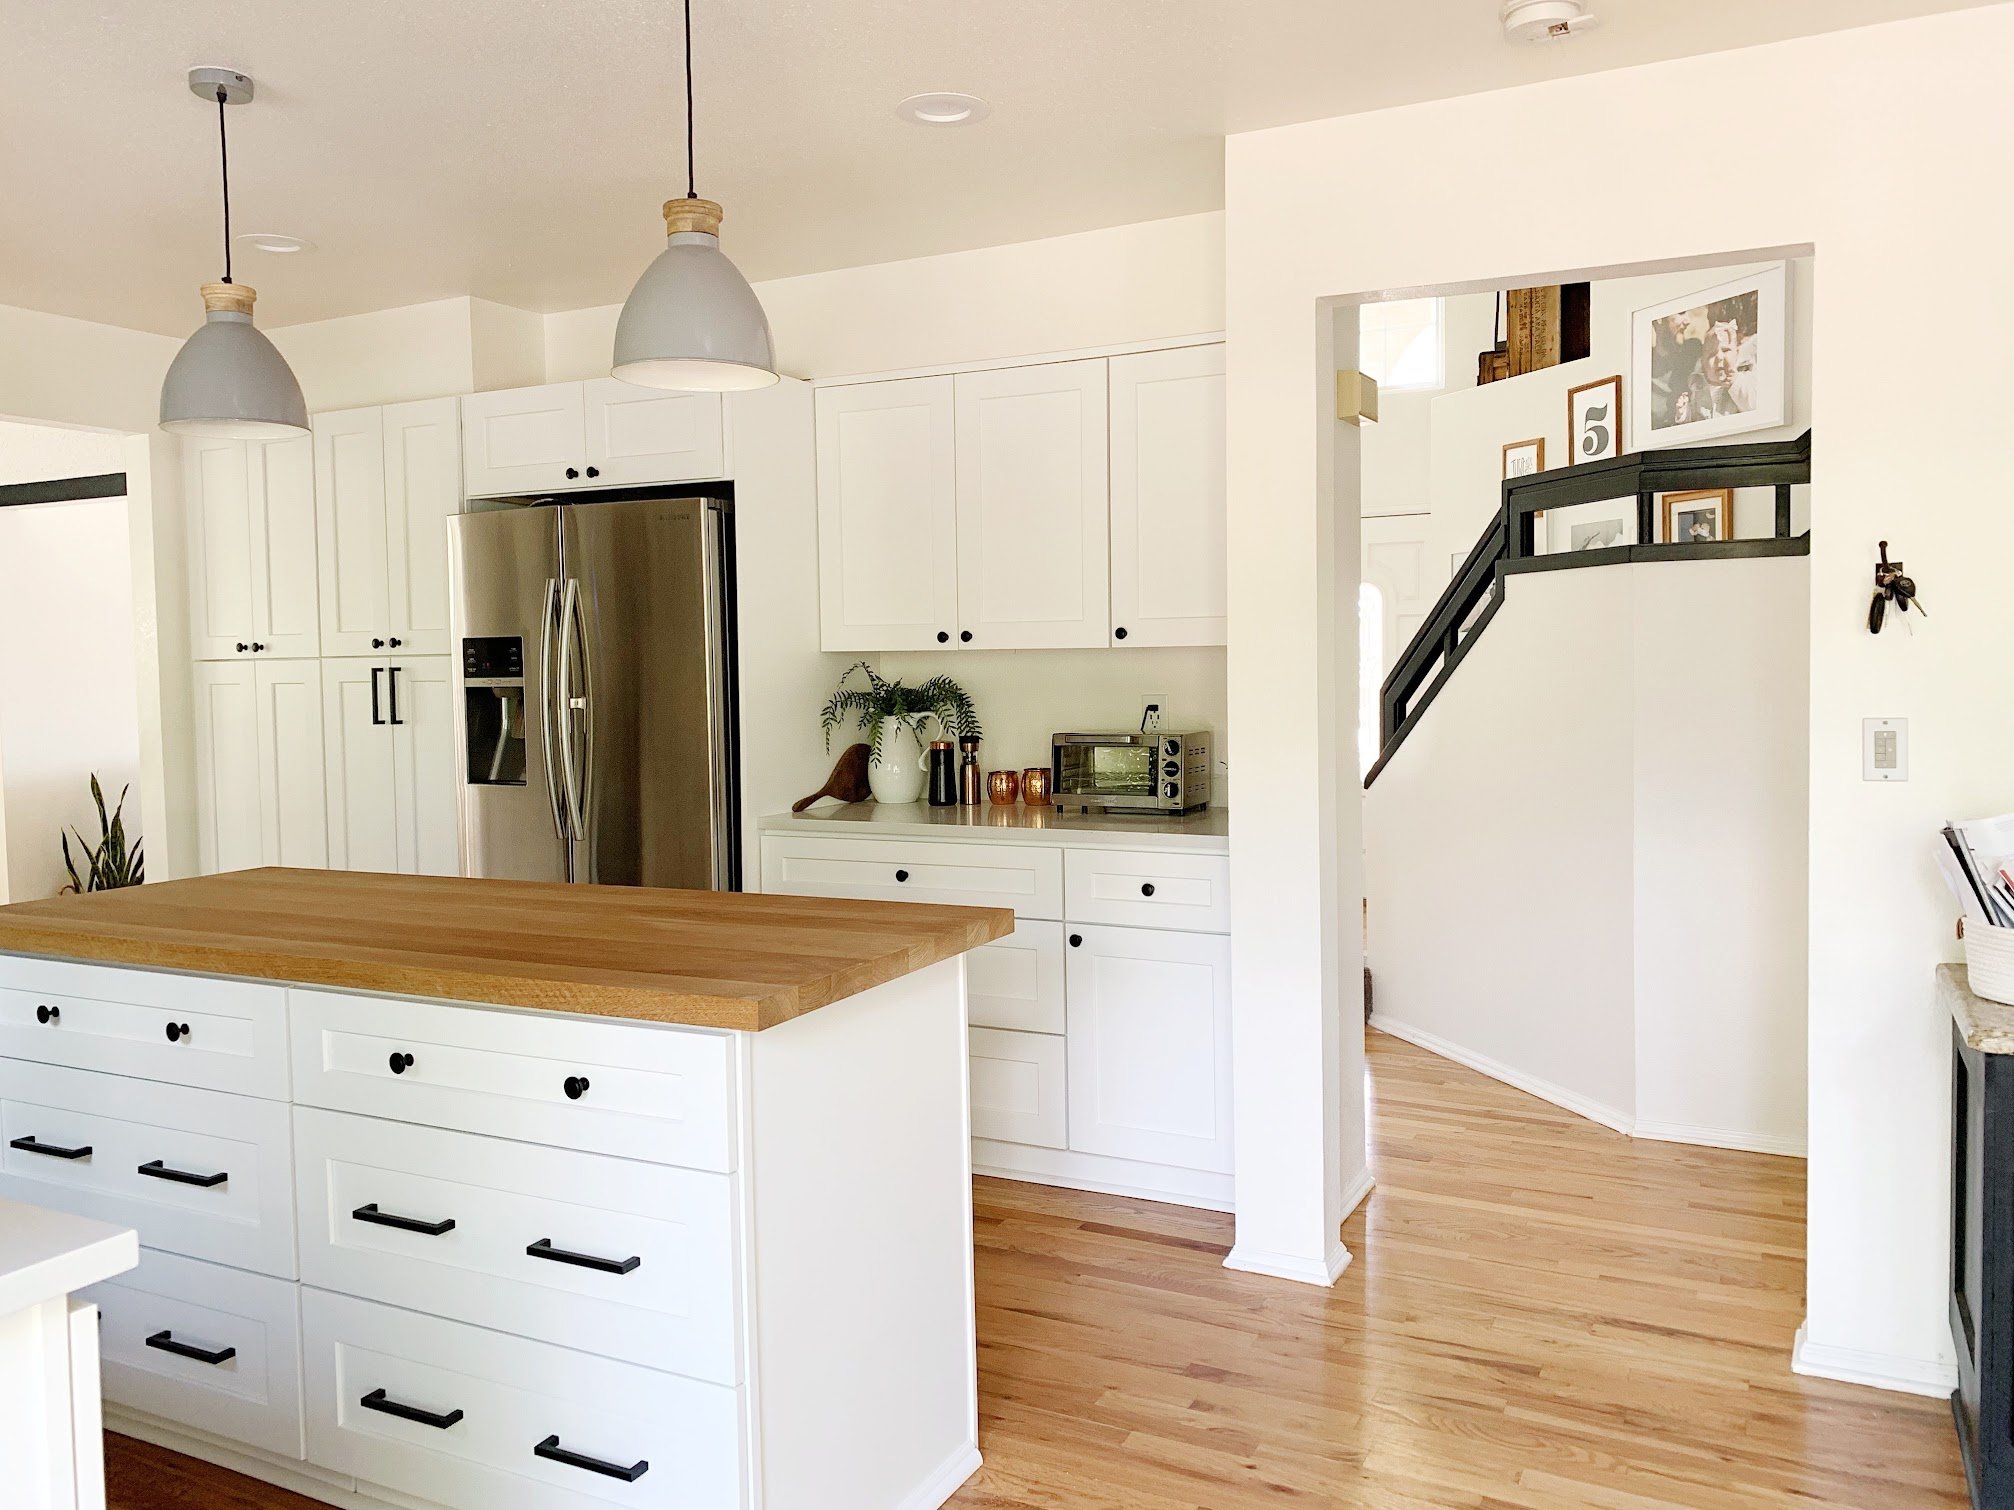
There was nothing wrong with the layout of the kitchen. The flow from the fridge to the stove to the sink was perfect. And the sink was in front of the window and basically that’s my biggest wish of a kitchen layout so we were set. Thank goodness because keeping the footprint of a kitchen (and bathroom) is the easiest way to cut costs of a renovation. We started off dreaming big, of custom cabinet colors; a different color island and pantry and the rest of the cabinetry white. Then we were hit with the reality of that cabinetry quote and we were left to decide between white, grey, or greige. Ultimately we chose white, knowing it was the most timeless. Also that we could paint the island to look more custom in the end. We knew we wanted open shelving because our last house proved to us how much bigger a space feels with them. Nor do we have a ton of stuff or the desire to even come close to having that much stuff we need to hide away in cabinets. A butcher block countertop on island, pendant lights, and a stainless vent hood. We would also keep all of our appliances for now, aside from the microwave, the plan was to get a small one and hide it in the pantry.
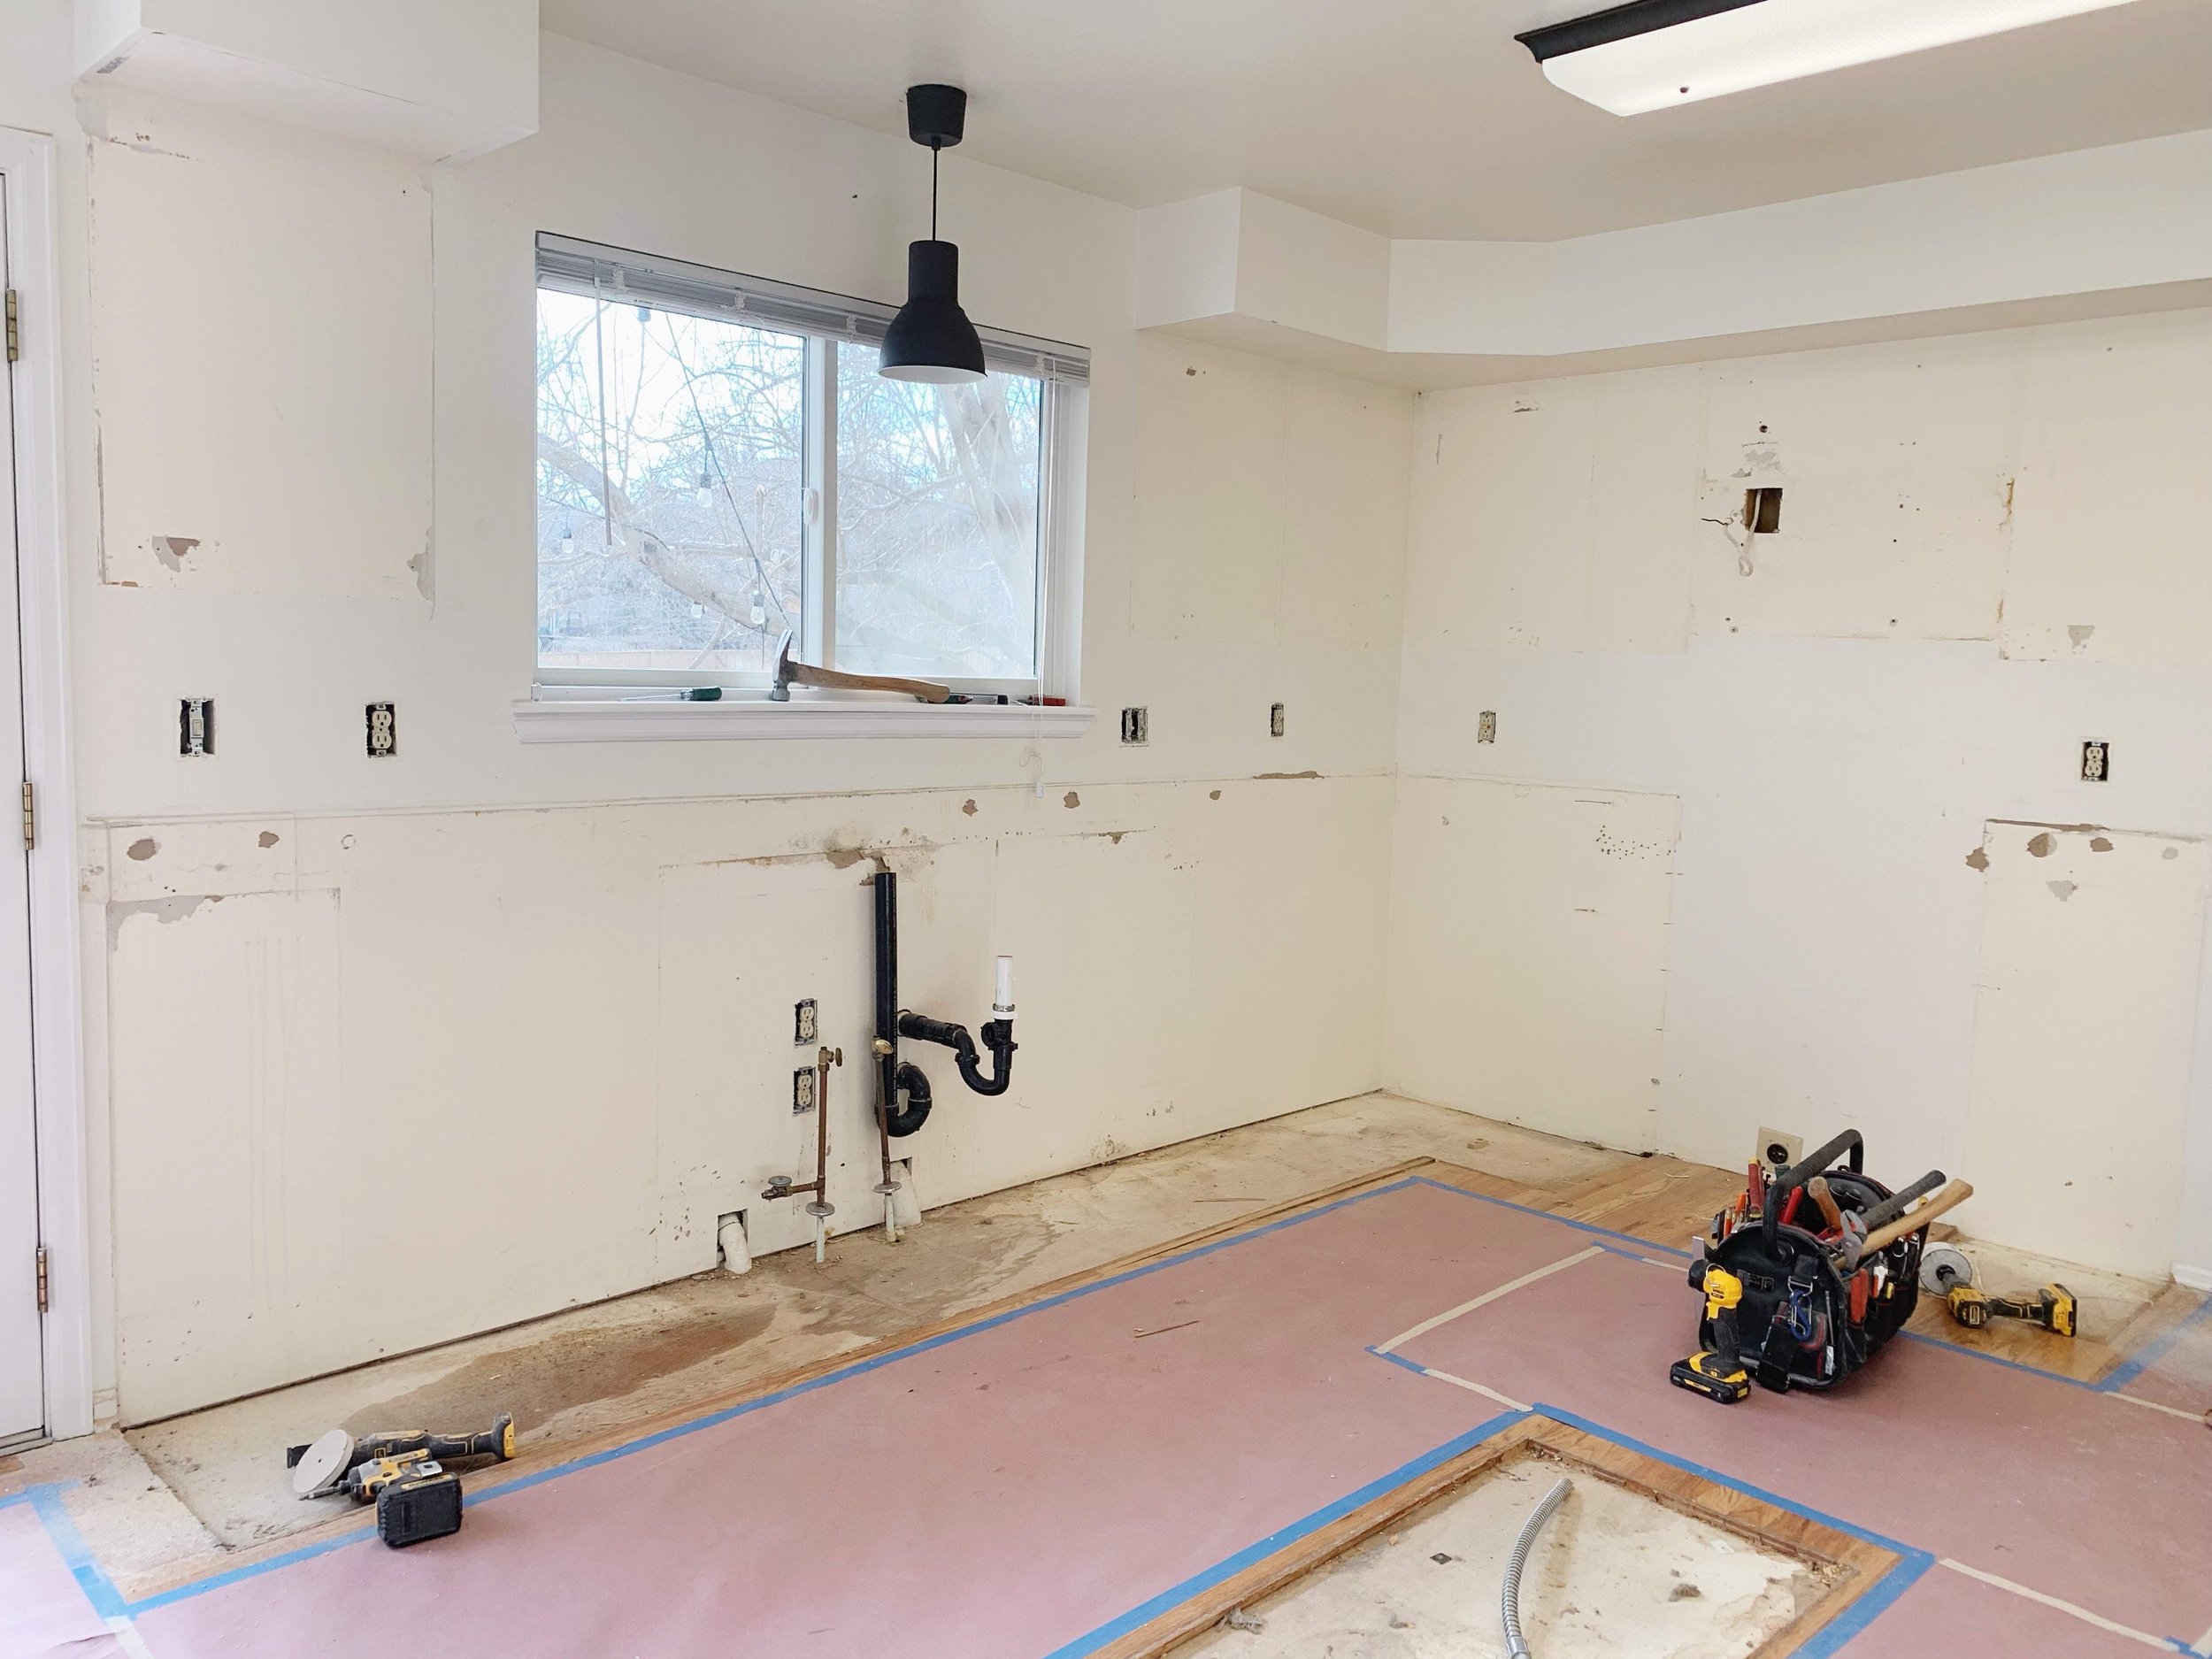
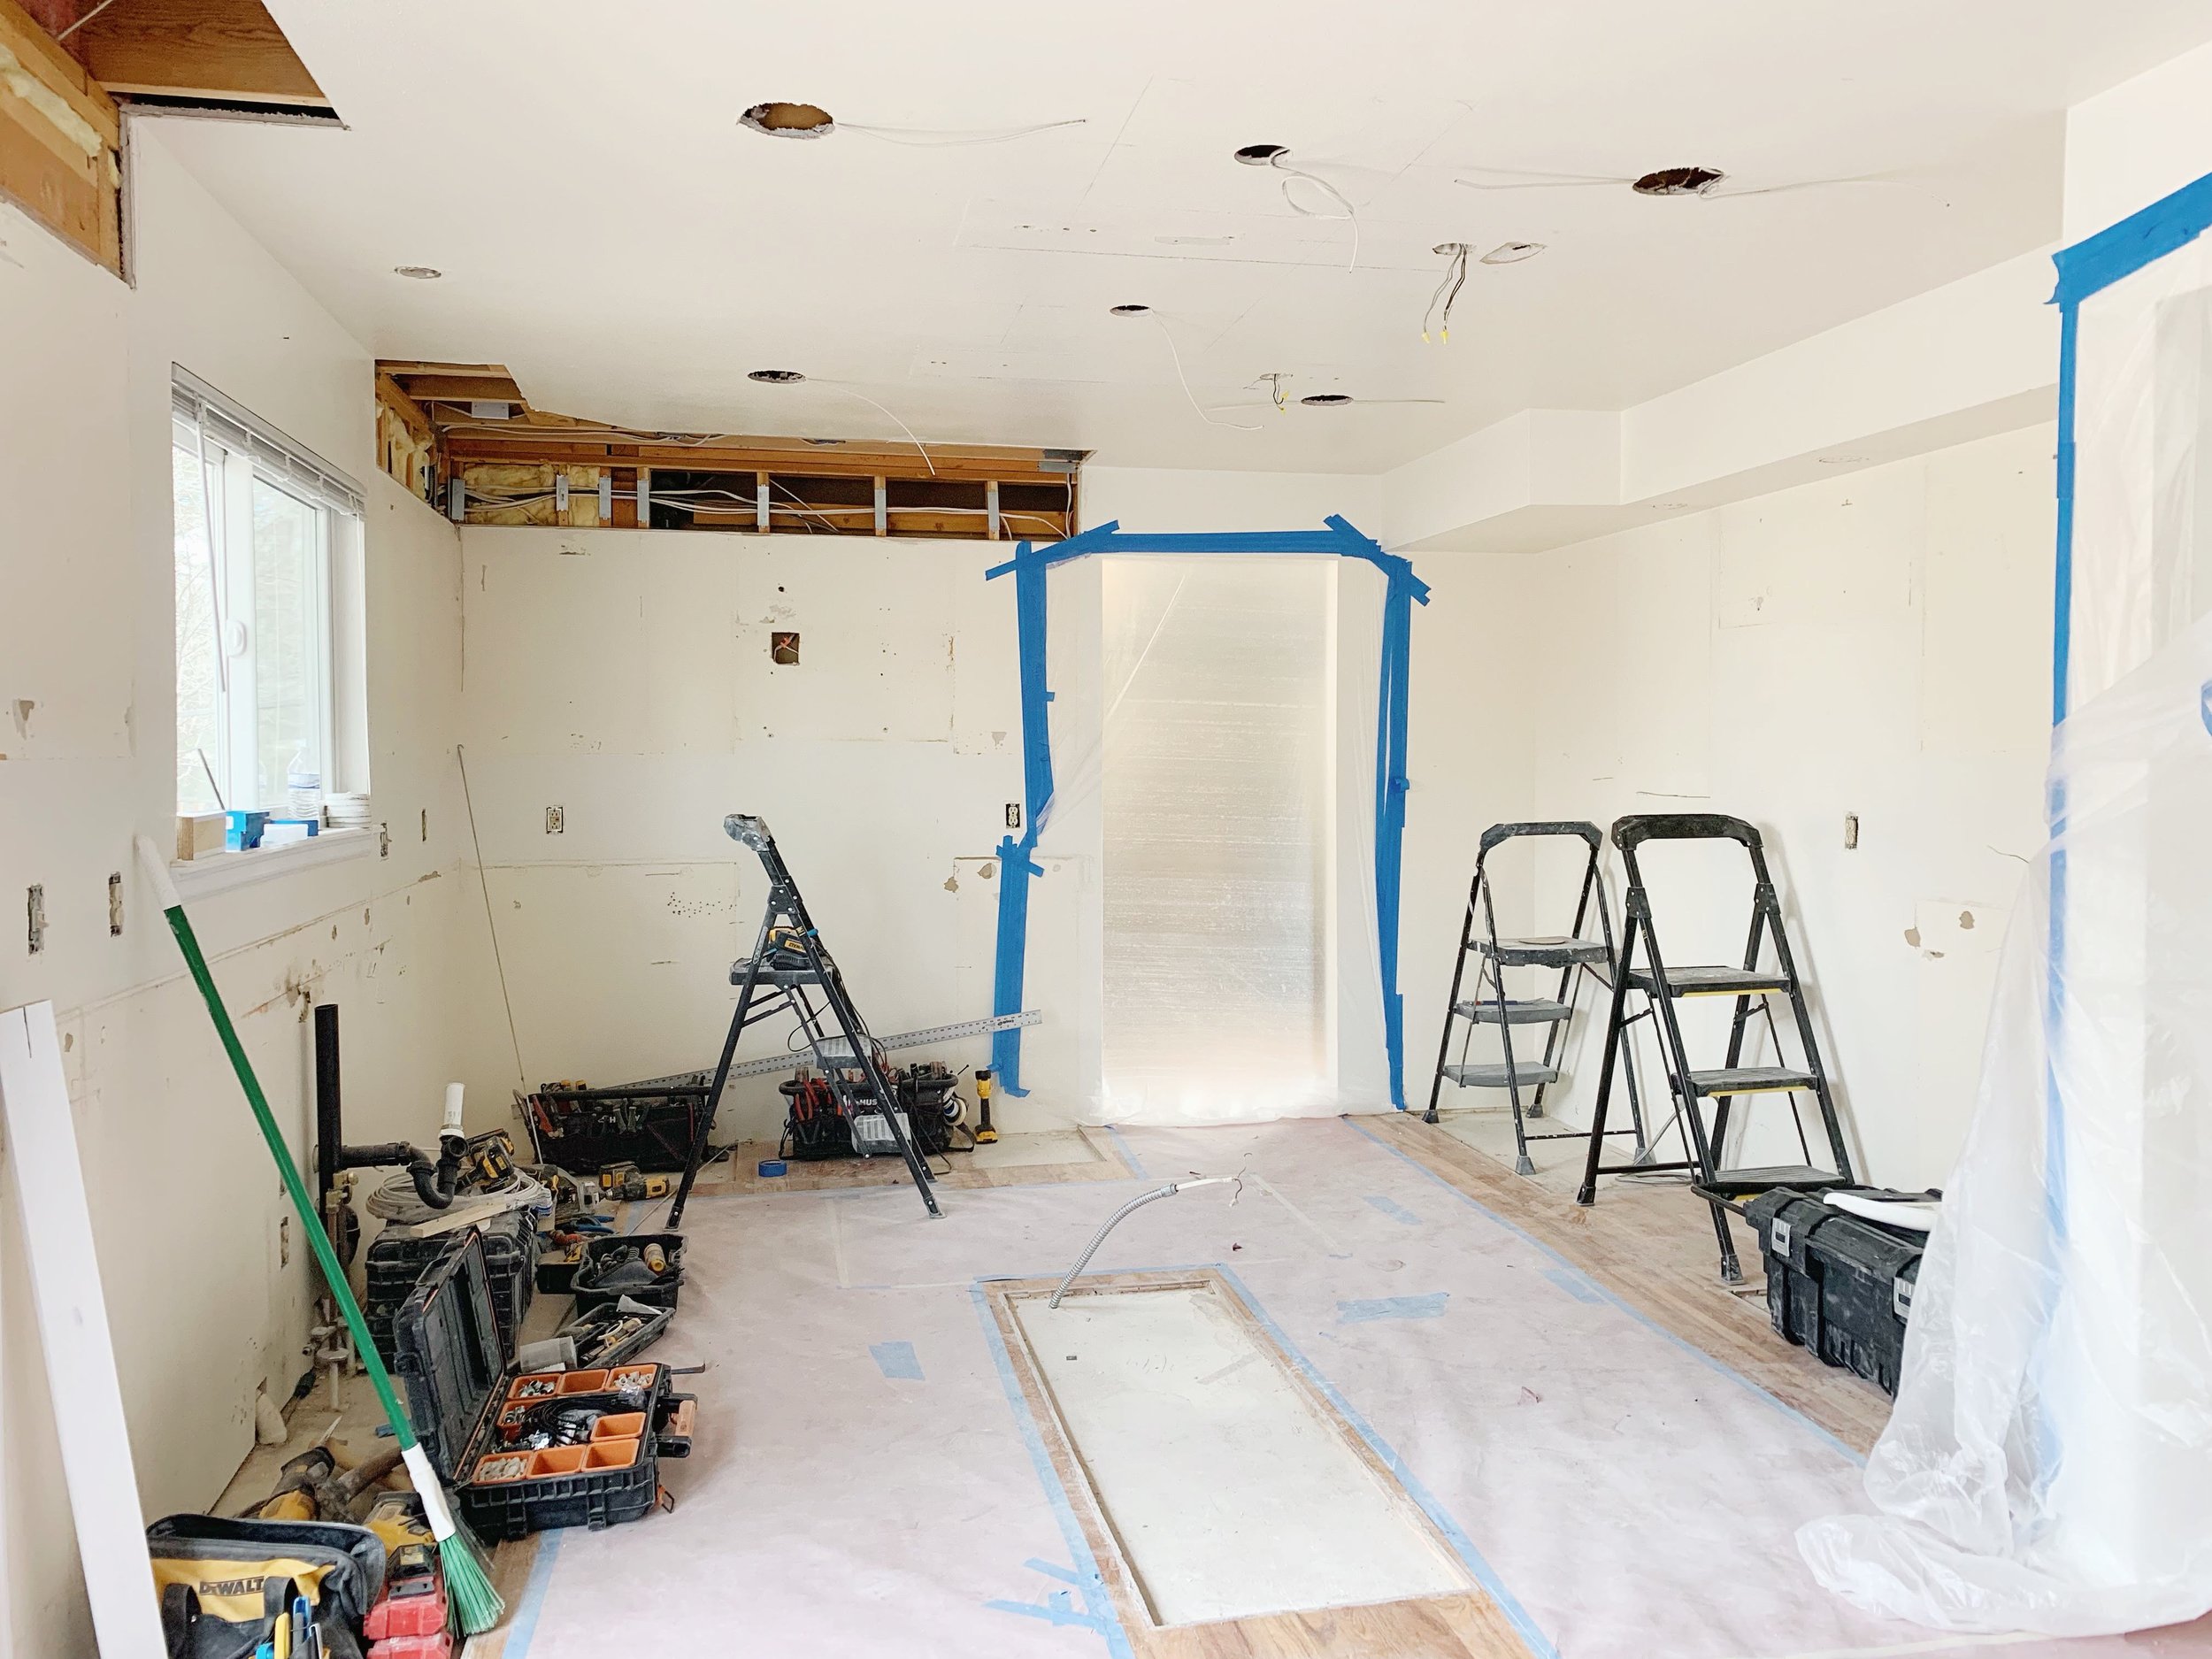
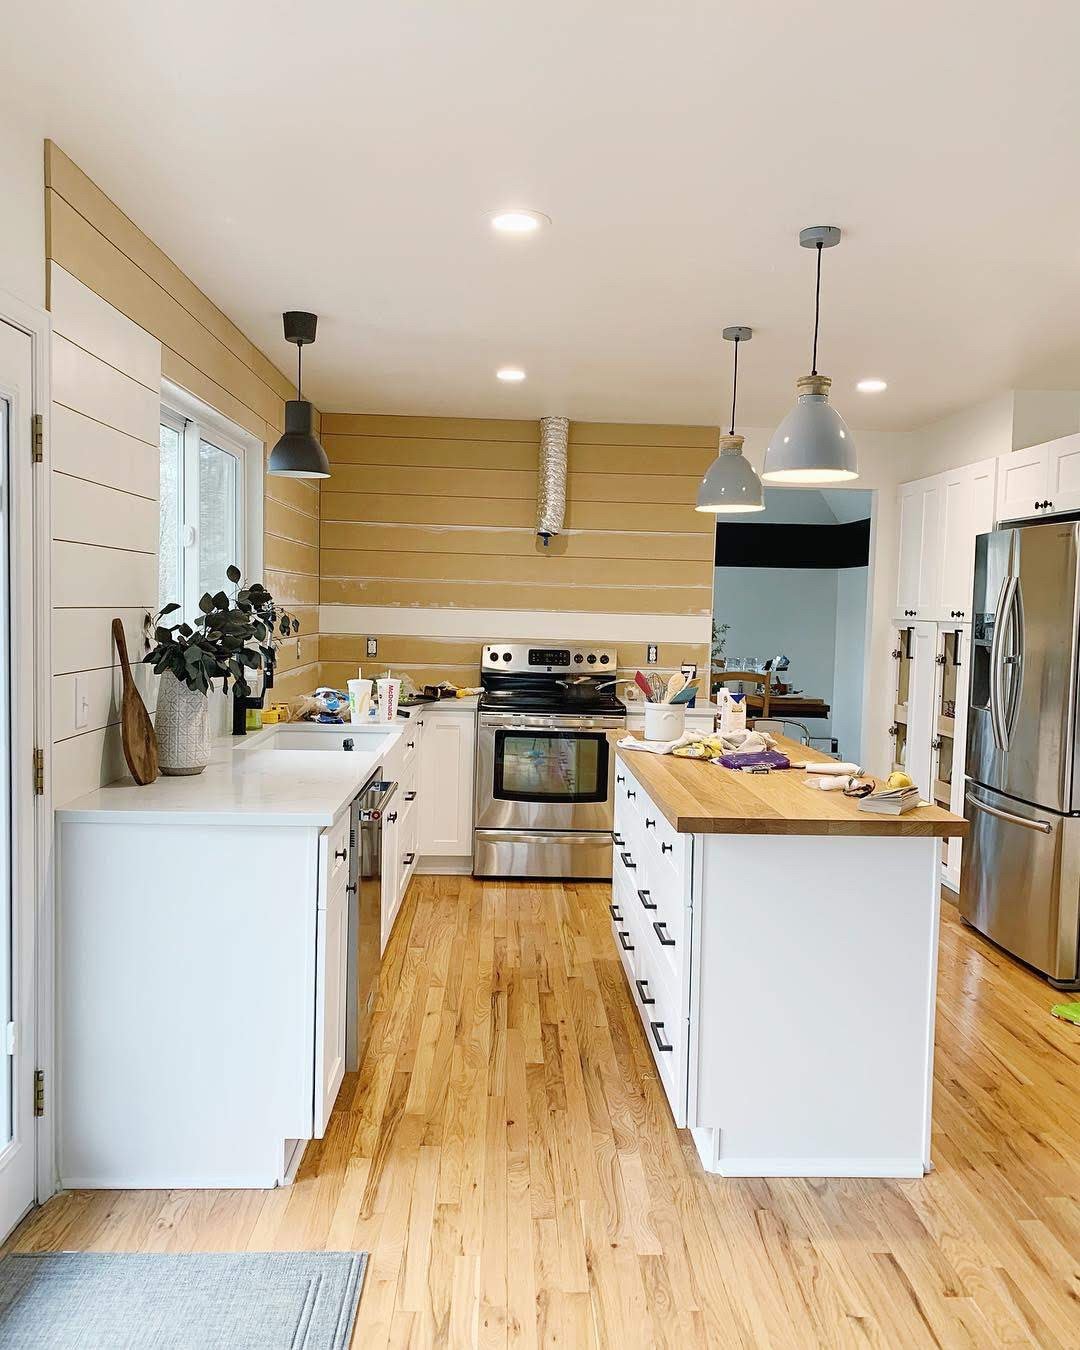
We would hire out contractors to demo the current kitchen, set the cabinets and countertops as well as remove the soffits, patch drywall and change electrical of the florescent lights to accommodate two pendants and some can lights. The rest would be done by us. What was left to do you ask? Well. We were planning on saving money by doing a “phase 1” type of backsplash/wall treatment and putting up shiplap. Then we would hang our open shelving and hood vent. As well as paint and finish the island.
The Inspiration:
The Process:
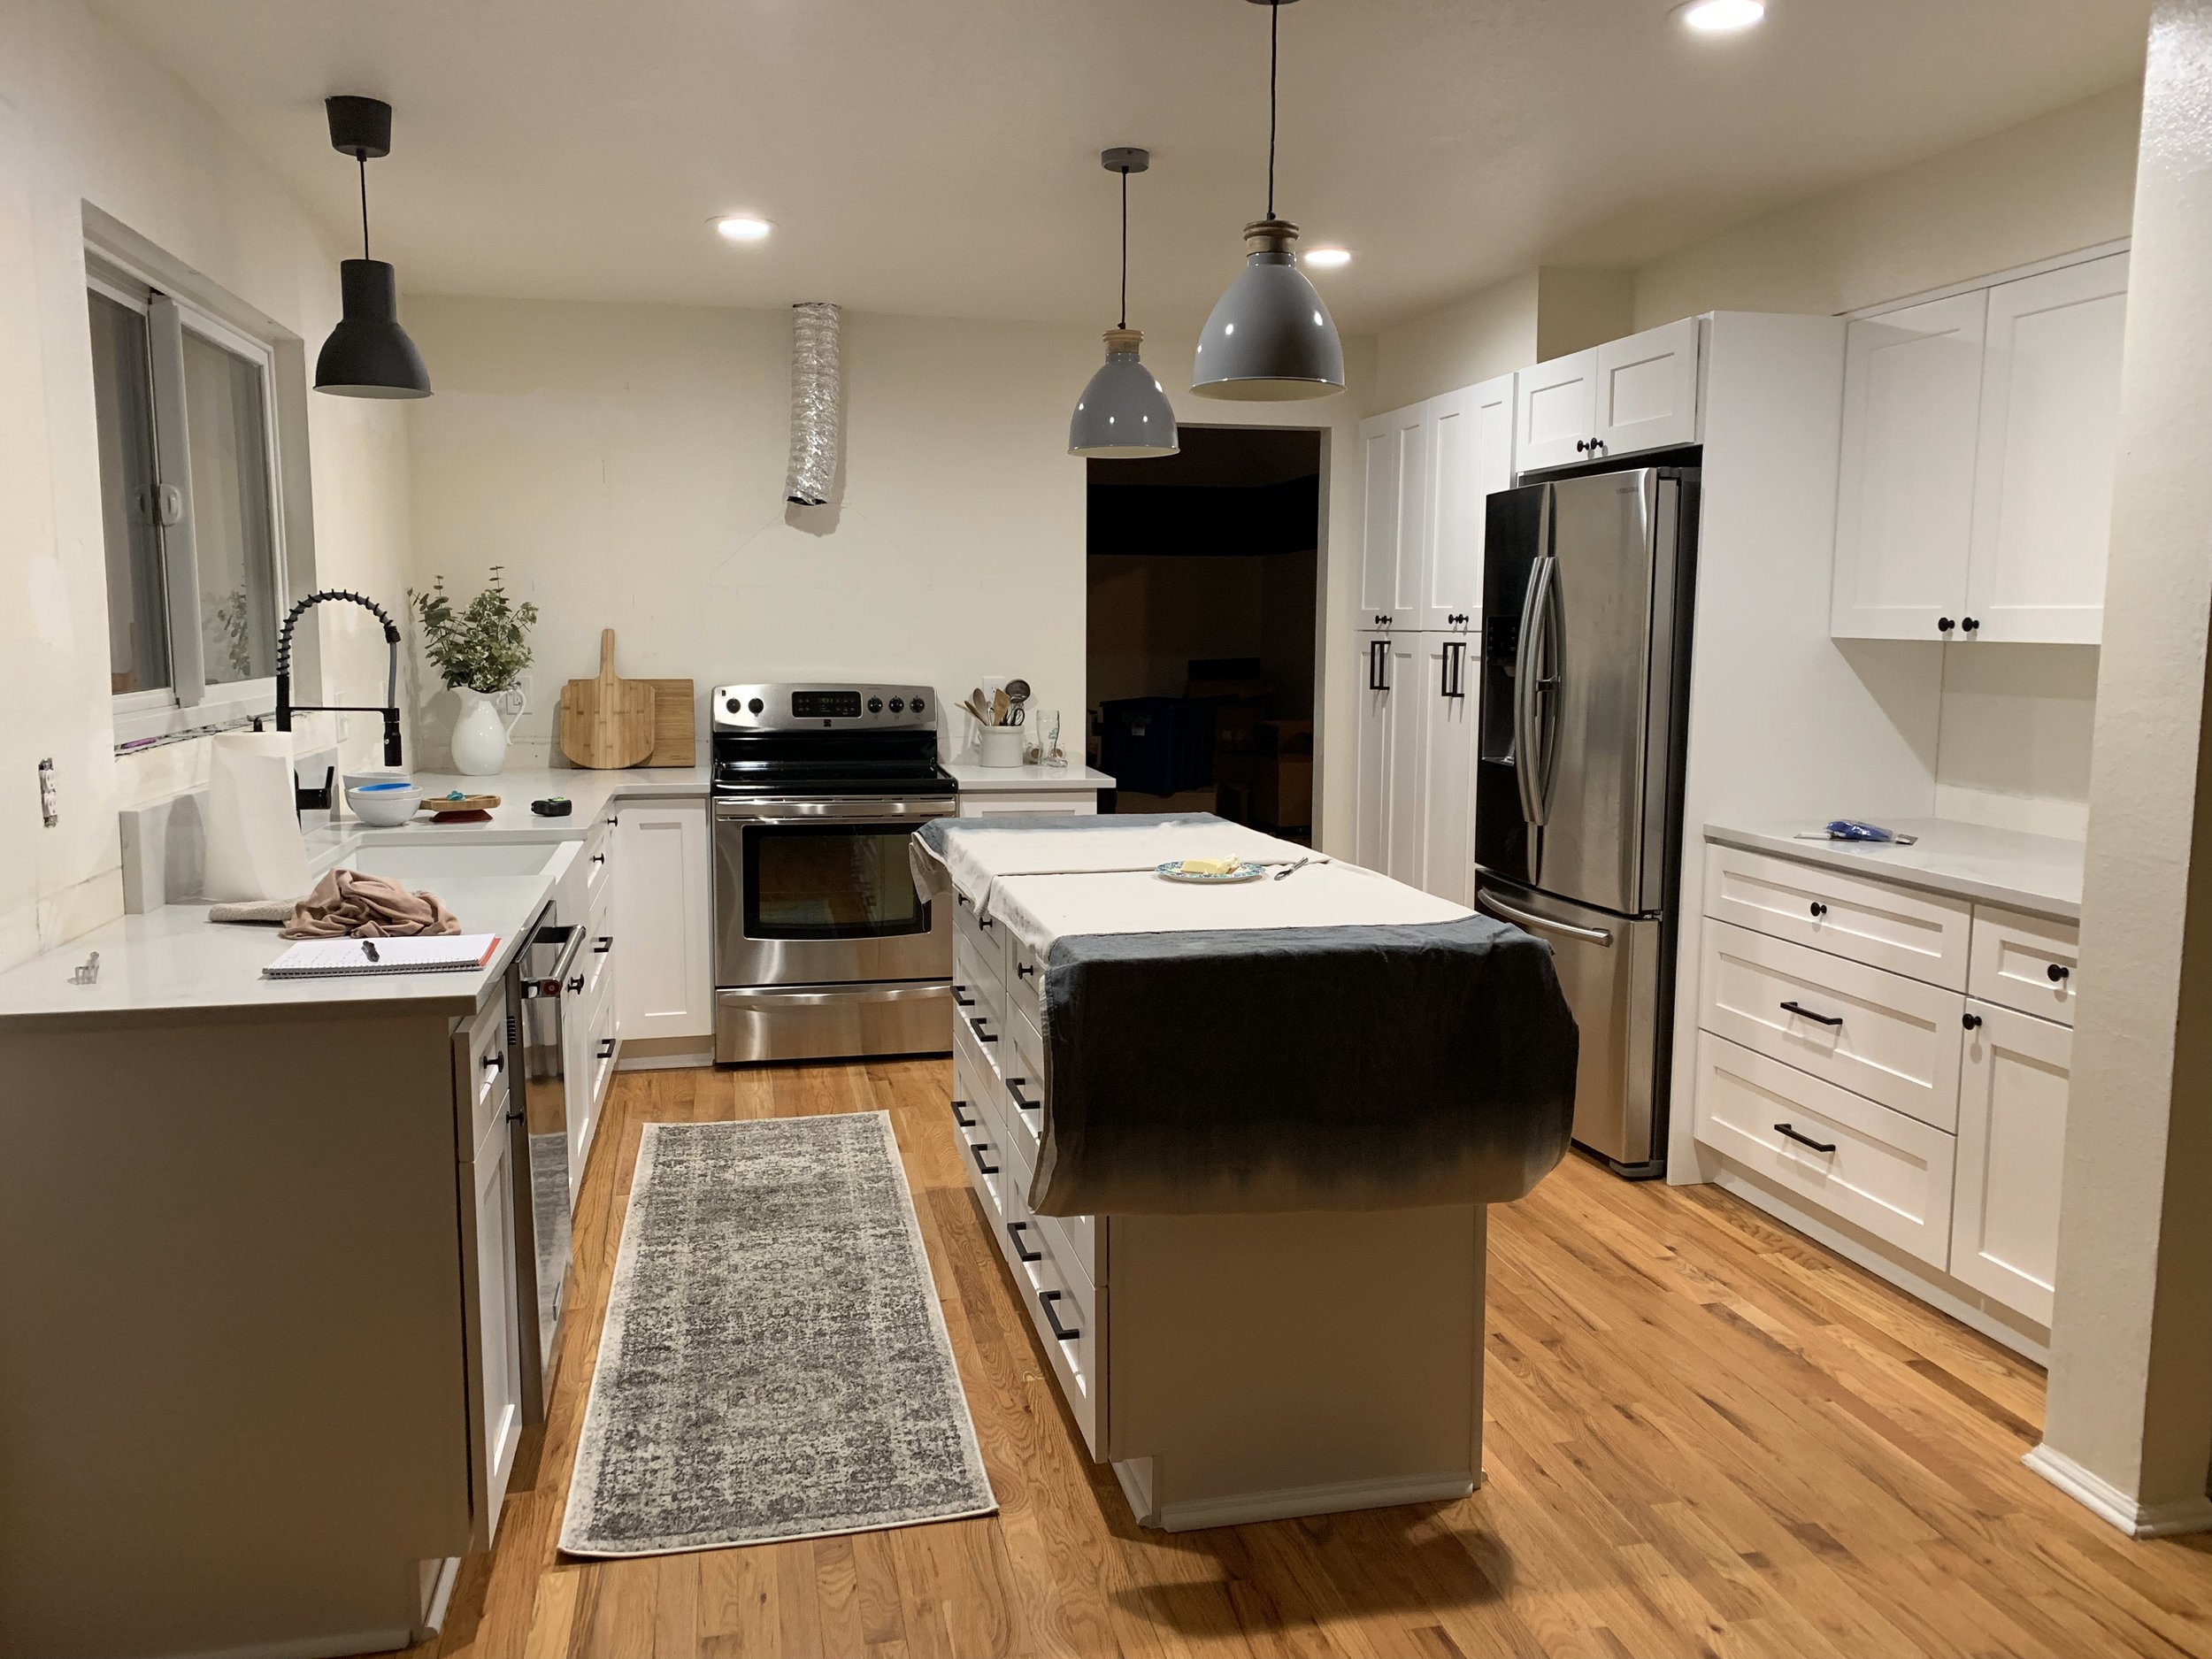
We had the cabinets, butcher block and shelves, hardware, faucet, lights and hood vent ordered and delivered. And we were home for the first two days of demo before leaving for a trip to avoid the construction. Thankfully most of it went off without a hitch while we were away. It helped that I left pretty detailed notes about pendant lighting height, cabinet hardware placement, etc.
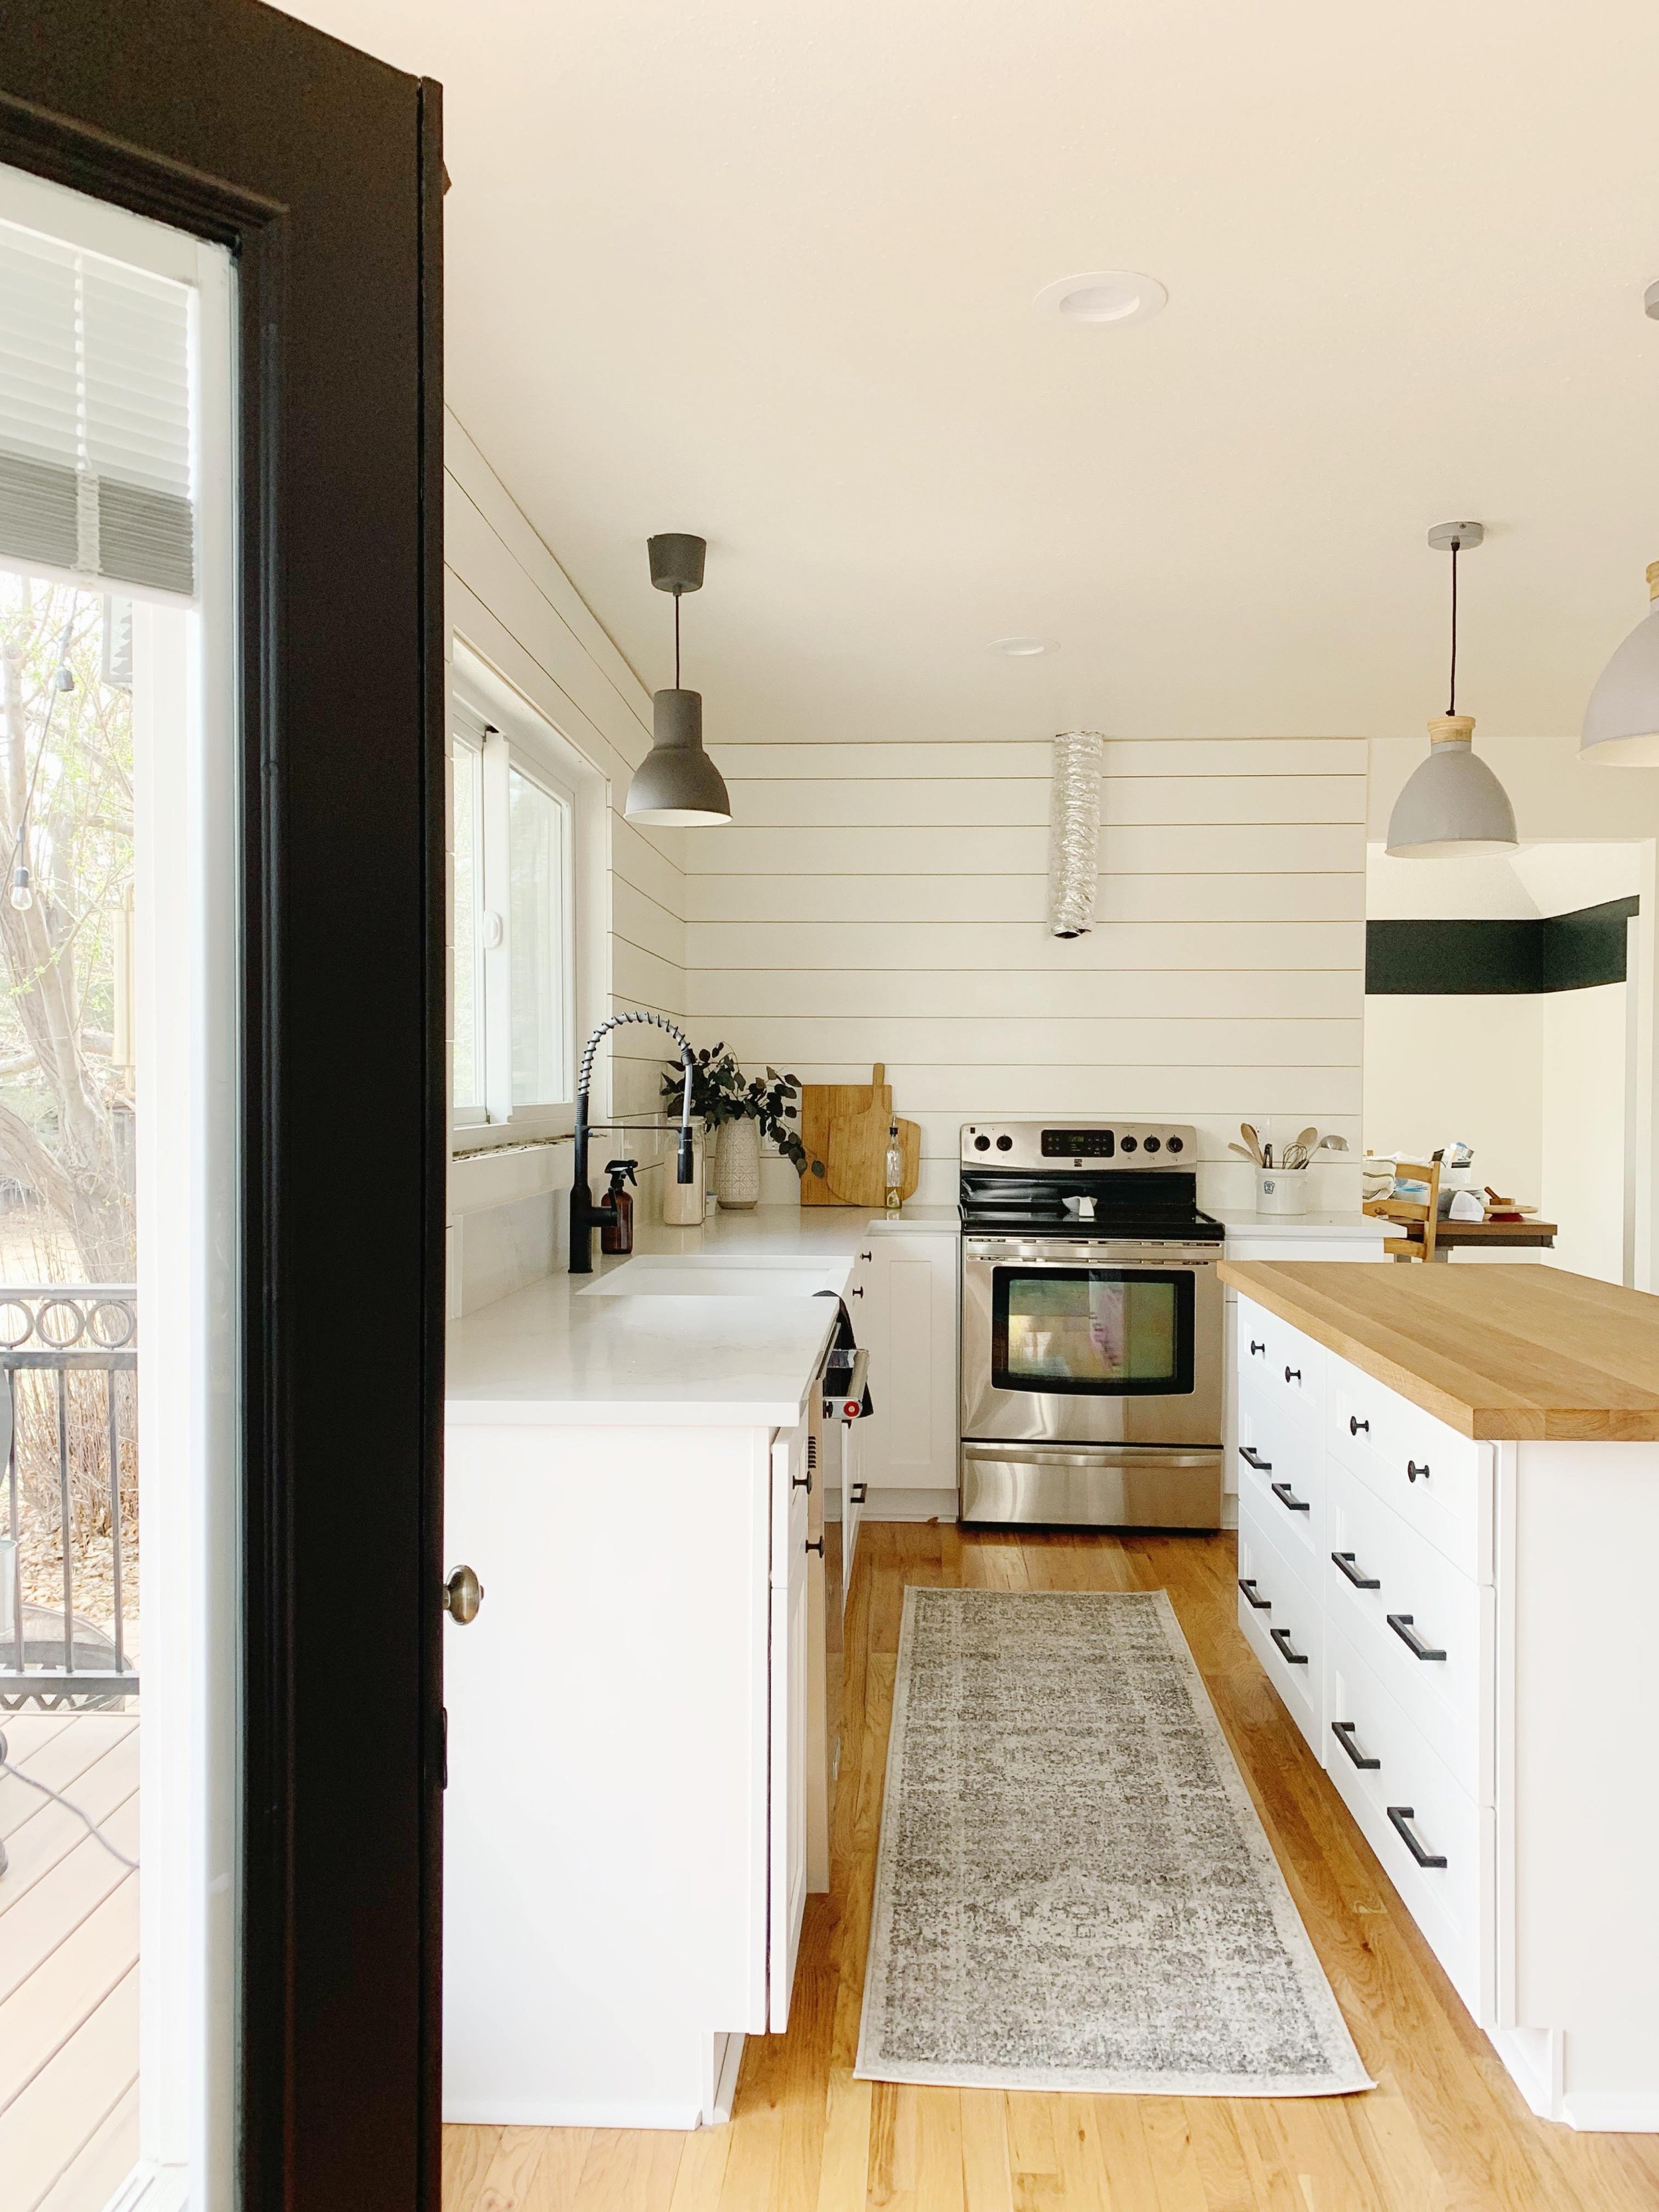
A week later and a trip to California we came back to a new(ish) kitchen. It was quite a sight and we were so excited, but we still had a lot of work ahead of us to finish. That list included shiplap backsplash, hanging shelves, hanging the hood vent, and finishing the butcher block. The finishing touches. The things that we knew we could easily handle and would also save us thousands of dollars.
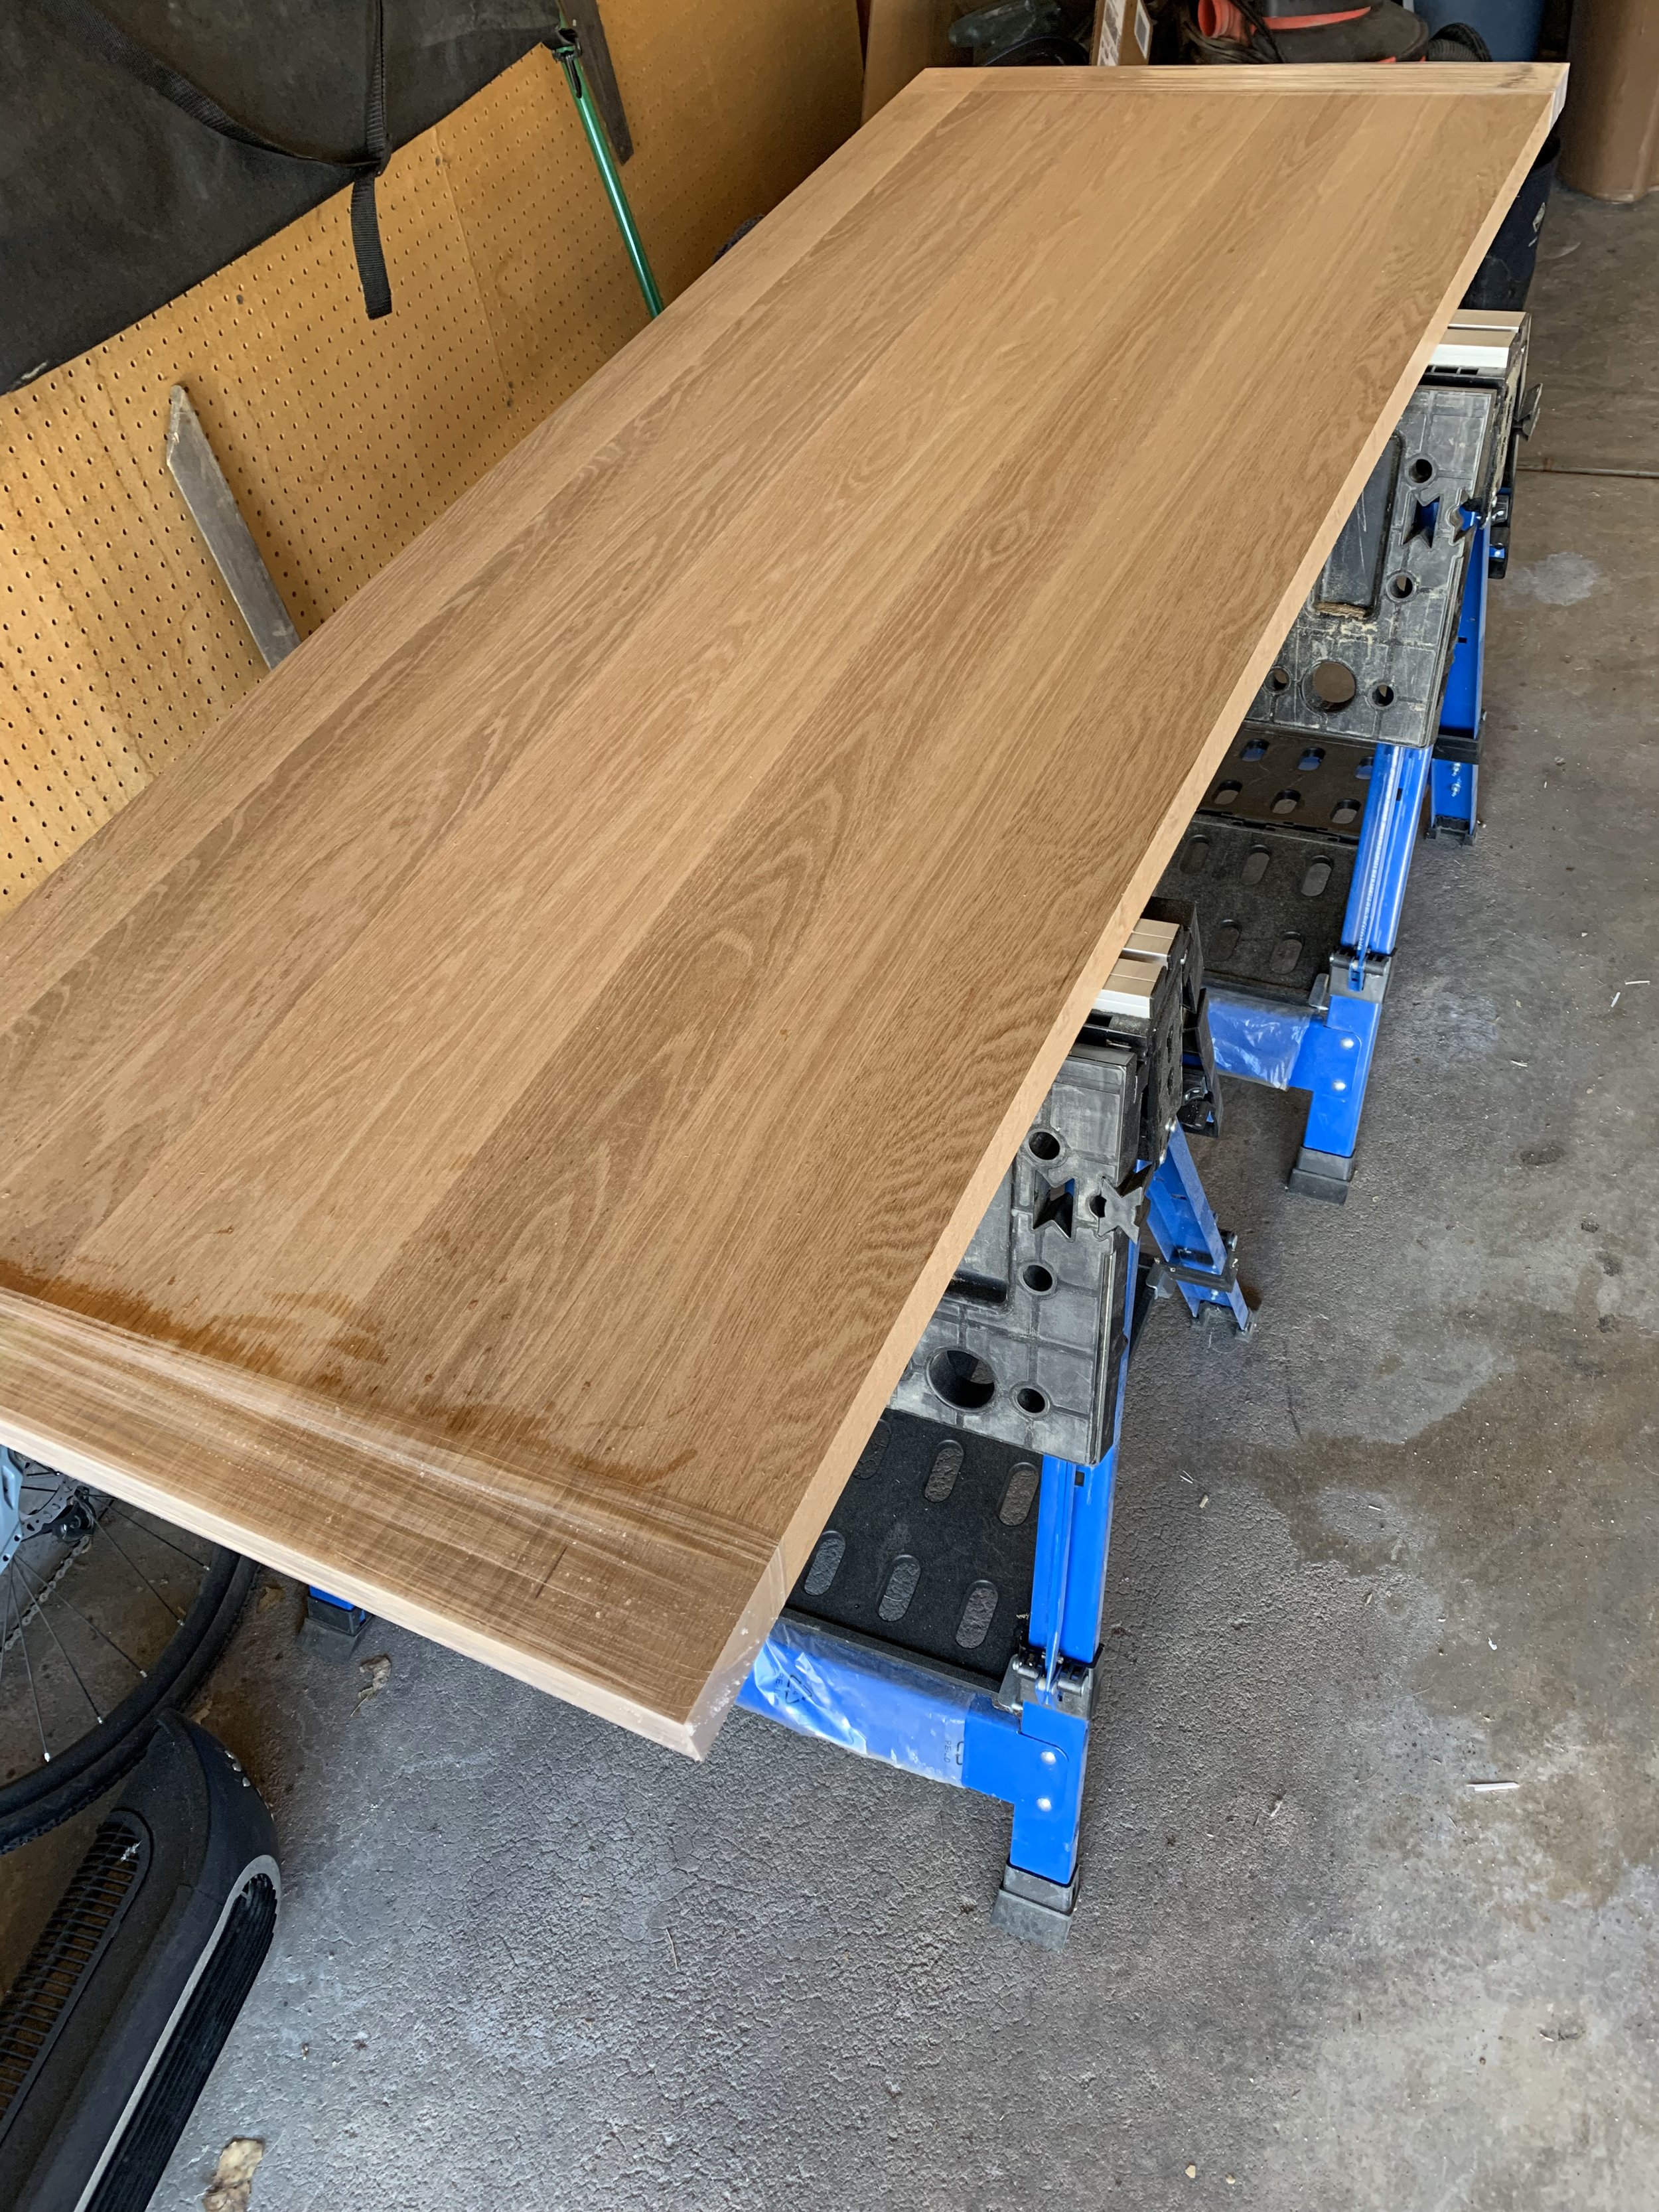
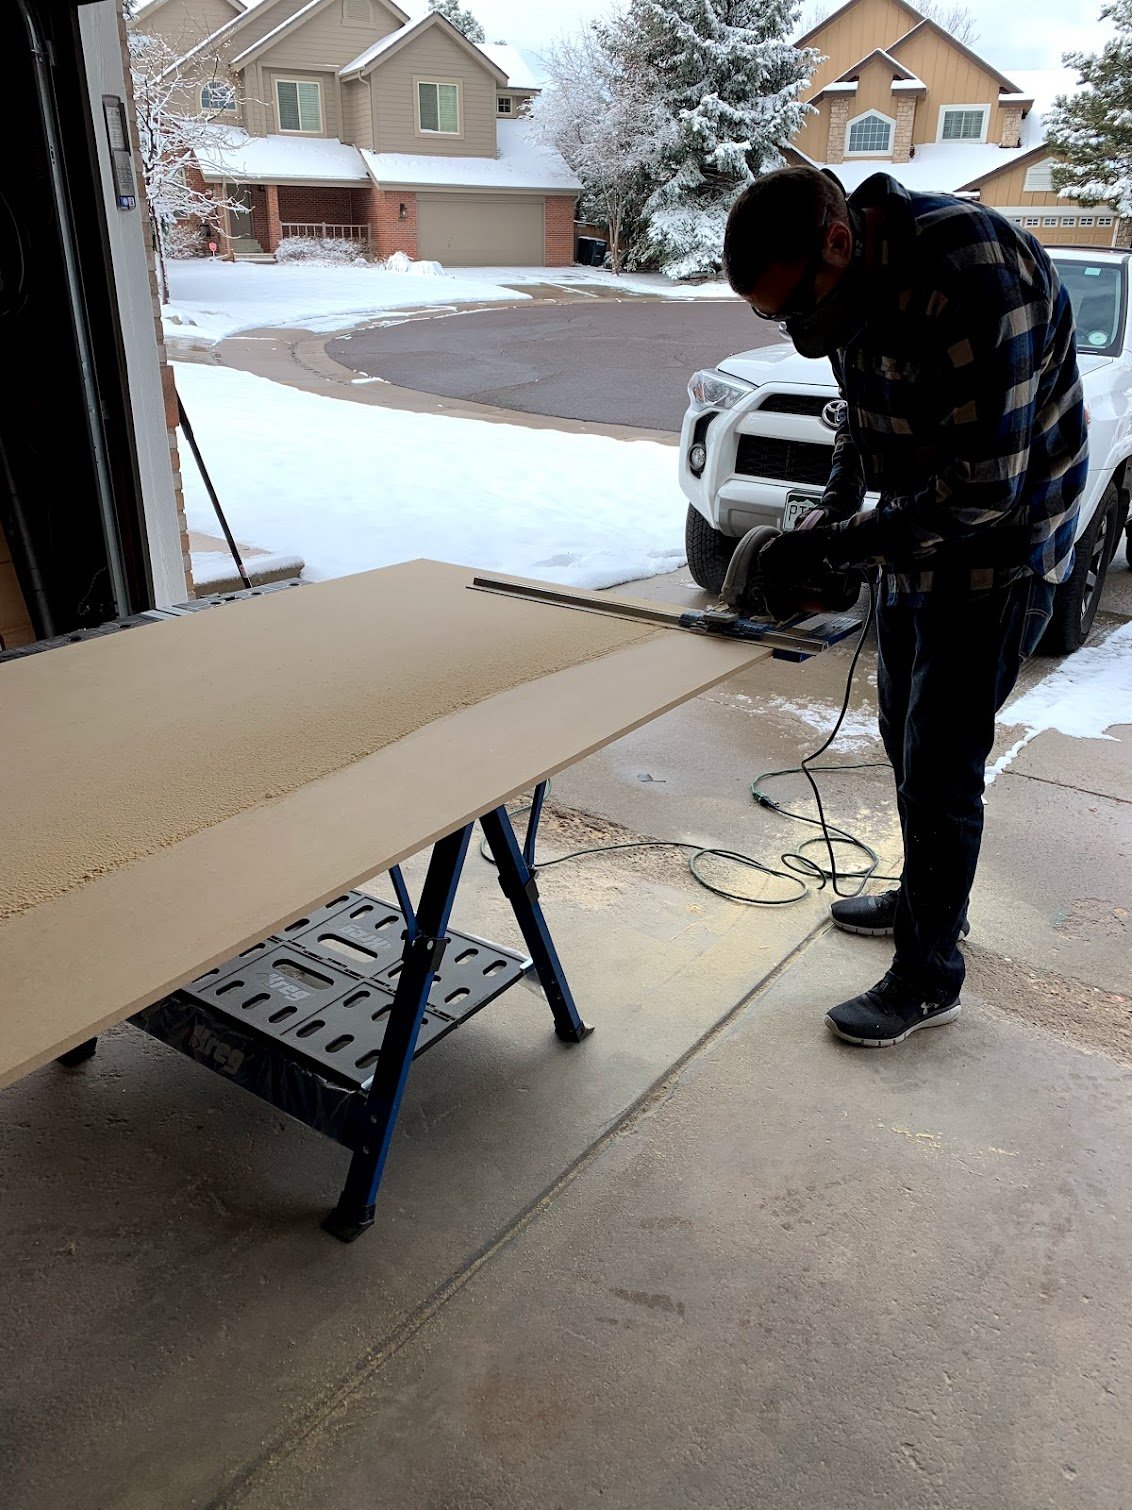
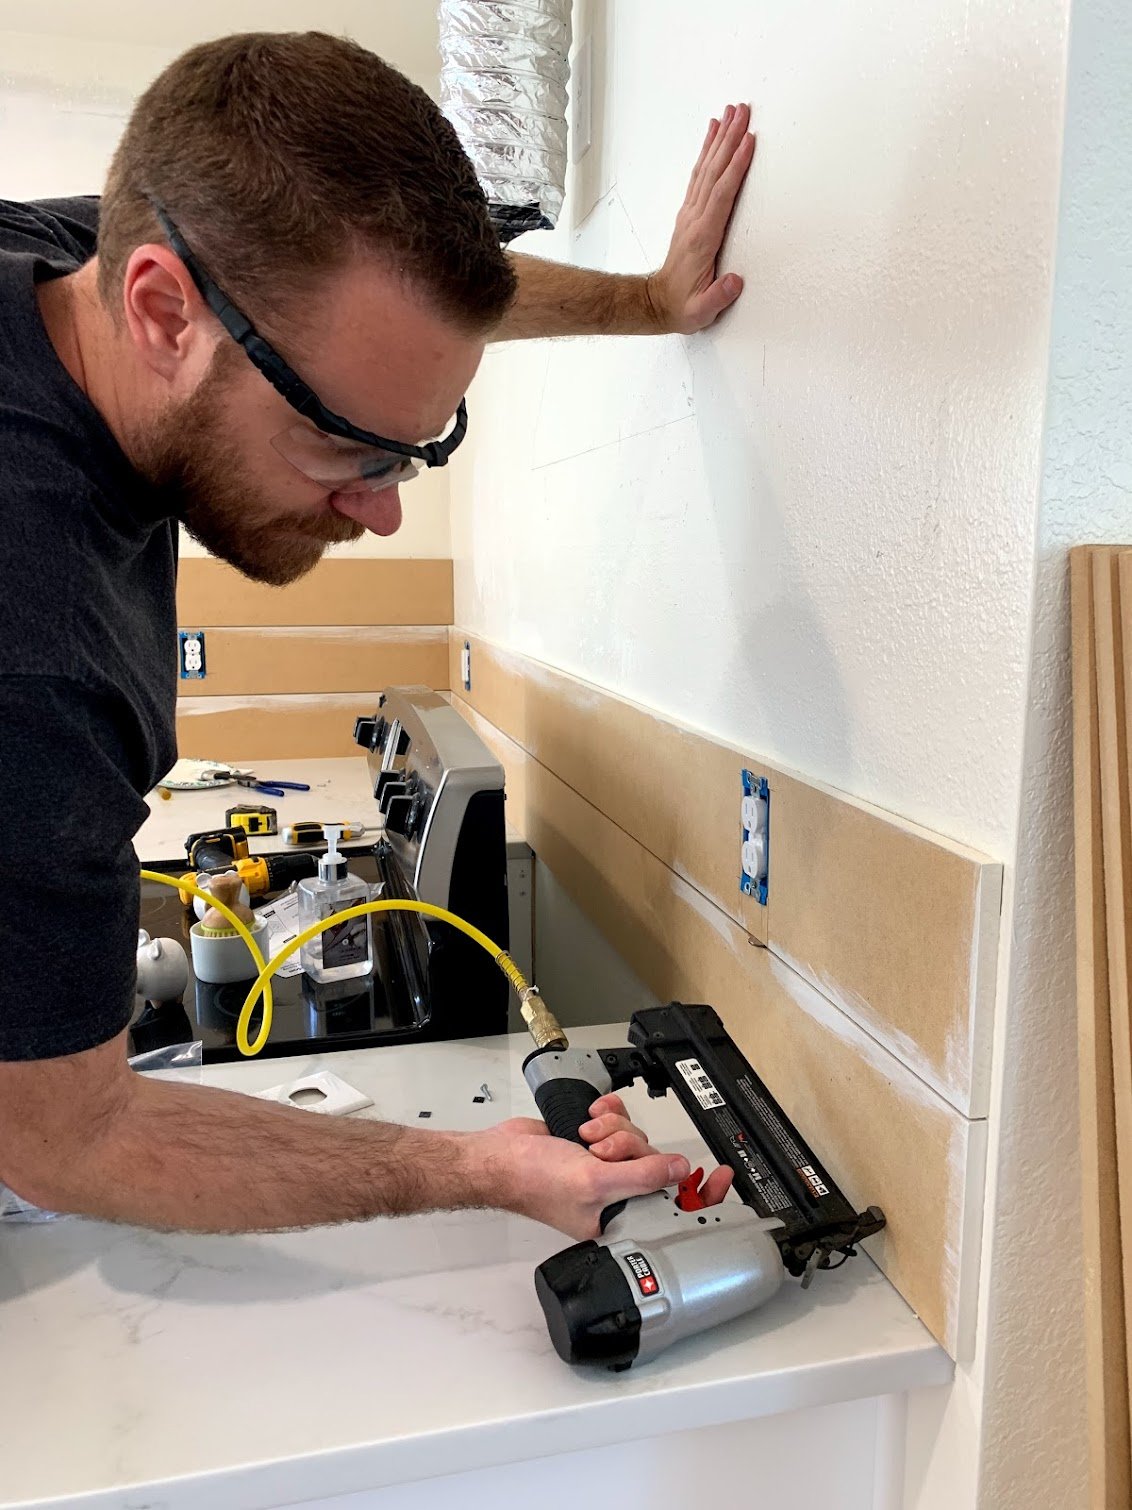
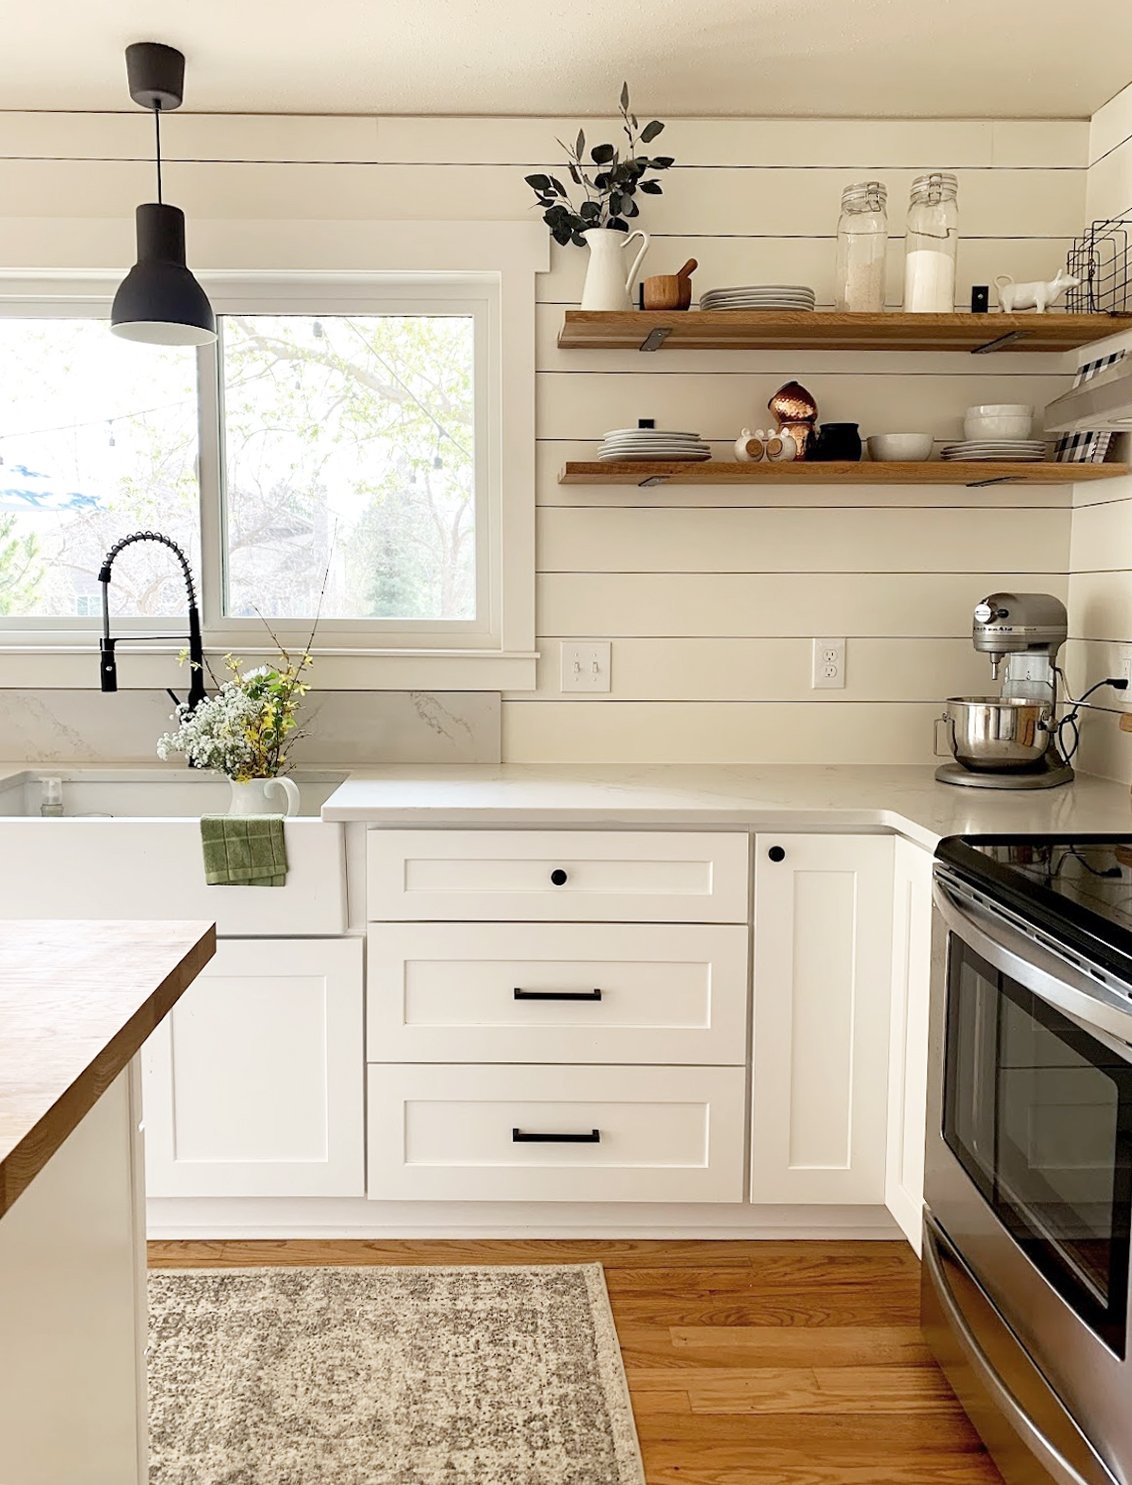
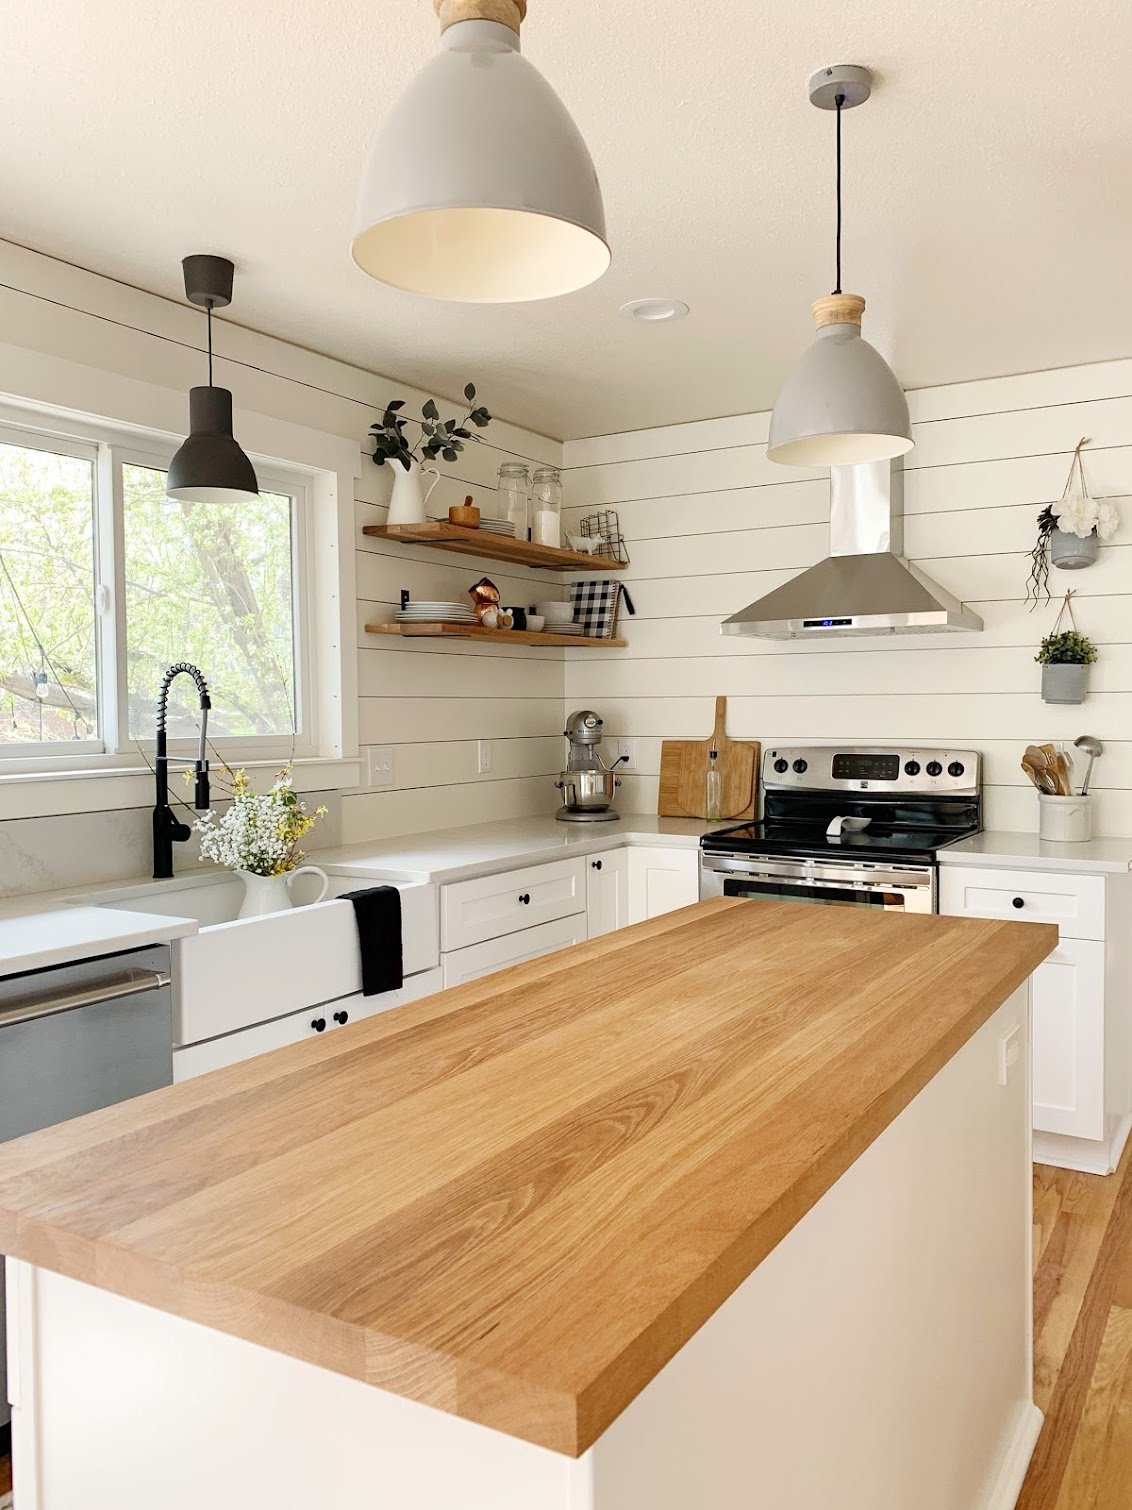
In an attempt to save money for the first phase of our kitchen, we decided we would rip down MDF boards to finish the walls in horizontal shiplap, instead of buying the tongue and groove finished boards. While it was a lot more work (and dust), it was worth it to us for the money we saved. The butcher block countertop and the wood for the open shelving was sourced locally from Austin Hardwoods in Denver. After a bit of back and fourth, we decided on white oak because it would be the most versatile is we ever decided to stain it another color. The brackets we purchased from were the perfect blend of form and function which I can say I had the hardest time sourcing. Knowing these would be holding up several pounds of glass dishware was a little stressful, but we are four years in and have a ton of confidence putting things on those shelves.
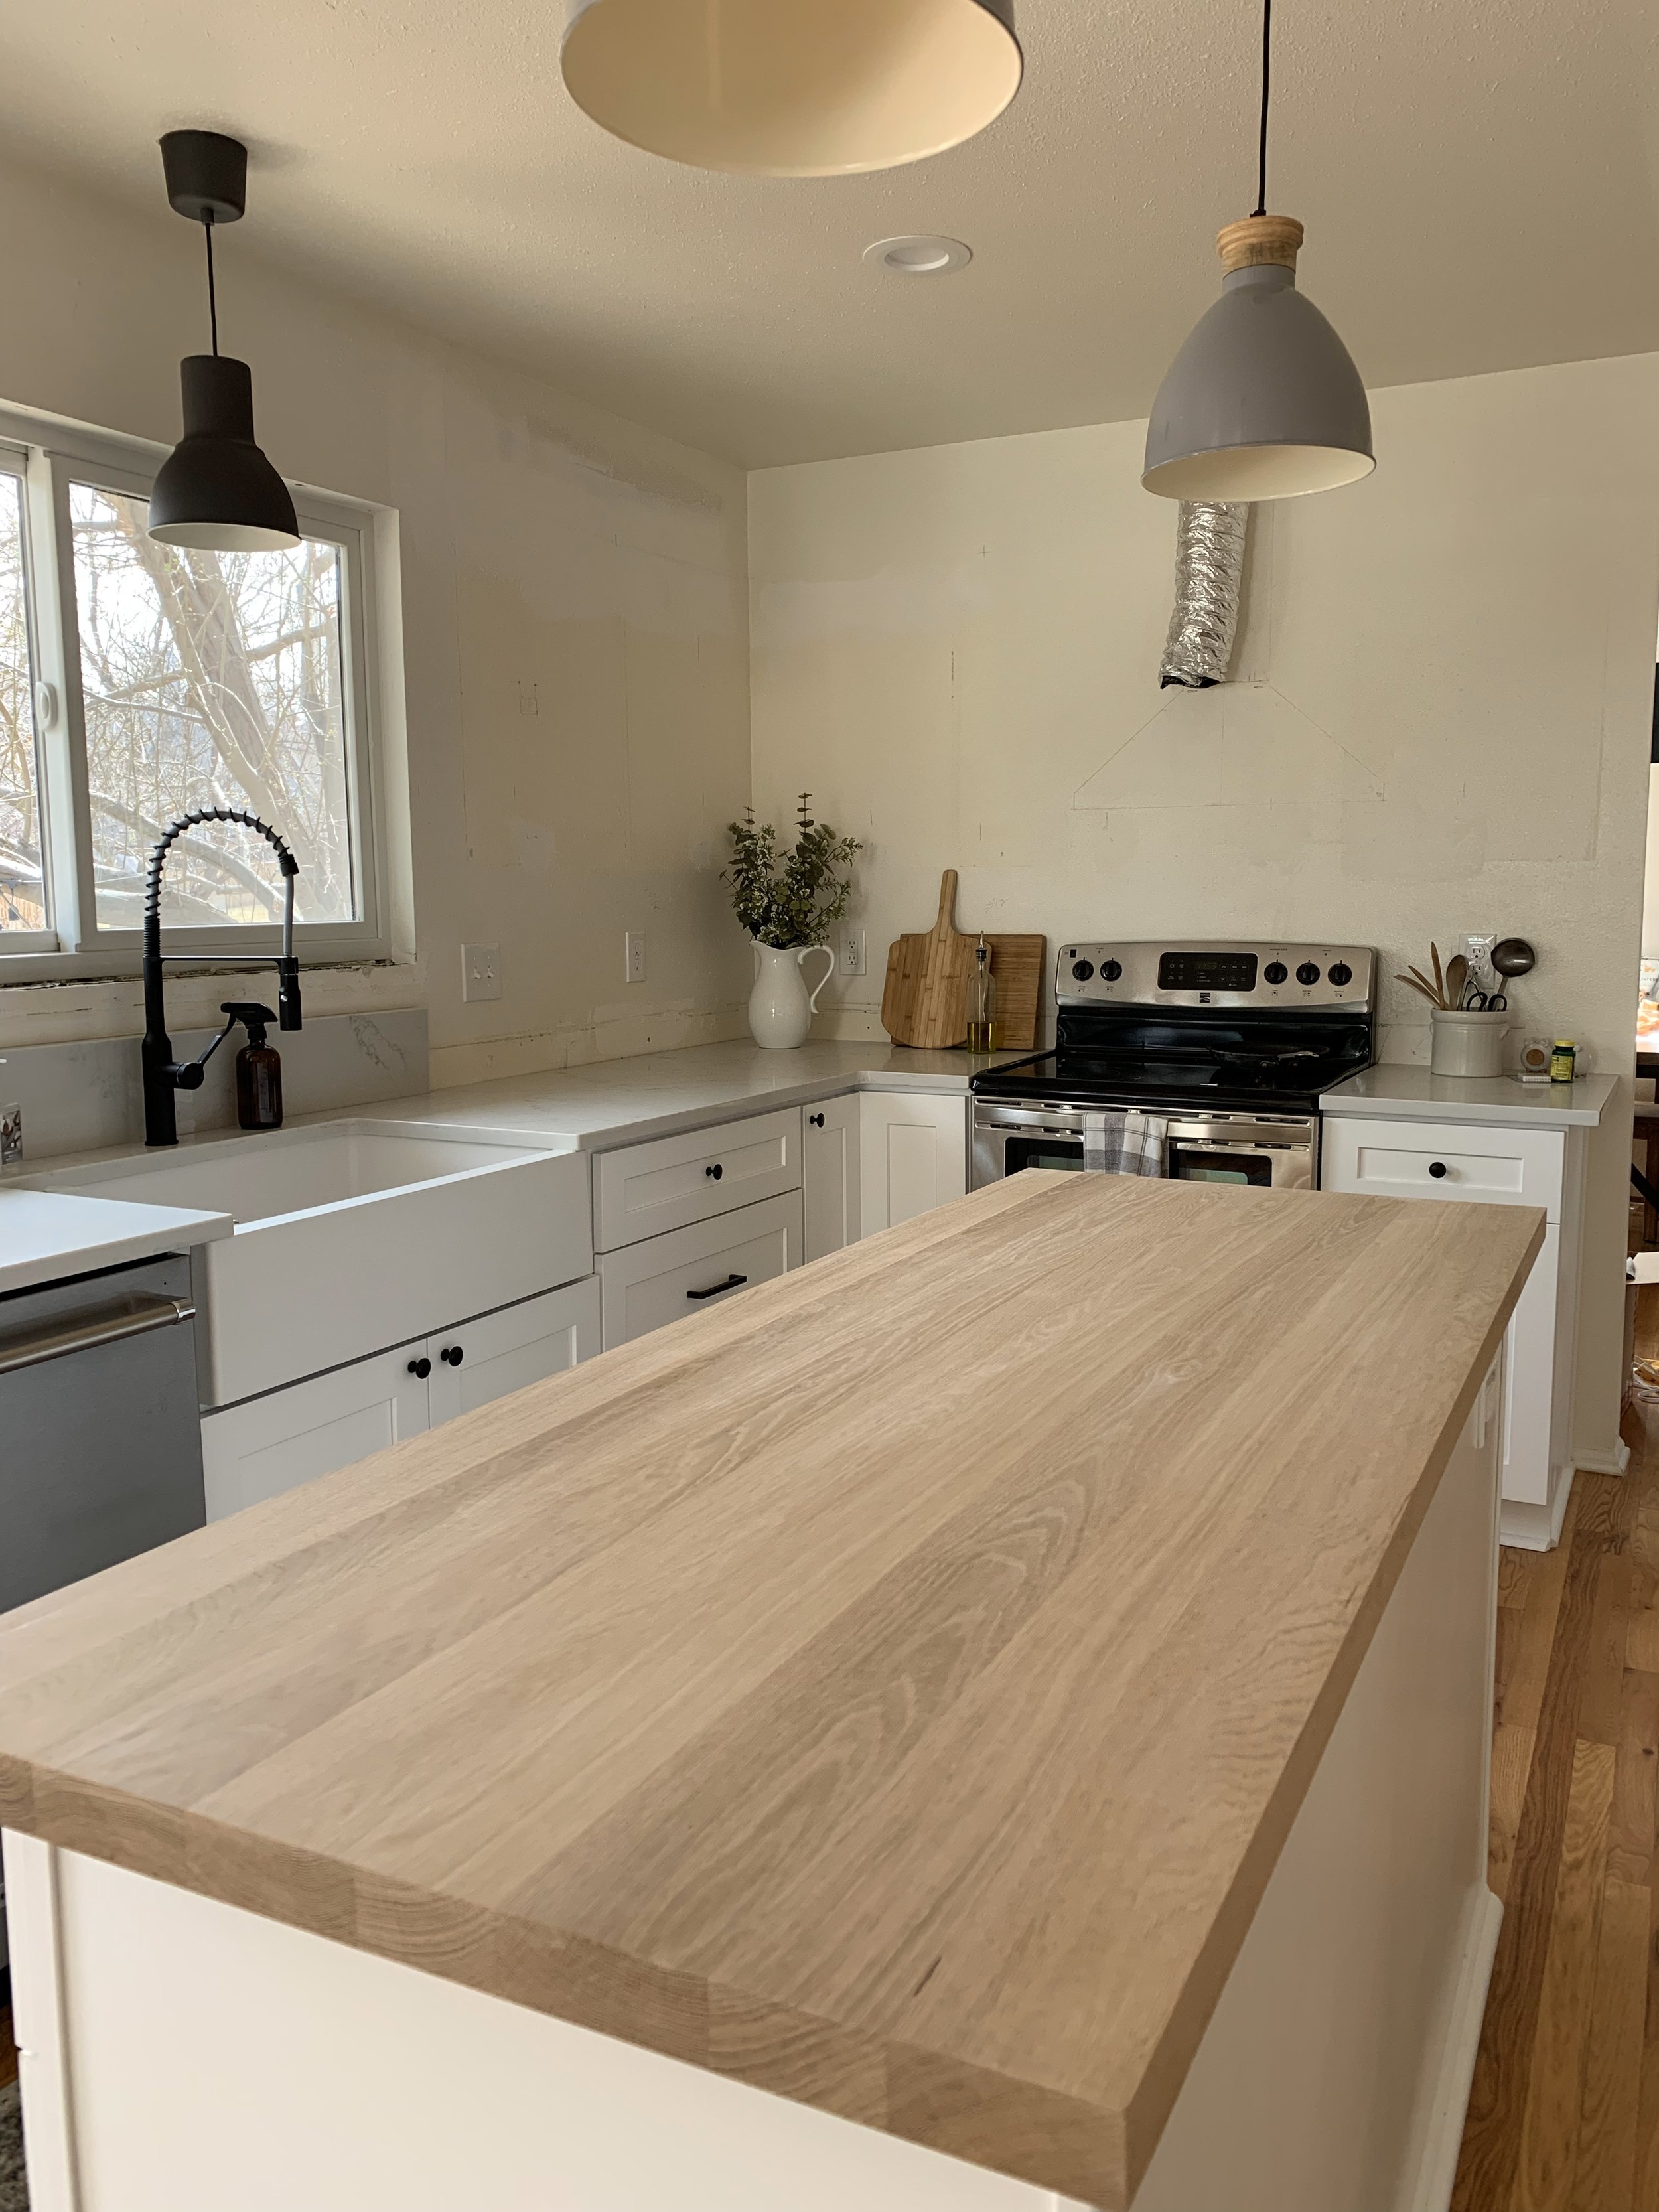
With the shiplap up, nail holes filled, primed, painted, shelves and hood vent hung this kitchen of ours was starting to take shape! I will make a note about the butcher block because when it came time to finish it I had a hard time deciding what to do and knowing how to do it. At first we went with the “food safe” route. Some bees wax and finishing oil. While it looked beautiful the upkeep on that was not something I was at all prepared for. I was constantly worried about the island getting wet and raising the wood, no matter how much I waxed it. This was absolutely not the solution for us. I ended up using Waterlox sealer. This stuff I would recommend over and over. With this to say: it is an oil based sealer, it will change the color of your wood, bringing out the yellows/amber tones, if that’s something you want to avoid, I would suggest using something else. If that is something that doesn’t bother you, or you are sealing a dark wood and wont notice, this stuff is impenetrable. It put such a beautiful and STRONG layer of protection on our butcher block that sill left if looking natural but very usable.
This is one of my favorite angles of before and afters. Its amazing how different the space not only looks, but feels and functions. The footprint is the same, and the size is the same, but if feels so much bigger. We took down cabinetry and replaced it with open shelving but somehow we gained so much more storage. Drawers and pull out pantry shelves are so much more practical because you can see everything you have stored instead of it getting lost in the deep dark caverns of the back of the cabinets.
Taking our time:
For the longest time we left parts of the kitchen bare, simply for the sake of not knowing exactly what to do with them and not wanting to spend money doing the wrong thing just to get it done. It’s made the whole thing sweeter to watch come to life because we have lived in the space and better understood what we liked over time and we were able to more mindfully choose finishing touches. No, it wasn’t this grand “reveal” you would see on HGTV or Instagram, its real life and home takes time!
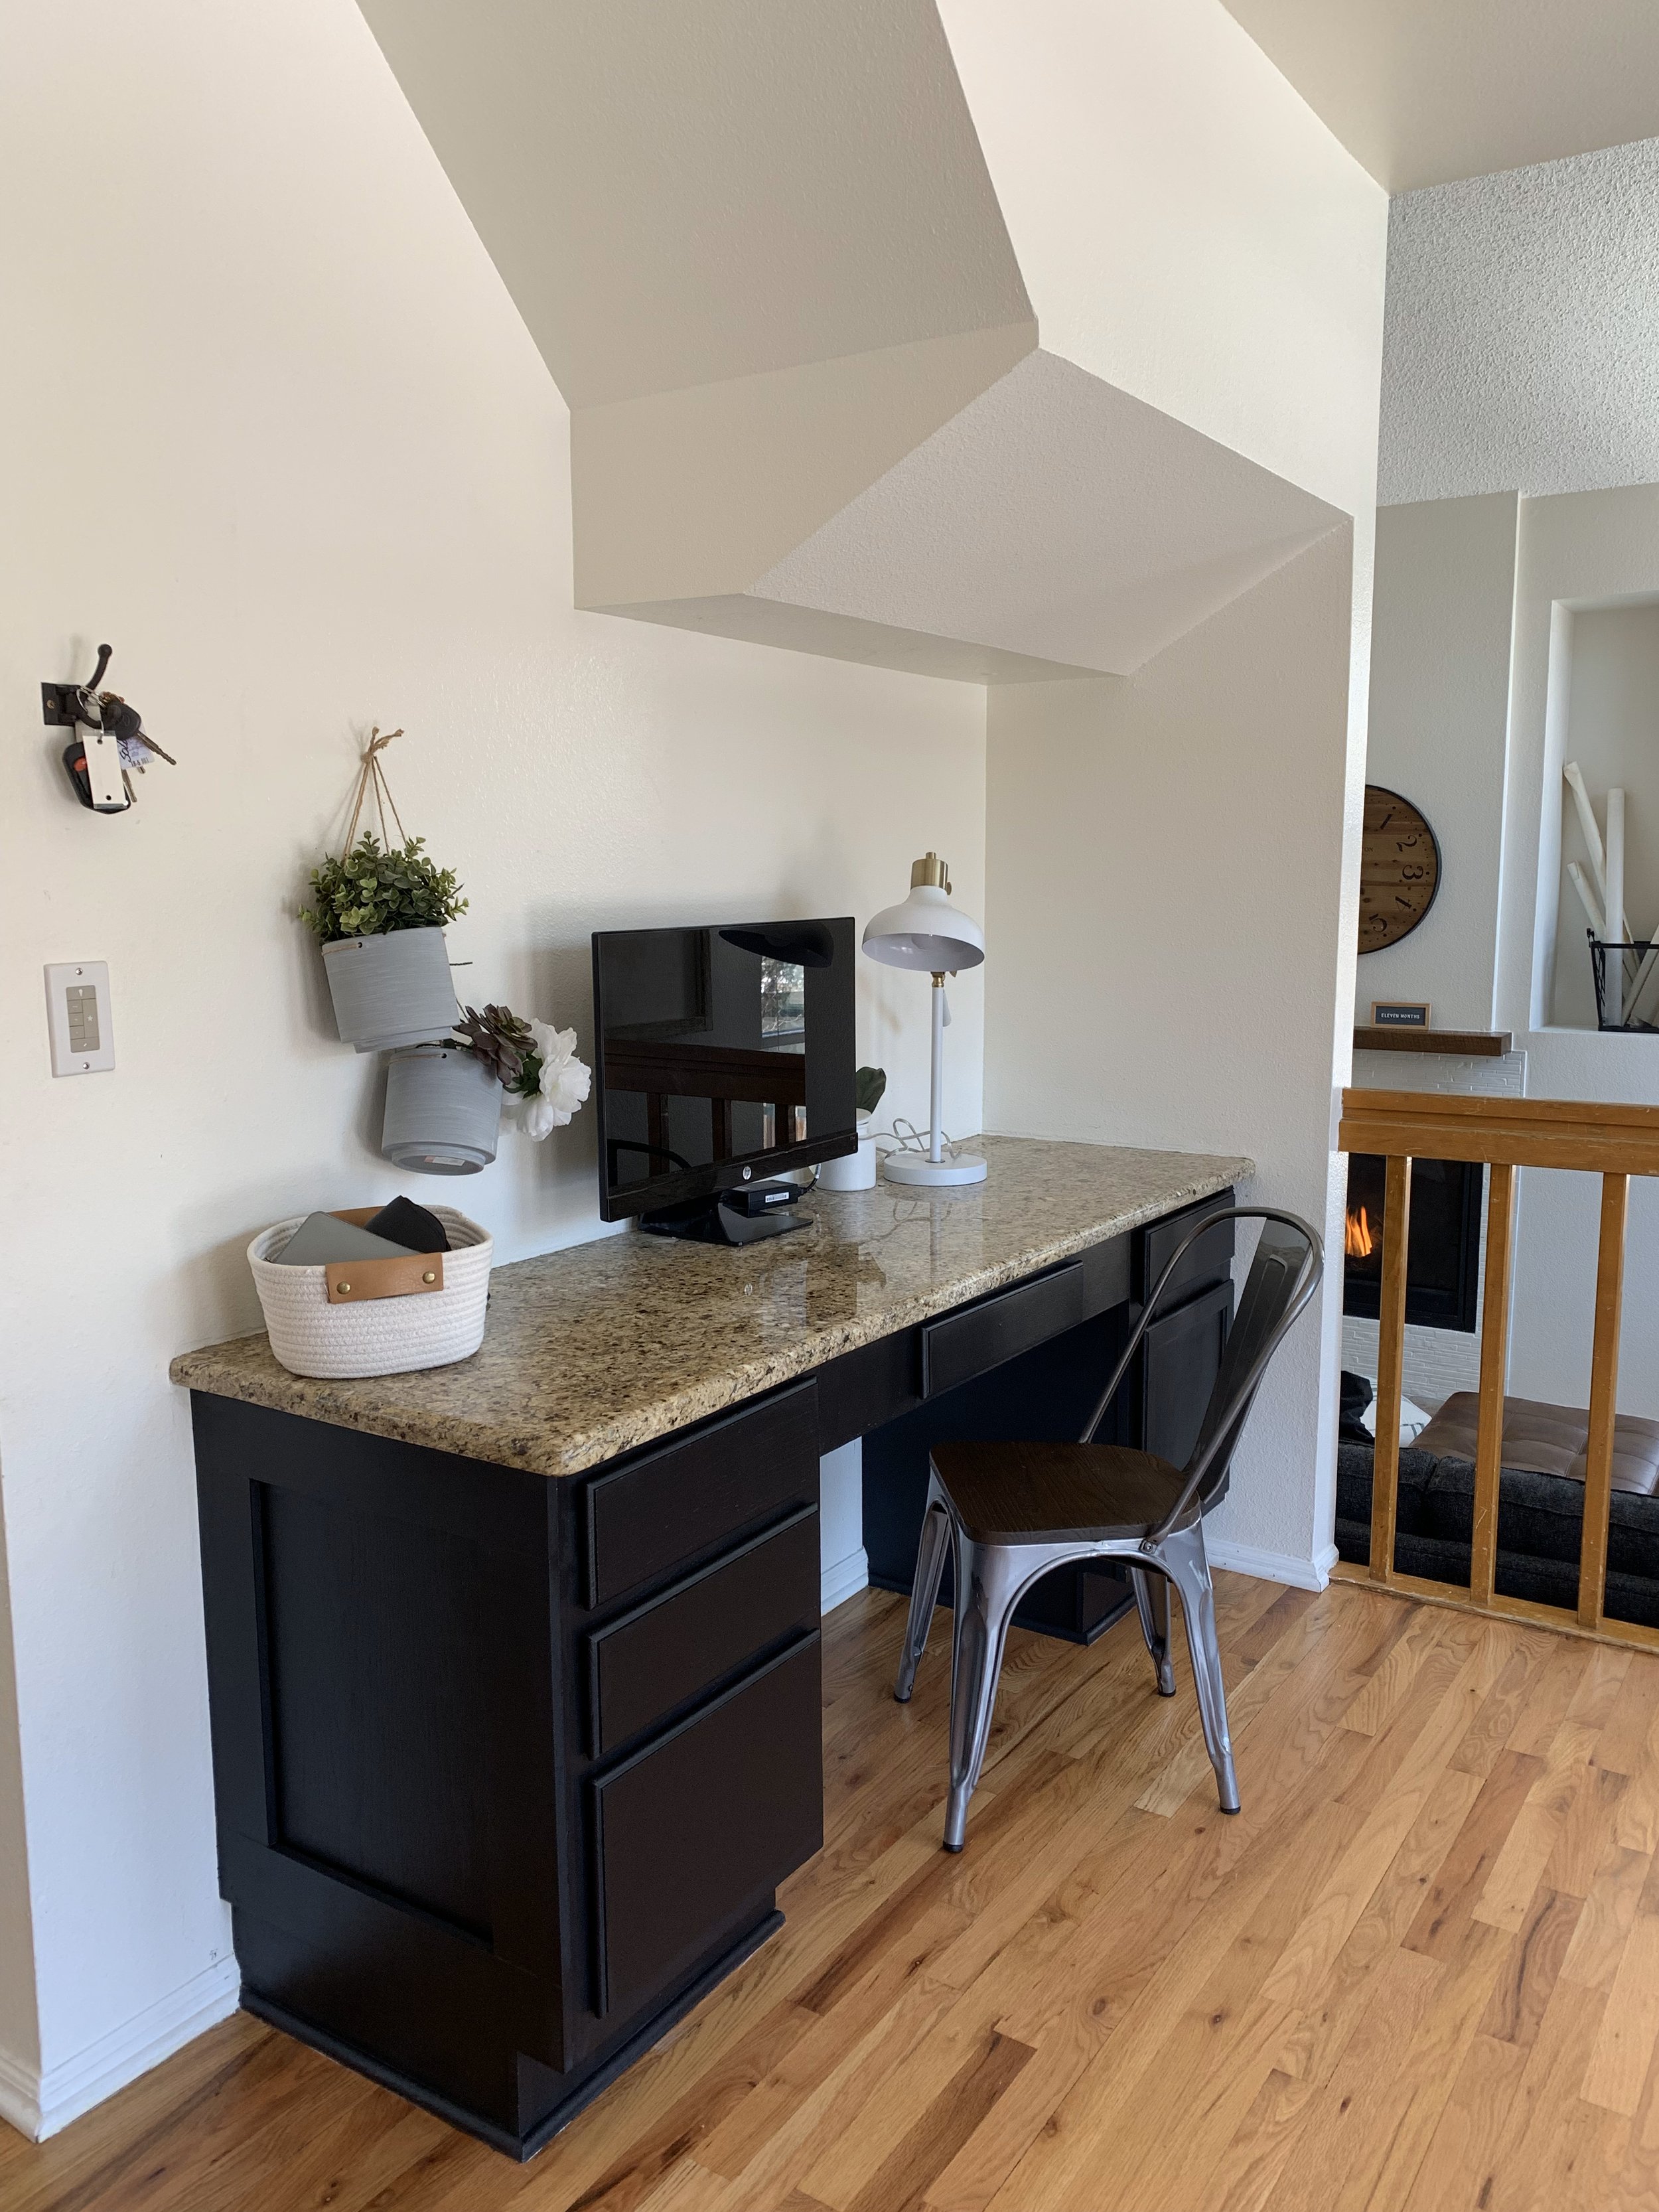
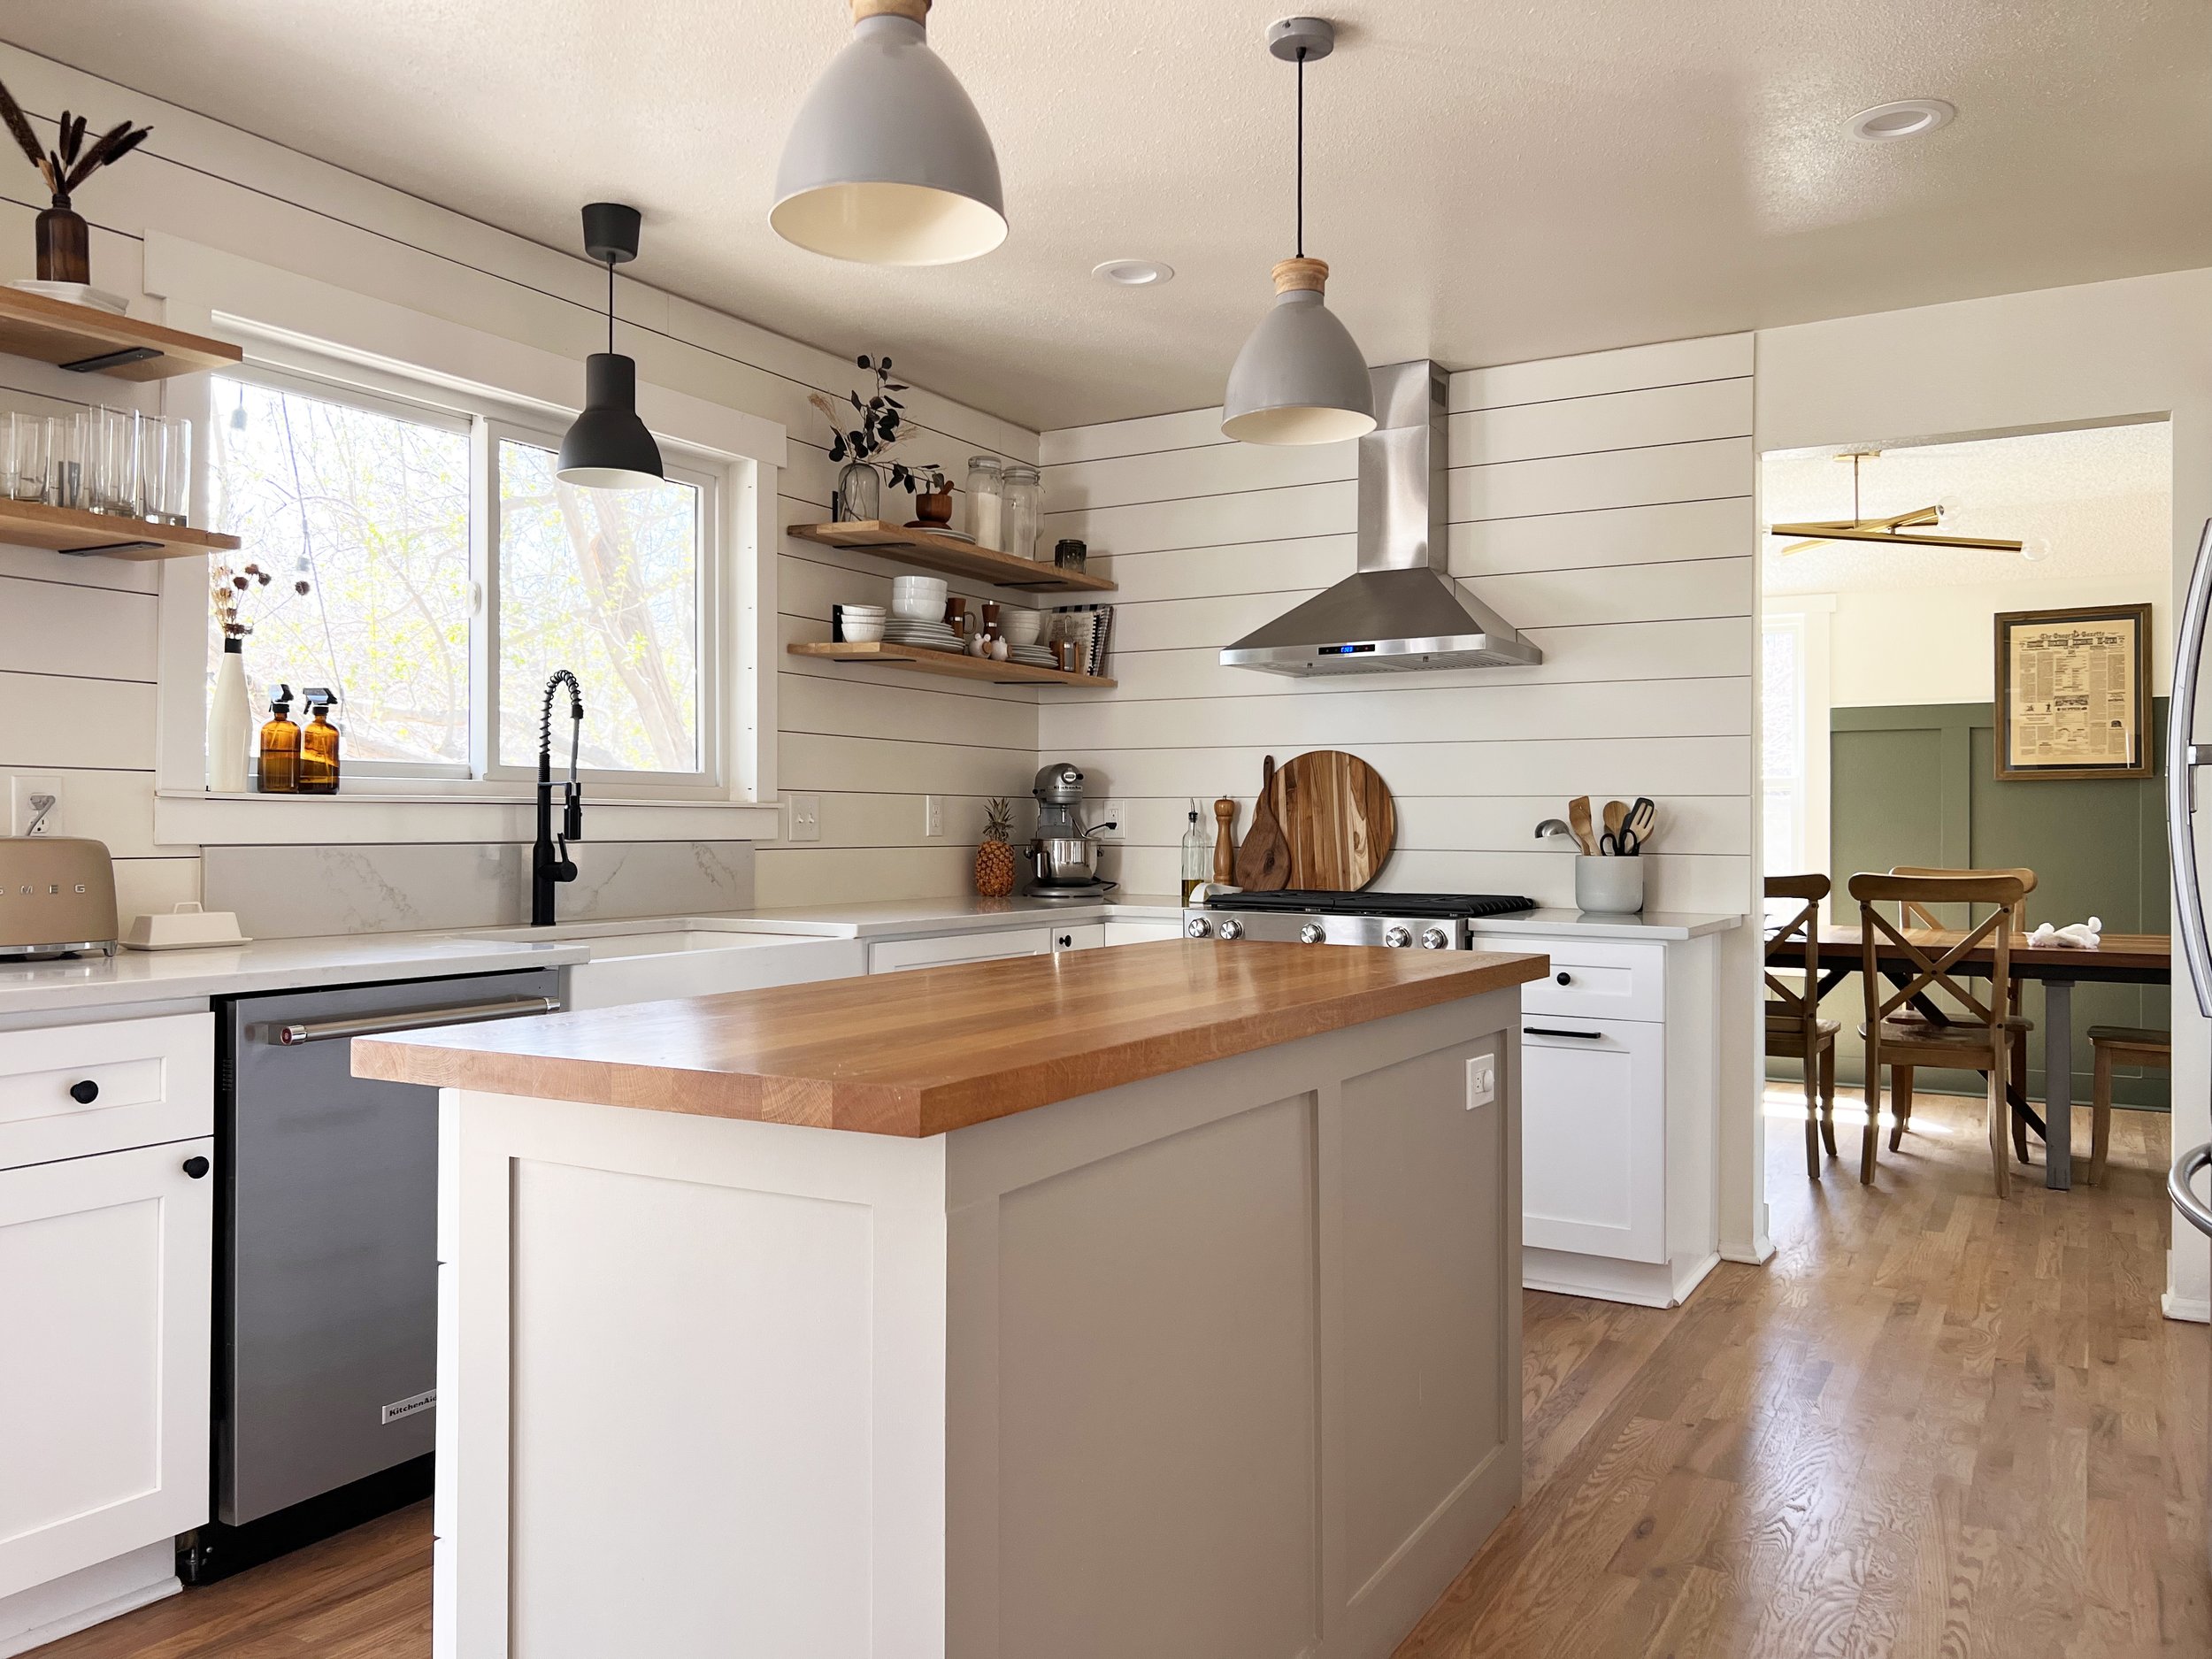
The parts we left unfinished were things like, the backsplash behind the “beverage bar” area, the backside of the island that was very much naked looking, the built in desk area that had come with the home that was never a very practical use of that space, and someday maybe, a new stove and refinished floors.
Here’s the thing. I’ve written this post four years since the bulk of the work was done to our kitchen and I am finding that now, finally, it has come to a “finished” status. But the catch? Now I am ready to change out the phase one things that we had done. Like.. new light fixtures, a new hood vent surround, a new tile backsplash that we have been able to save for, and refinishing the butcher block to be a darker color. But isn’t that how home ownership works? We are never done! As a designer, I find it fun. I can always change my mind and do something else! And there are so many little inexpensive ways to change the entire look of a space, but that’s a whole different blog post for another day!
The “Afters”:
The Details + Sources:
Paint color: Dove Wing, Benjamin moore
Pendent lights: Grey and Wood Pendants
Island Paint color: Perfect Taupe, Behr
Cabinet Hardware: Pulls / Knobs
Flush Mount sink light: Hourglass Flush mount
Shelf Hardware: Black Brackets
Faucet: Black Faucet
Island Butcher Block: White Oak finished with Waterlox


